ZK Email Account Recovery: Setup and Recovery Guide
9/23/2024 | 15m read
Learn how to set up and use ZK Email Account Recovery for both older and newer Safe Accounts. This guide covers everything from initial setup to the recovery process, ensuring the security of your crypto assets with zero-knowledge proofs and trusted guardians.

Welcome to this guide for ZK Email Account Recovery! This system uses zero-knowledge proofs and trusted guardians to provide a secure, privacy preserving method for recovering your crypto assets.
Whether you're using an older Safe Wallet or the newer Burner Safe, this guide will walk you through every step of setting up and recovering your account.
Table of Contents
Safe Flows
Safe Accounts have come a long way since their release, evolving to meet the changing needs of the ecosystem. The early versions of Safe Accounts marked a significant milestone in multi-signature technology. However, they had some limitations, particularly in terms of gas efficiency and compatibility with newer standards.
With the introduction of ERC-4337, Safe Accounts underwent a significant update. They improved gas efficiency, gained better compatibility with account abstraction, and enhanced flexibility for implementing recovery mechanisms.
These improvements have allowed us to create a simpler recovery solution for our ZK Email Account Recovery.
Our implementation of ZK Email Account Recovery has been designed to adapt to both older and newer Safe Wallet versions:
- For Safe Wallet: We implemented the recovery system as a module that can be added to existing Safe Accounts. This allows users of older versions to set up a guardian and enable recovery without needing to migrate their assets.
- For Burner Safe: We utilized all the account abstraction capabilities introduced in ERC-4337 and ERC-7579, allowing for a more streamlined integration of the recovery process.
Note: If you are beginner or dont have a Safe Accou yet, we suggest using the Burner Safe Flow.
Safe Wallet
Setting up Your Account with Email Recovery
-
Create a Safe Wallet
Begin by setting up a new Safe wallet. This multi-signature wallet will serve as the foundation for your recoverable account.
Navigate to the Safe website and follow their user-friendly process to create your wallet. You'll need to do the following.
Note: This demo is intended for Base Sepolia.
- Select network and name of your Safe Wallet: Write any name to your new Safe Wallet. Then press "Next".
- Signers and confirmations: By default your wallet will be the single initial owner, press "Next".
- Review: Select "Pay Now", press "Create" and sign the transaction to create your new Safe Wallet and wait for the confirmation.
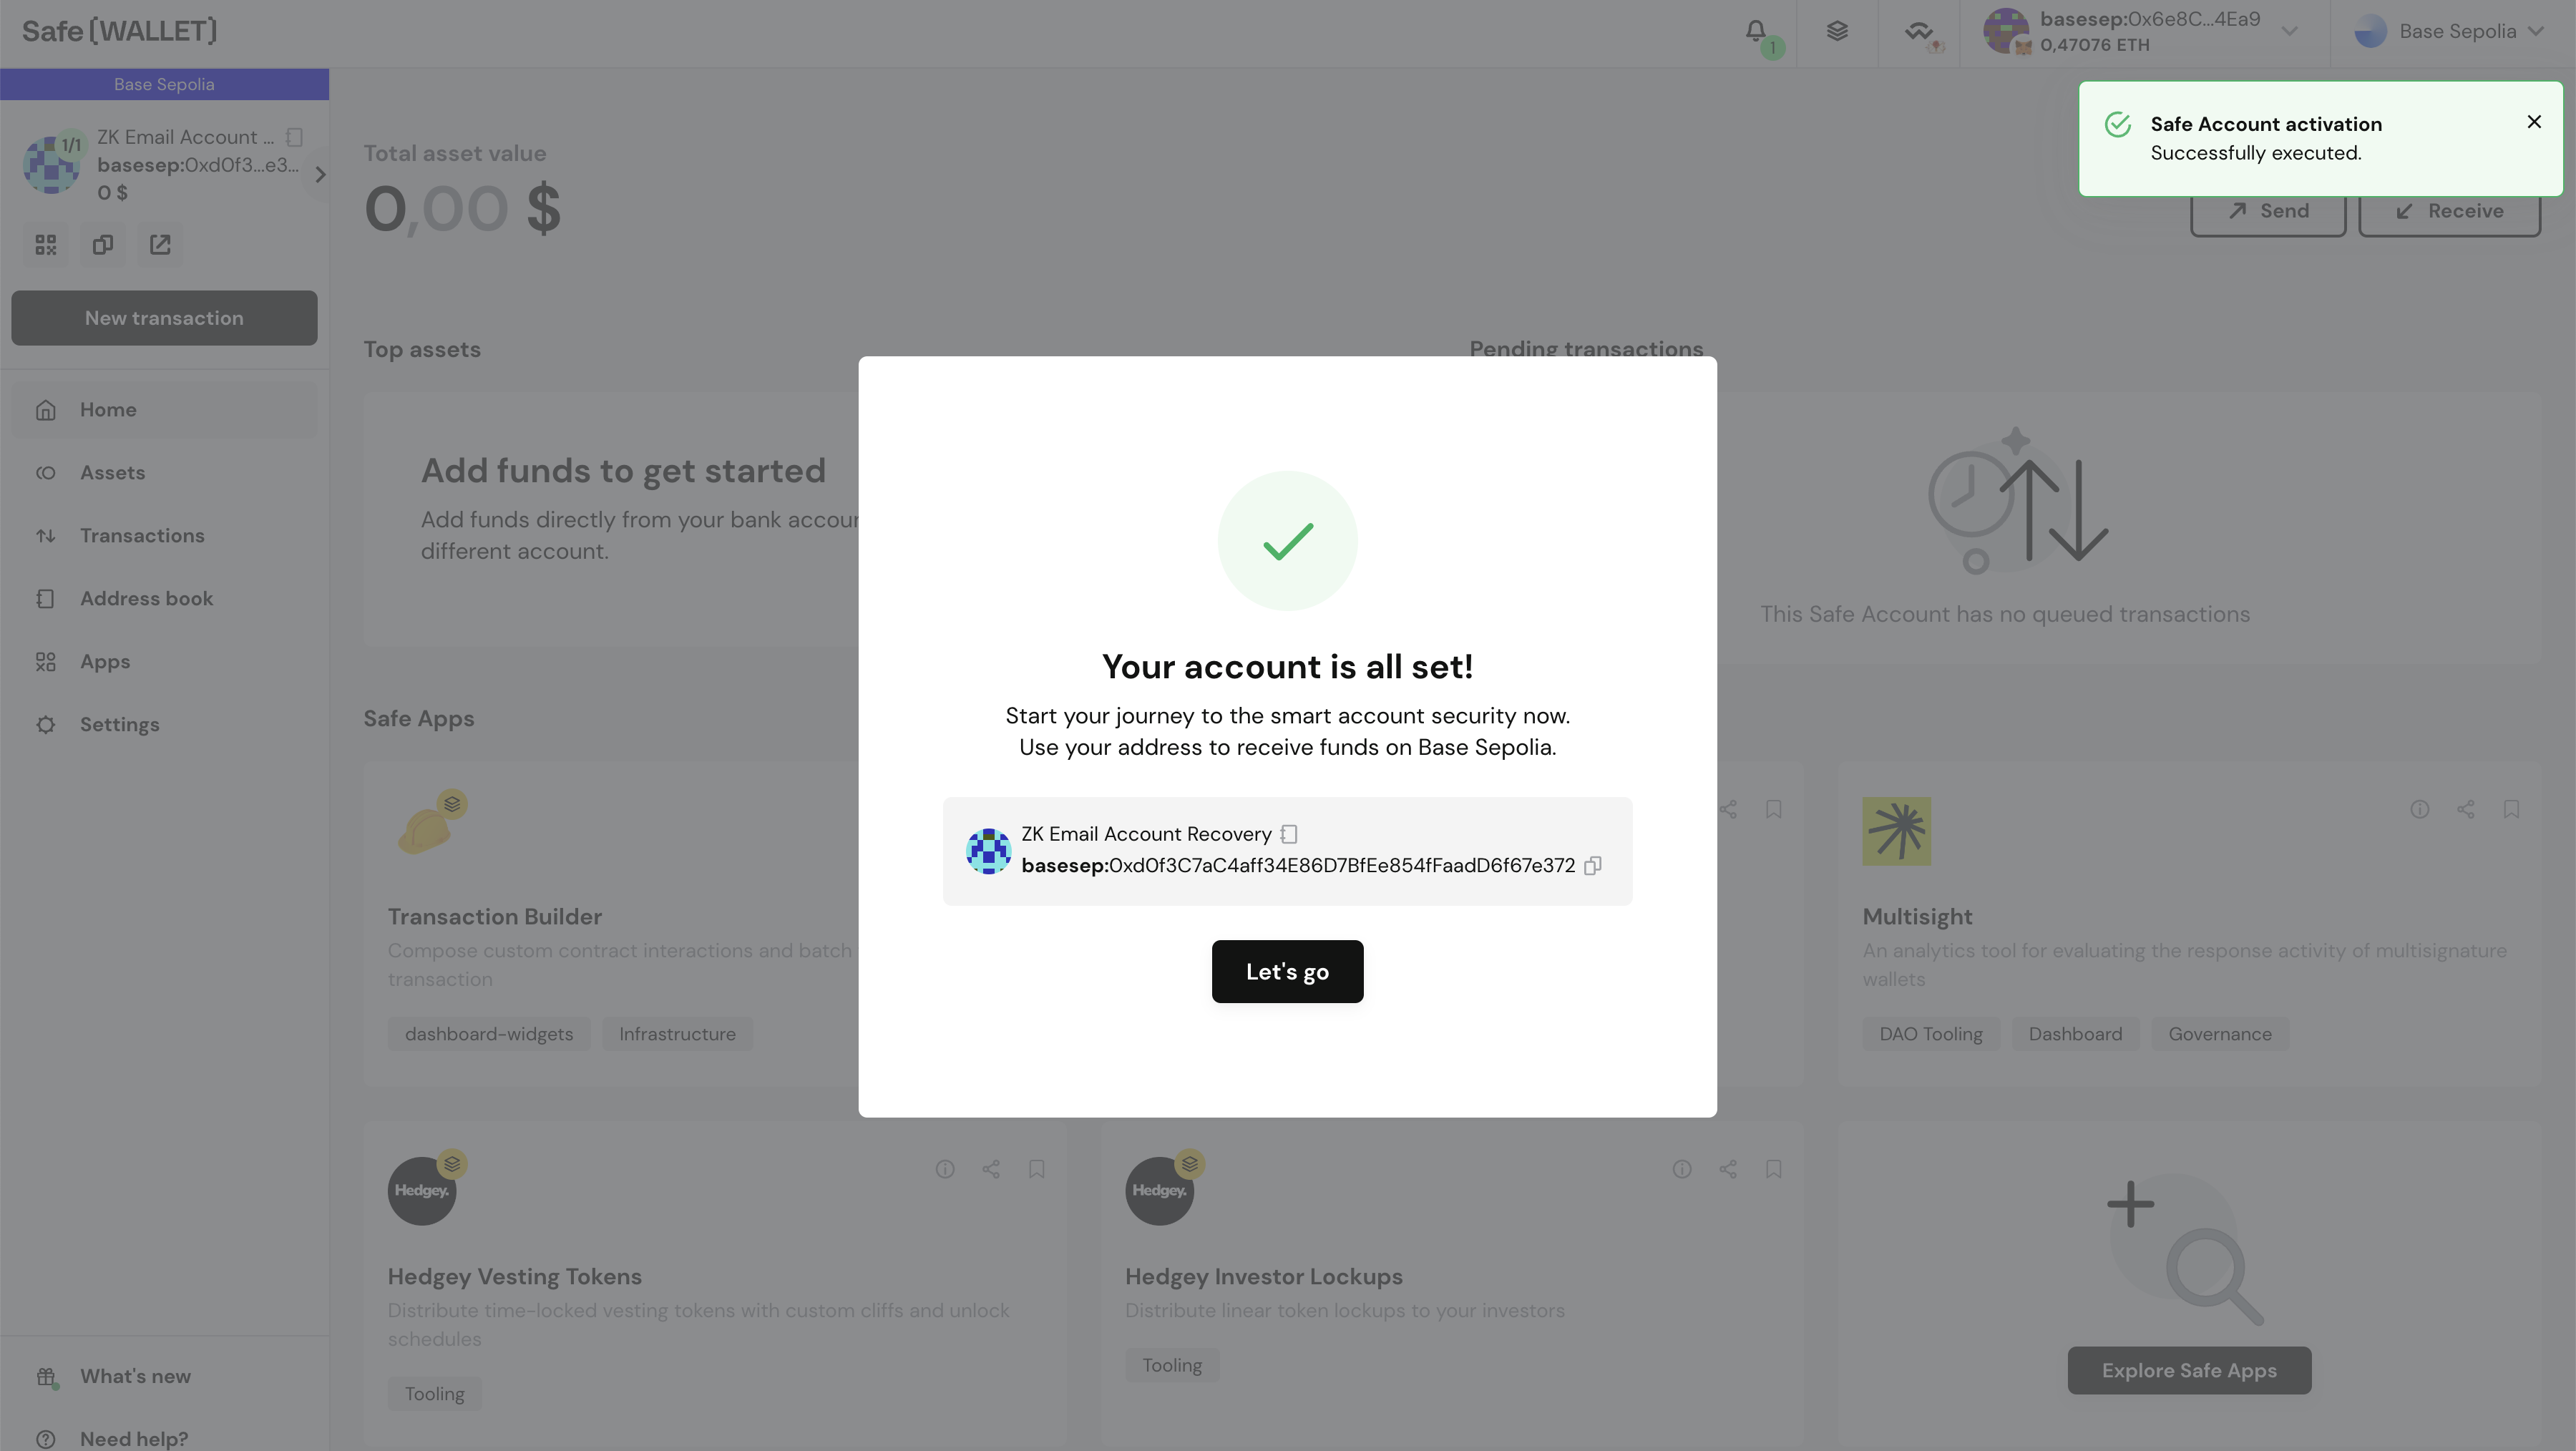
After completing this steps, you have succesfully set created your new Safe.
-
Connect Your Safe
Once your Safe is created, you'll need to connect it to the ZK Email recovery system.
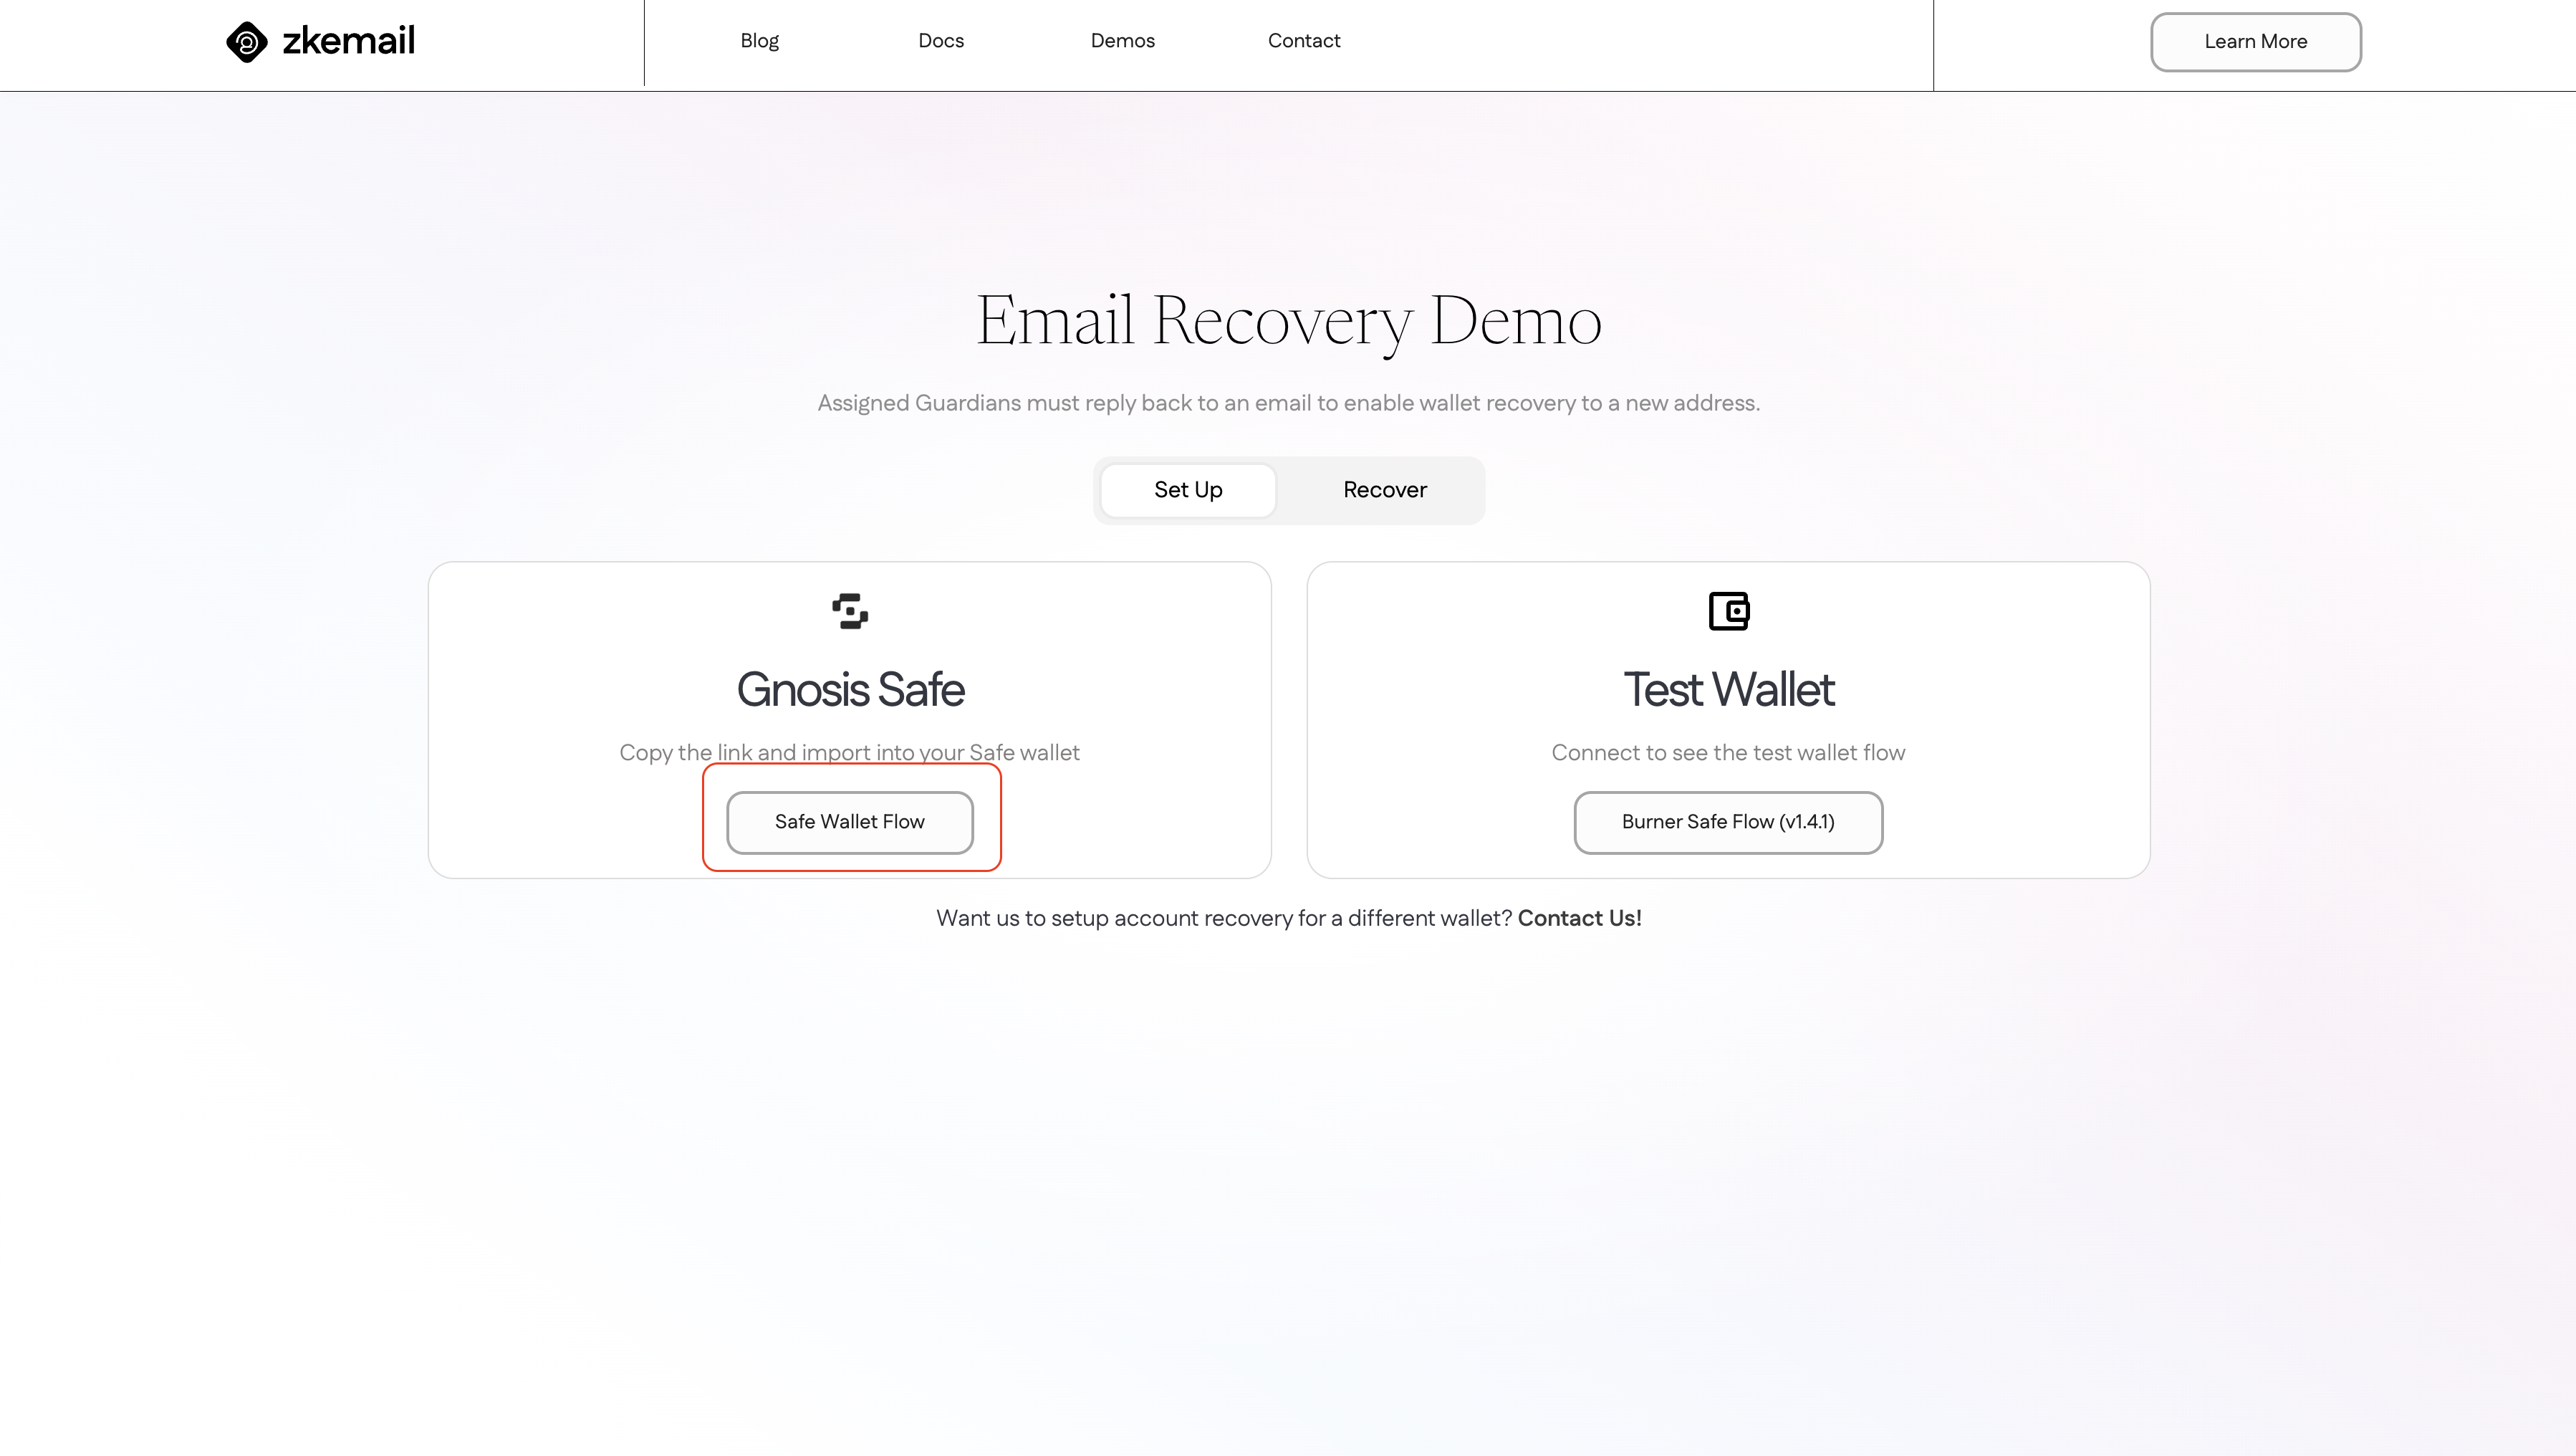
Navigate to ZK Email Recovery website and click on "Safe Wallet Flow".
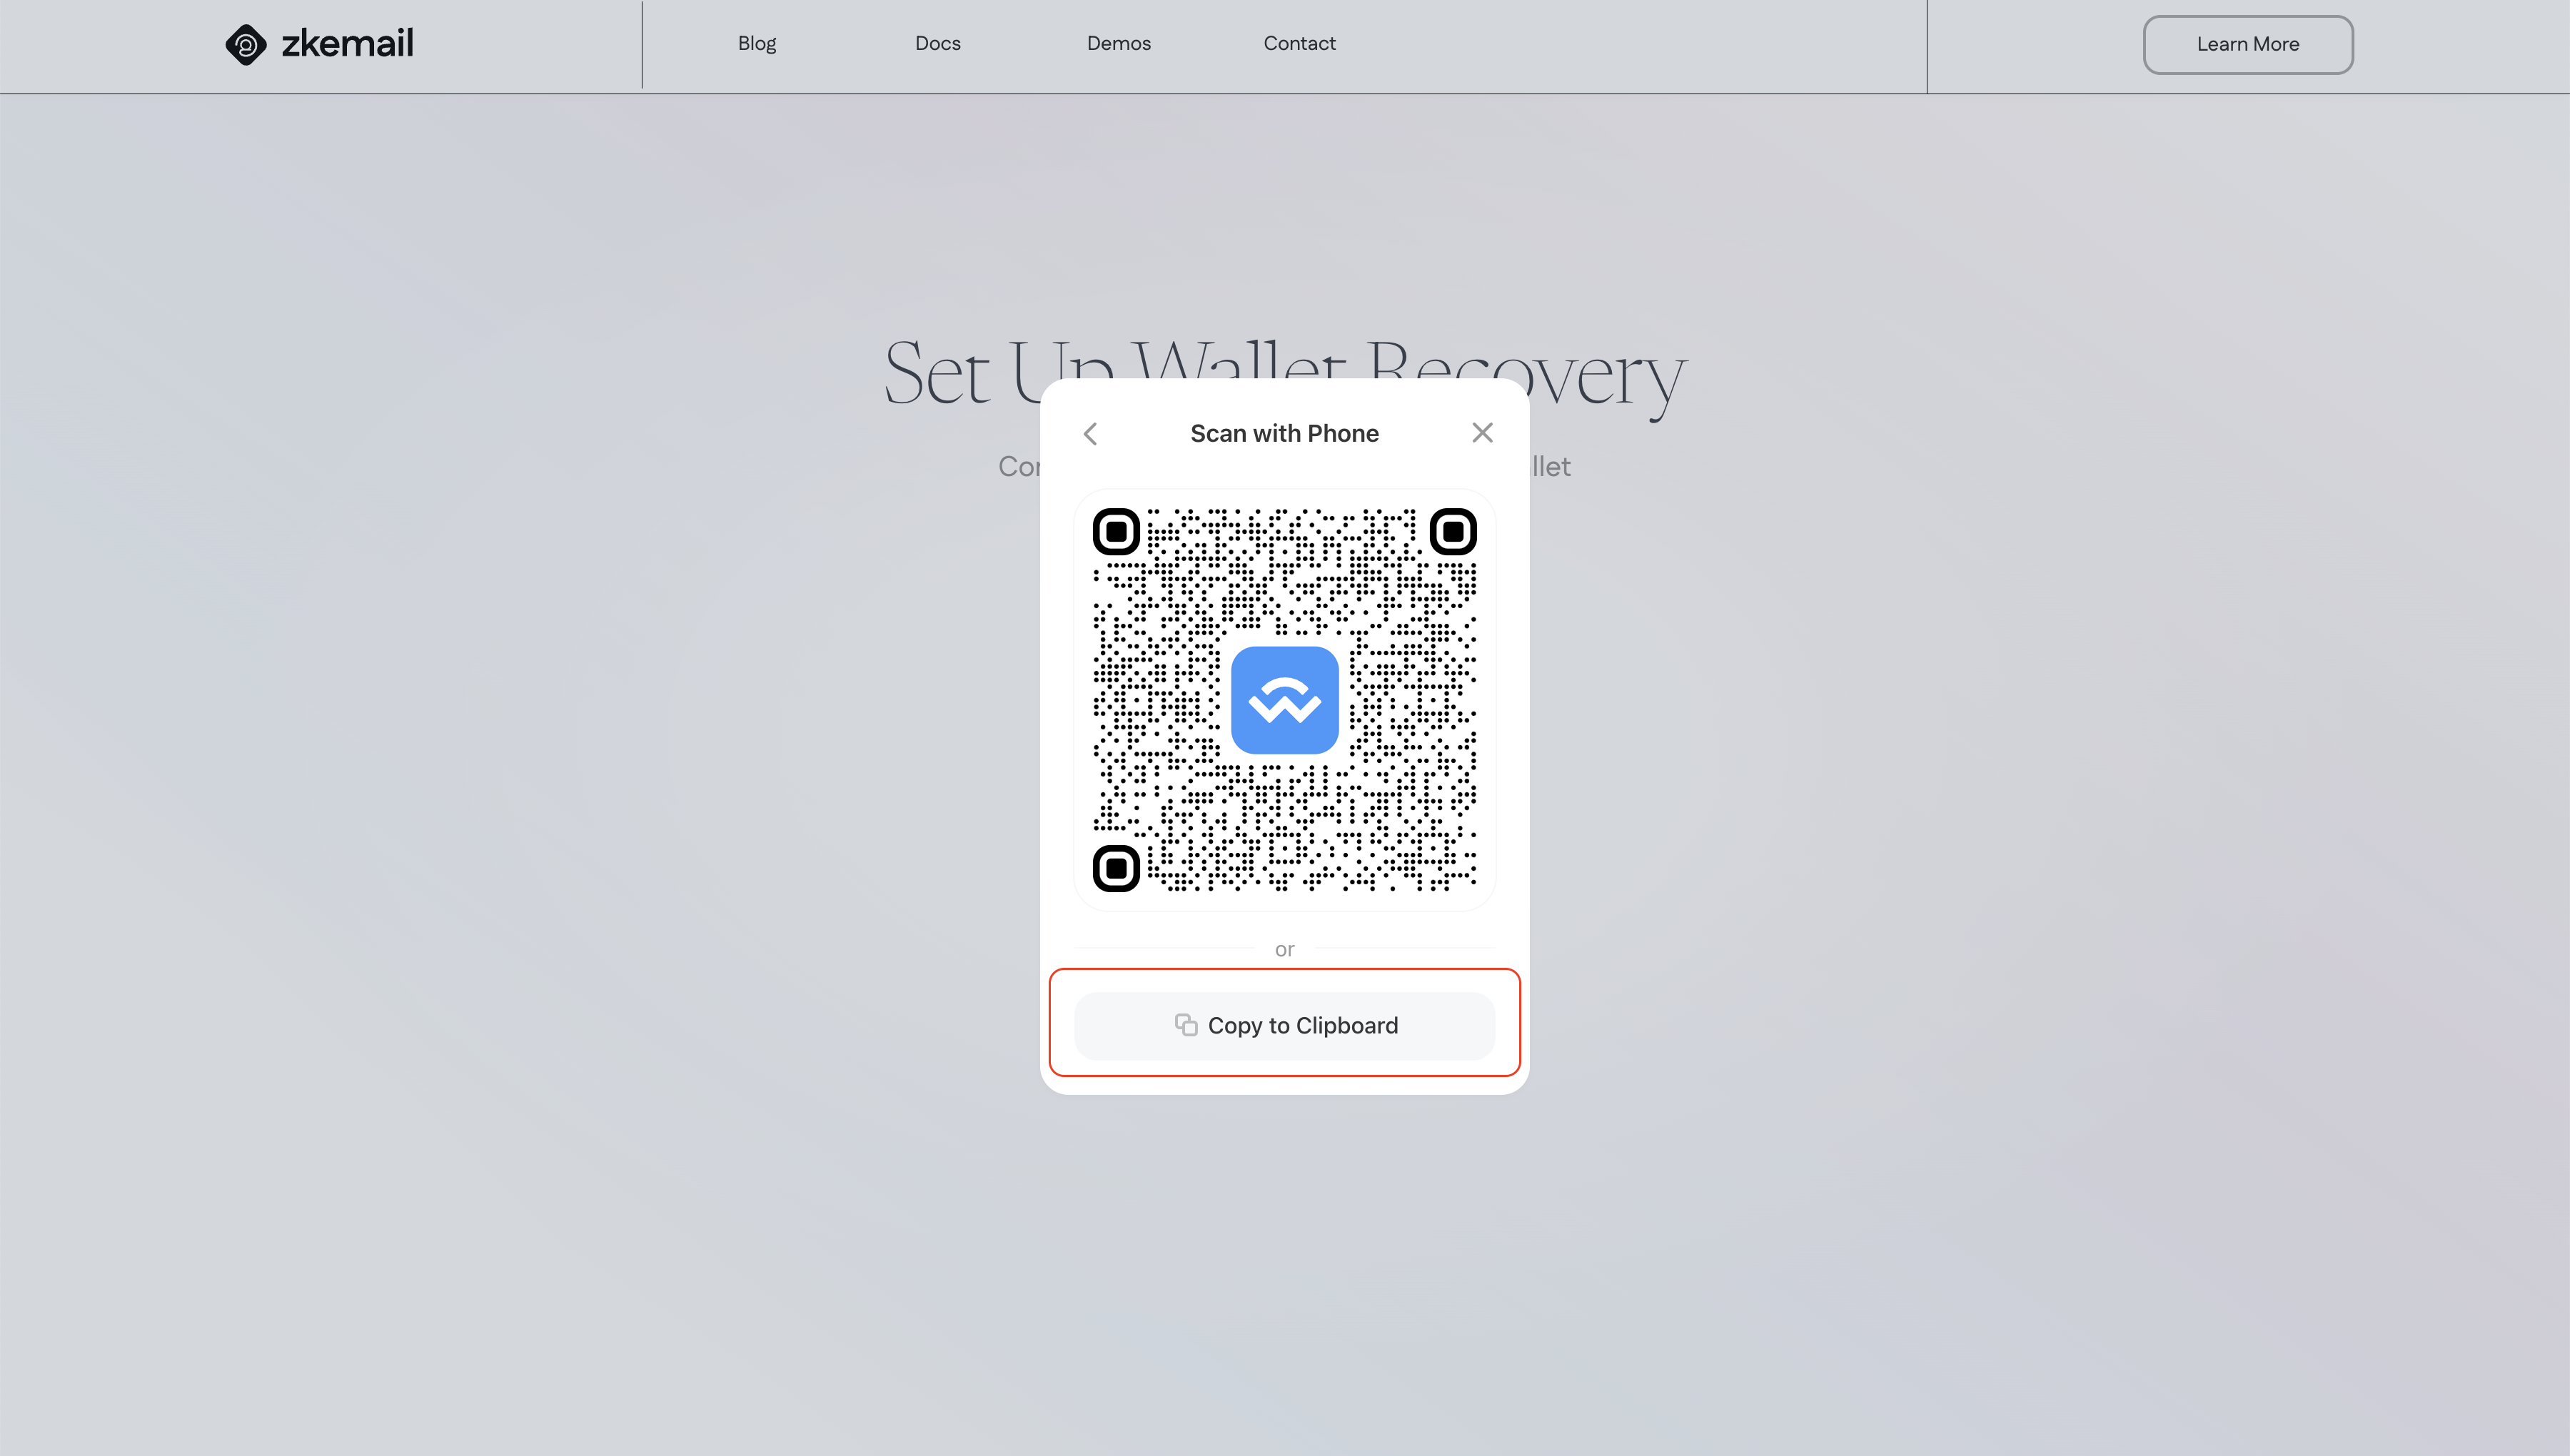
To connect your Safe you will need to pair using WalletConnect. Click on "Connect Safe" and then select WalletConnect. Then copy to clipboard the pairing code.
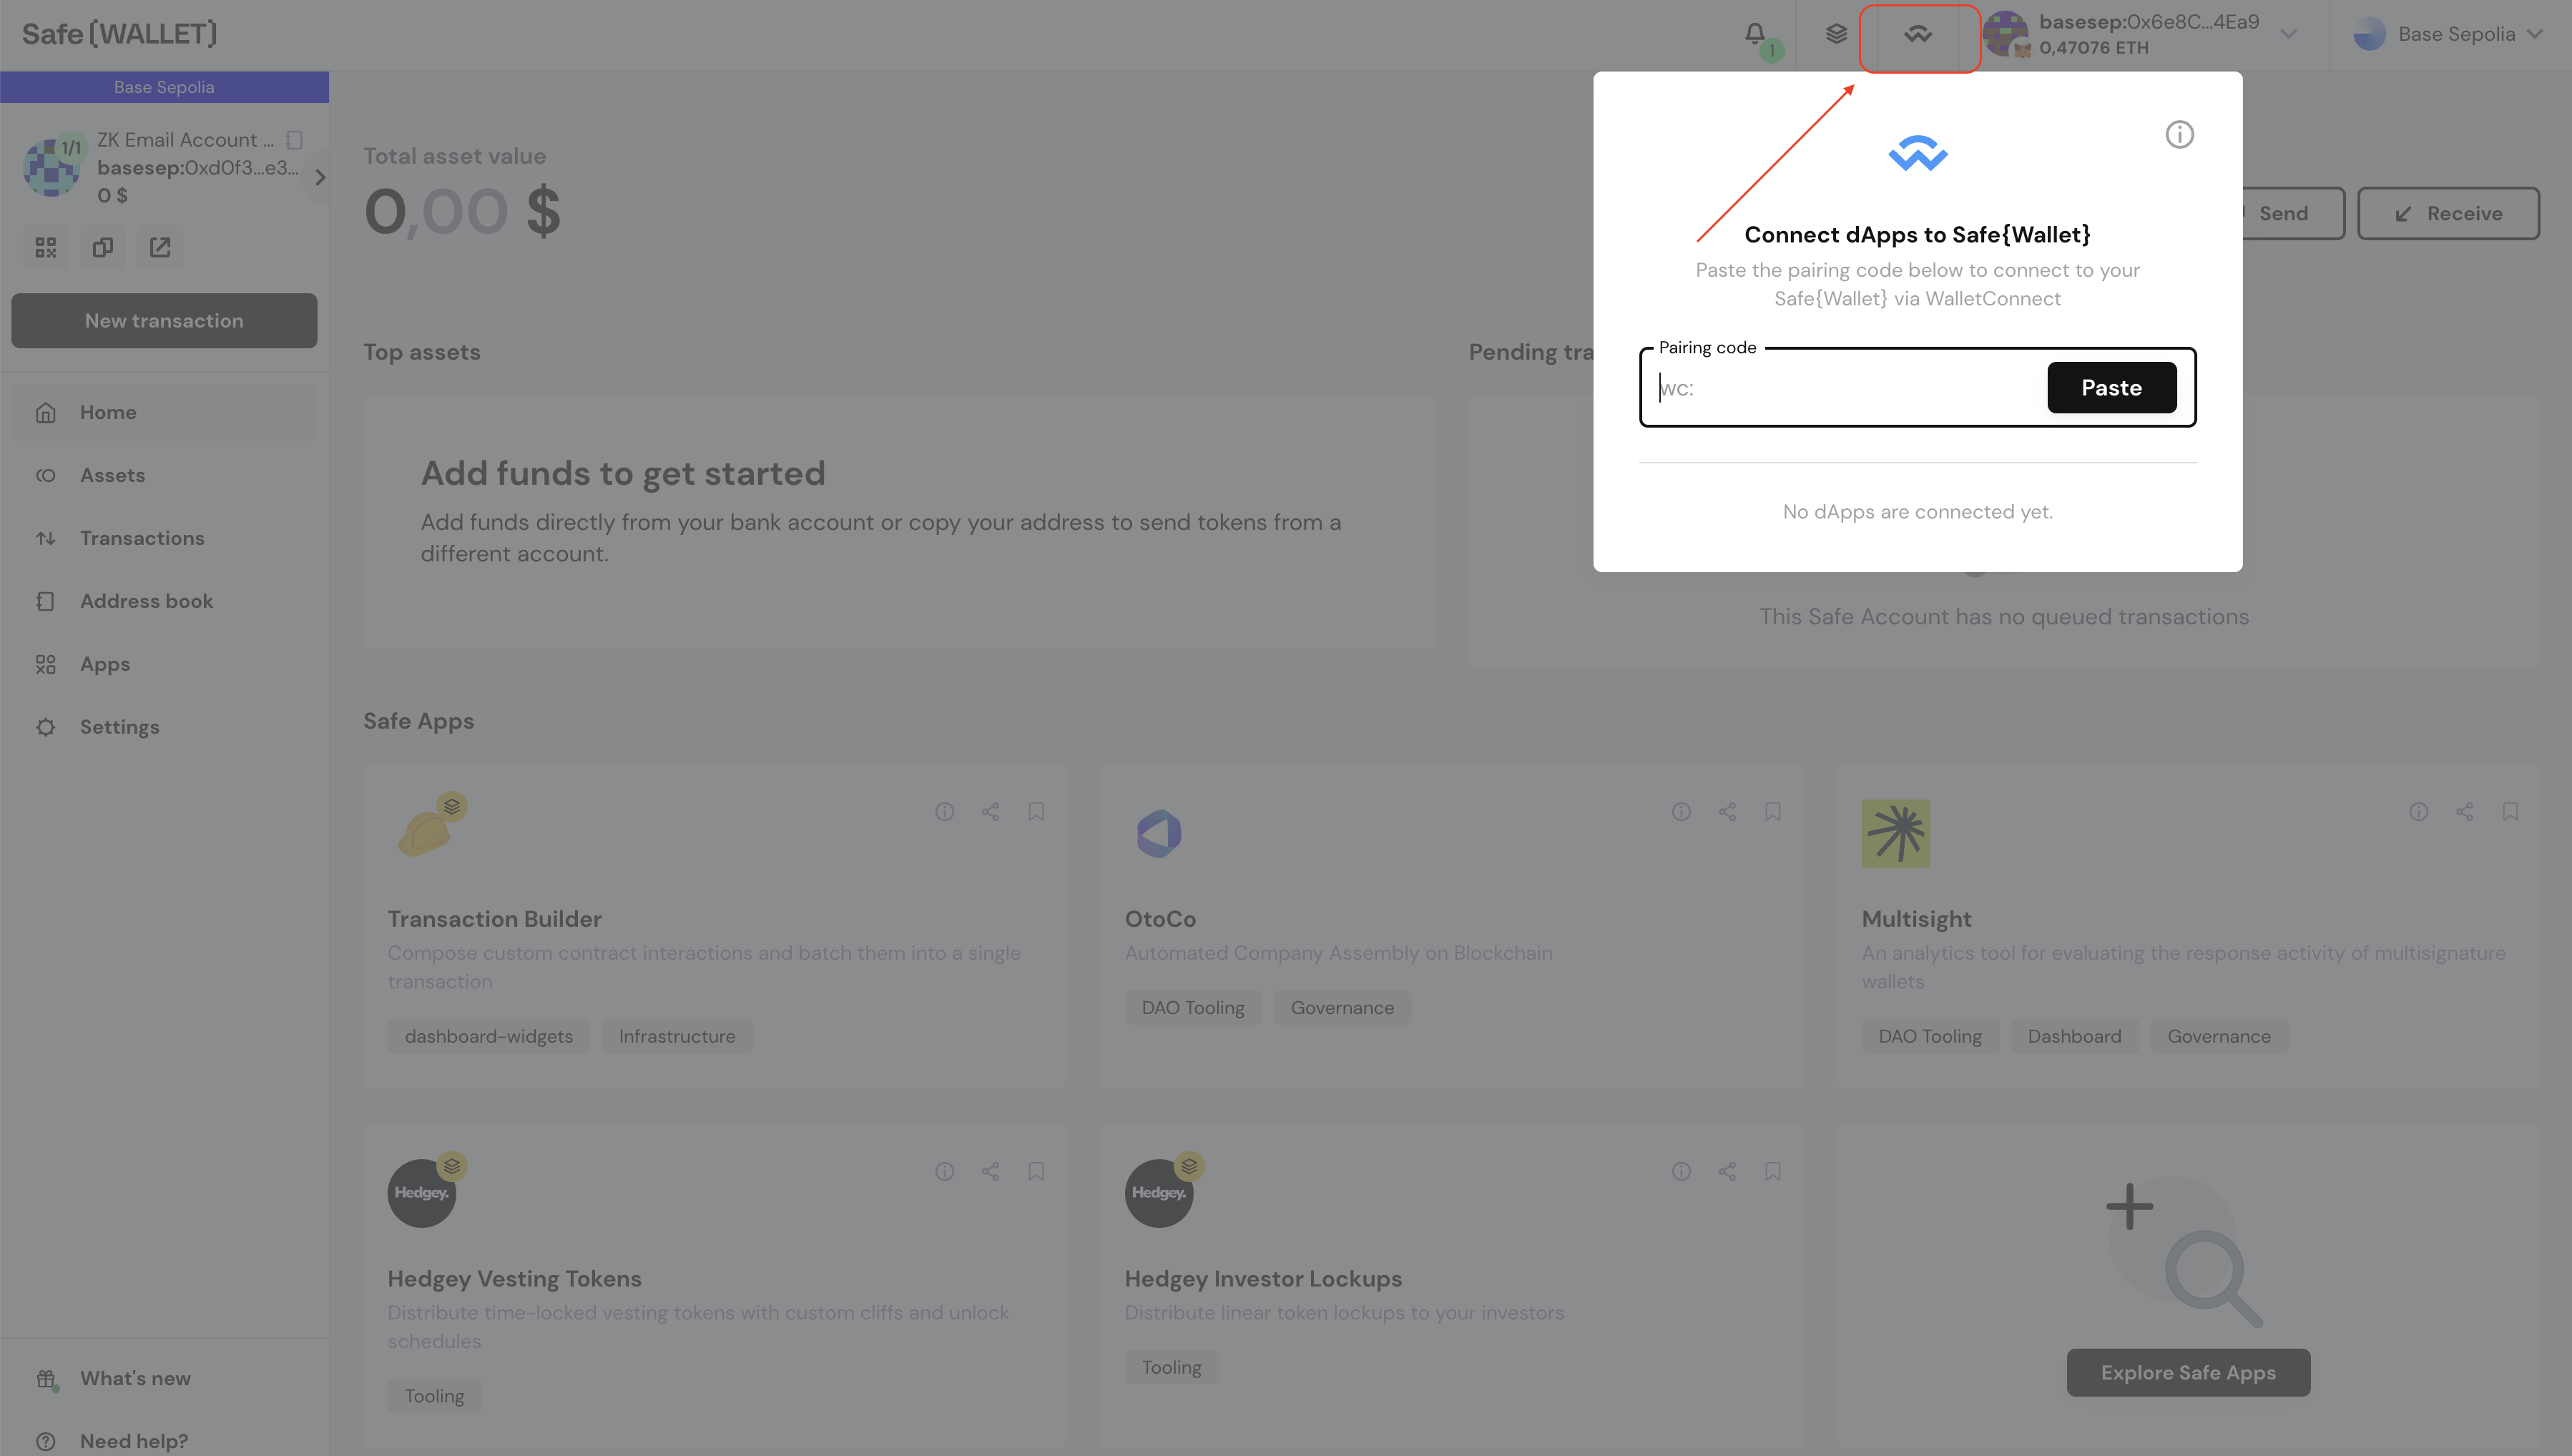
Navigate back to your Safe Dashboard and paste your pairing code on the WalletConnect pop-up located on the top right of the website.
-
Enable Email Recovery Module
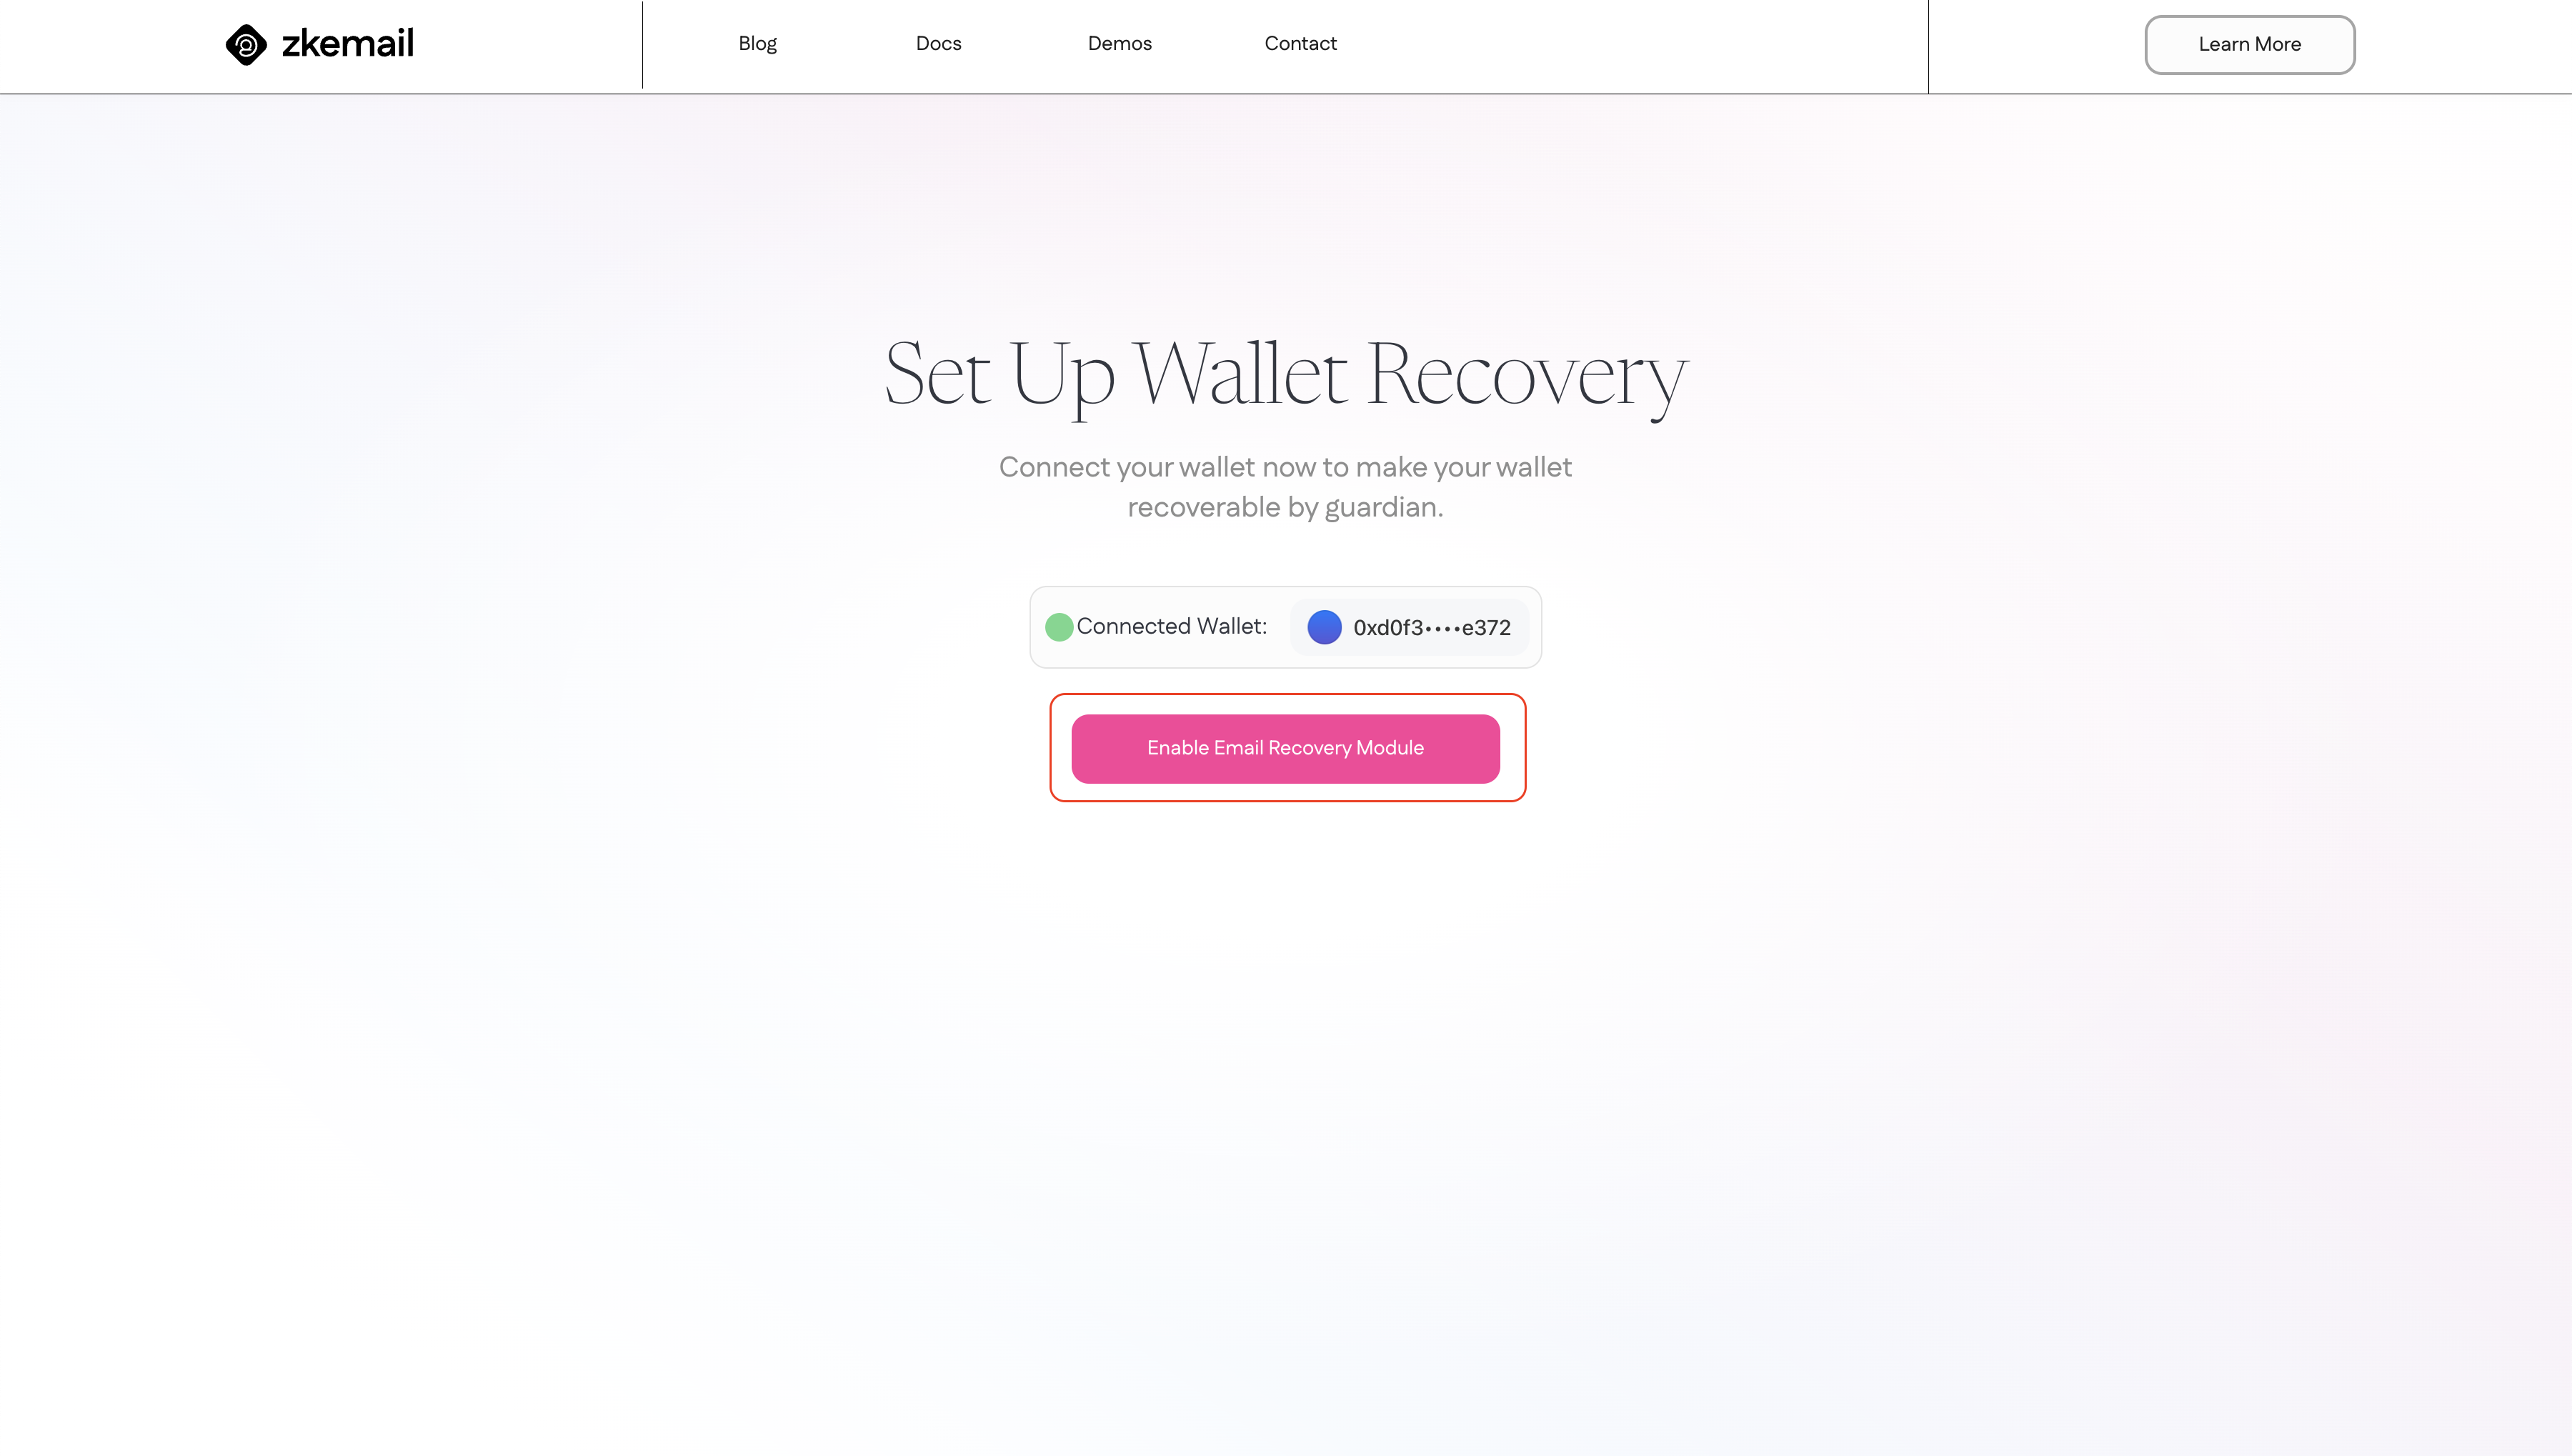
Now, head back to recovery.prove.email. Here, you'll find an option to enable the Email Recovery Module. This module allows your Safe to interact with the ZK Email recovery system. Click on the "Enable Email Recovery Module" button to begin the process.
-
Confirm Transaction on Safe
After enabling the module, you'll need to confirm this action on your Safe wallet. Return to the Safe interface where you should see a pending transaction to add the Email Recovery Module. Review the details and "Execute" the transaction.
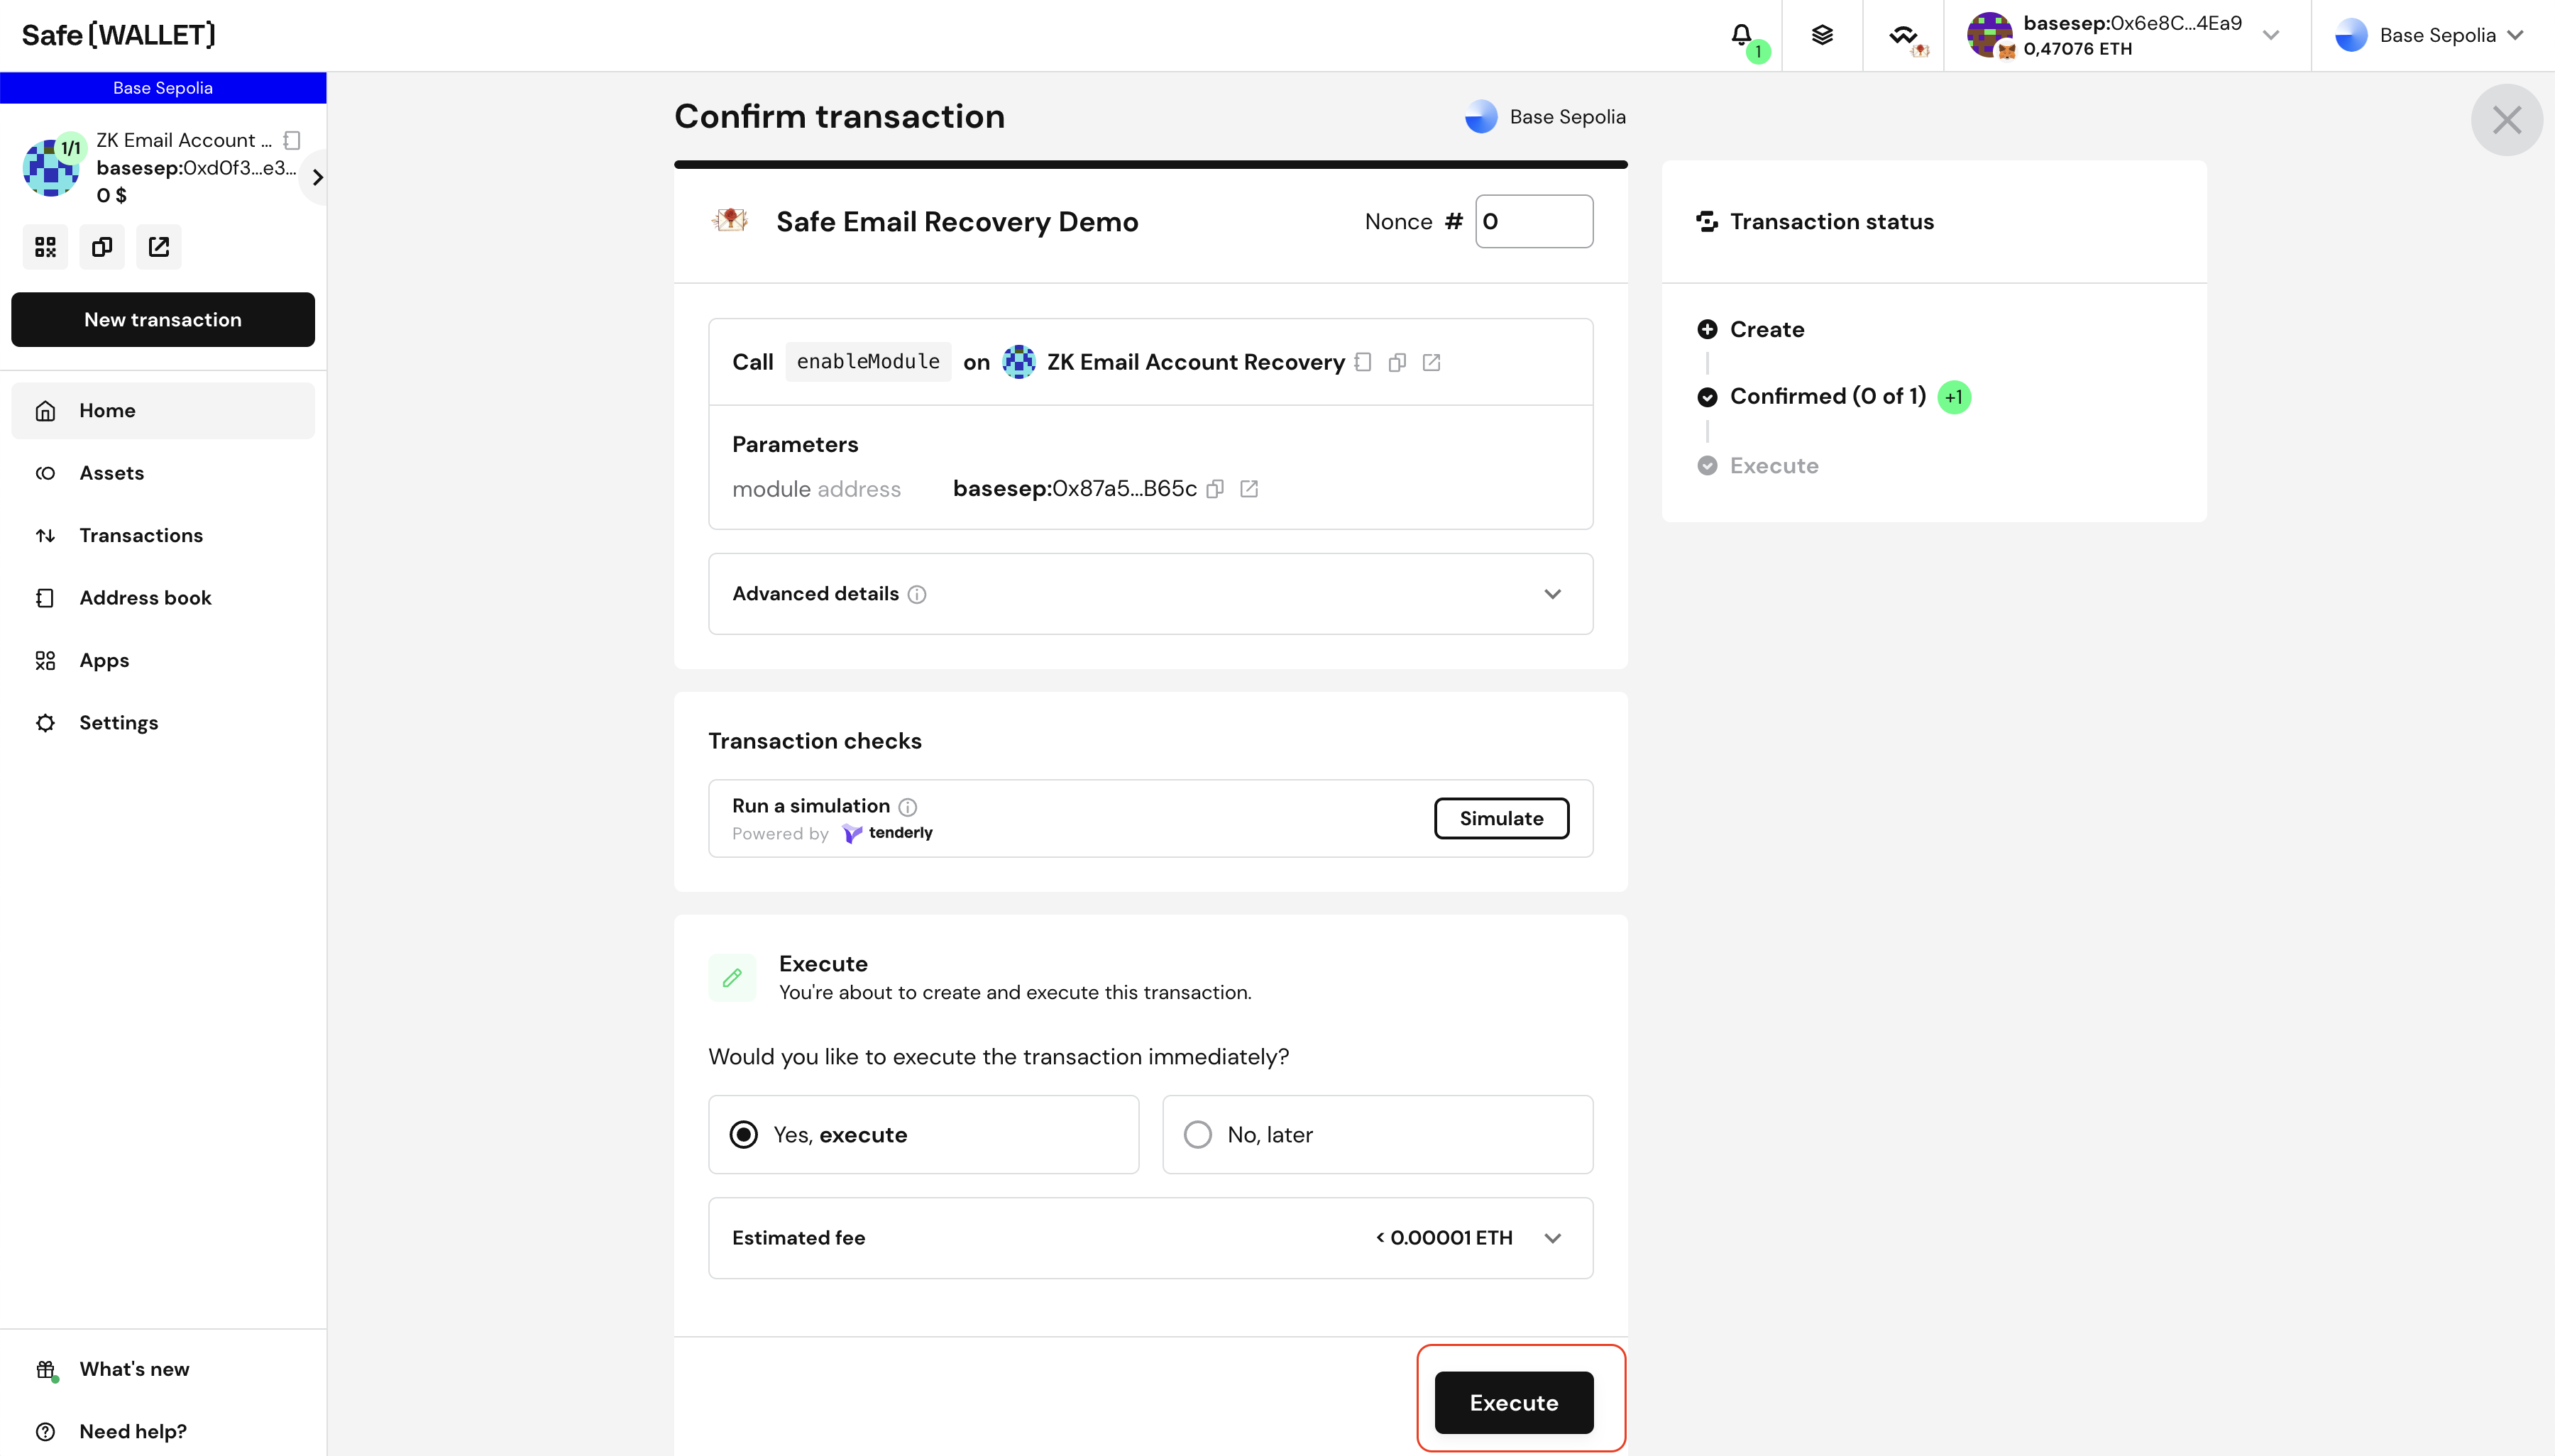
This step integrates the recovery functionality with your Safe.
-
Set Up Guardian
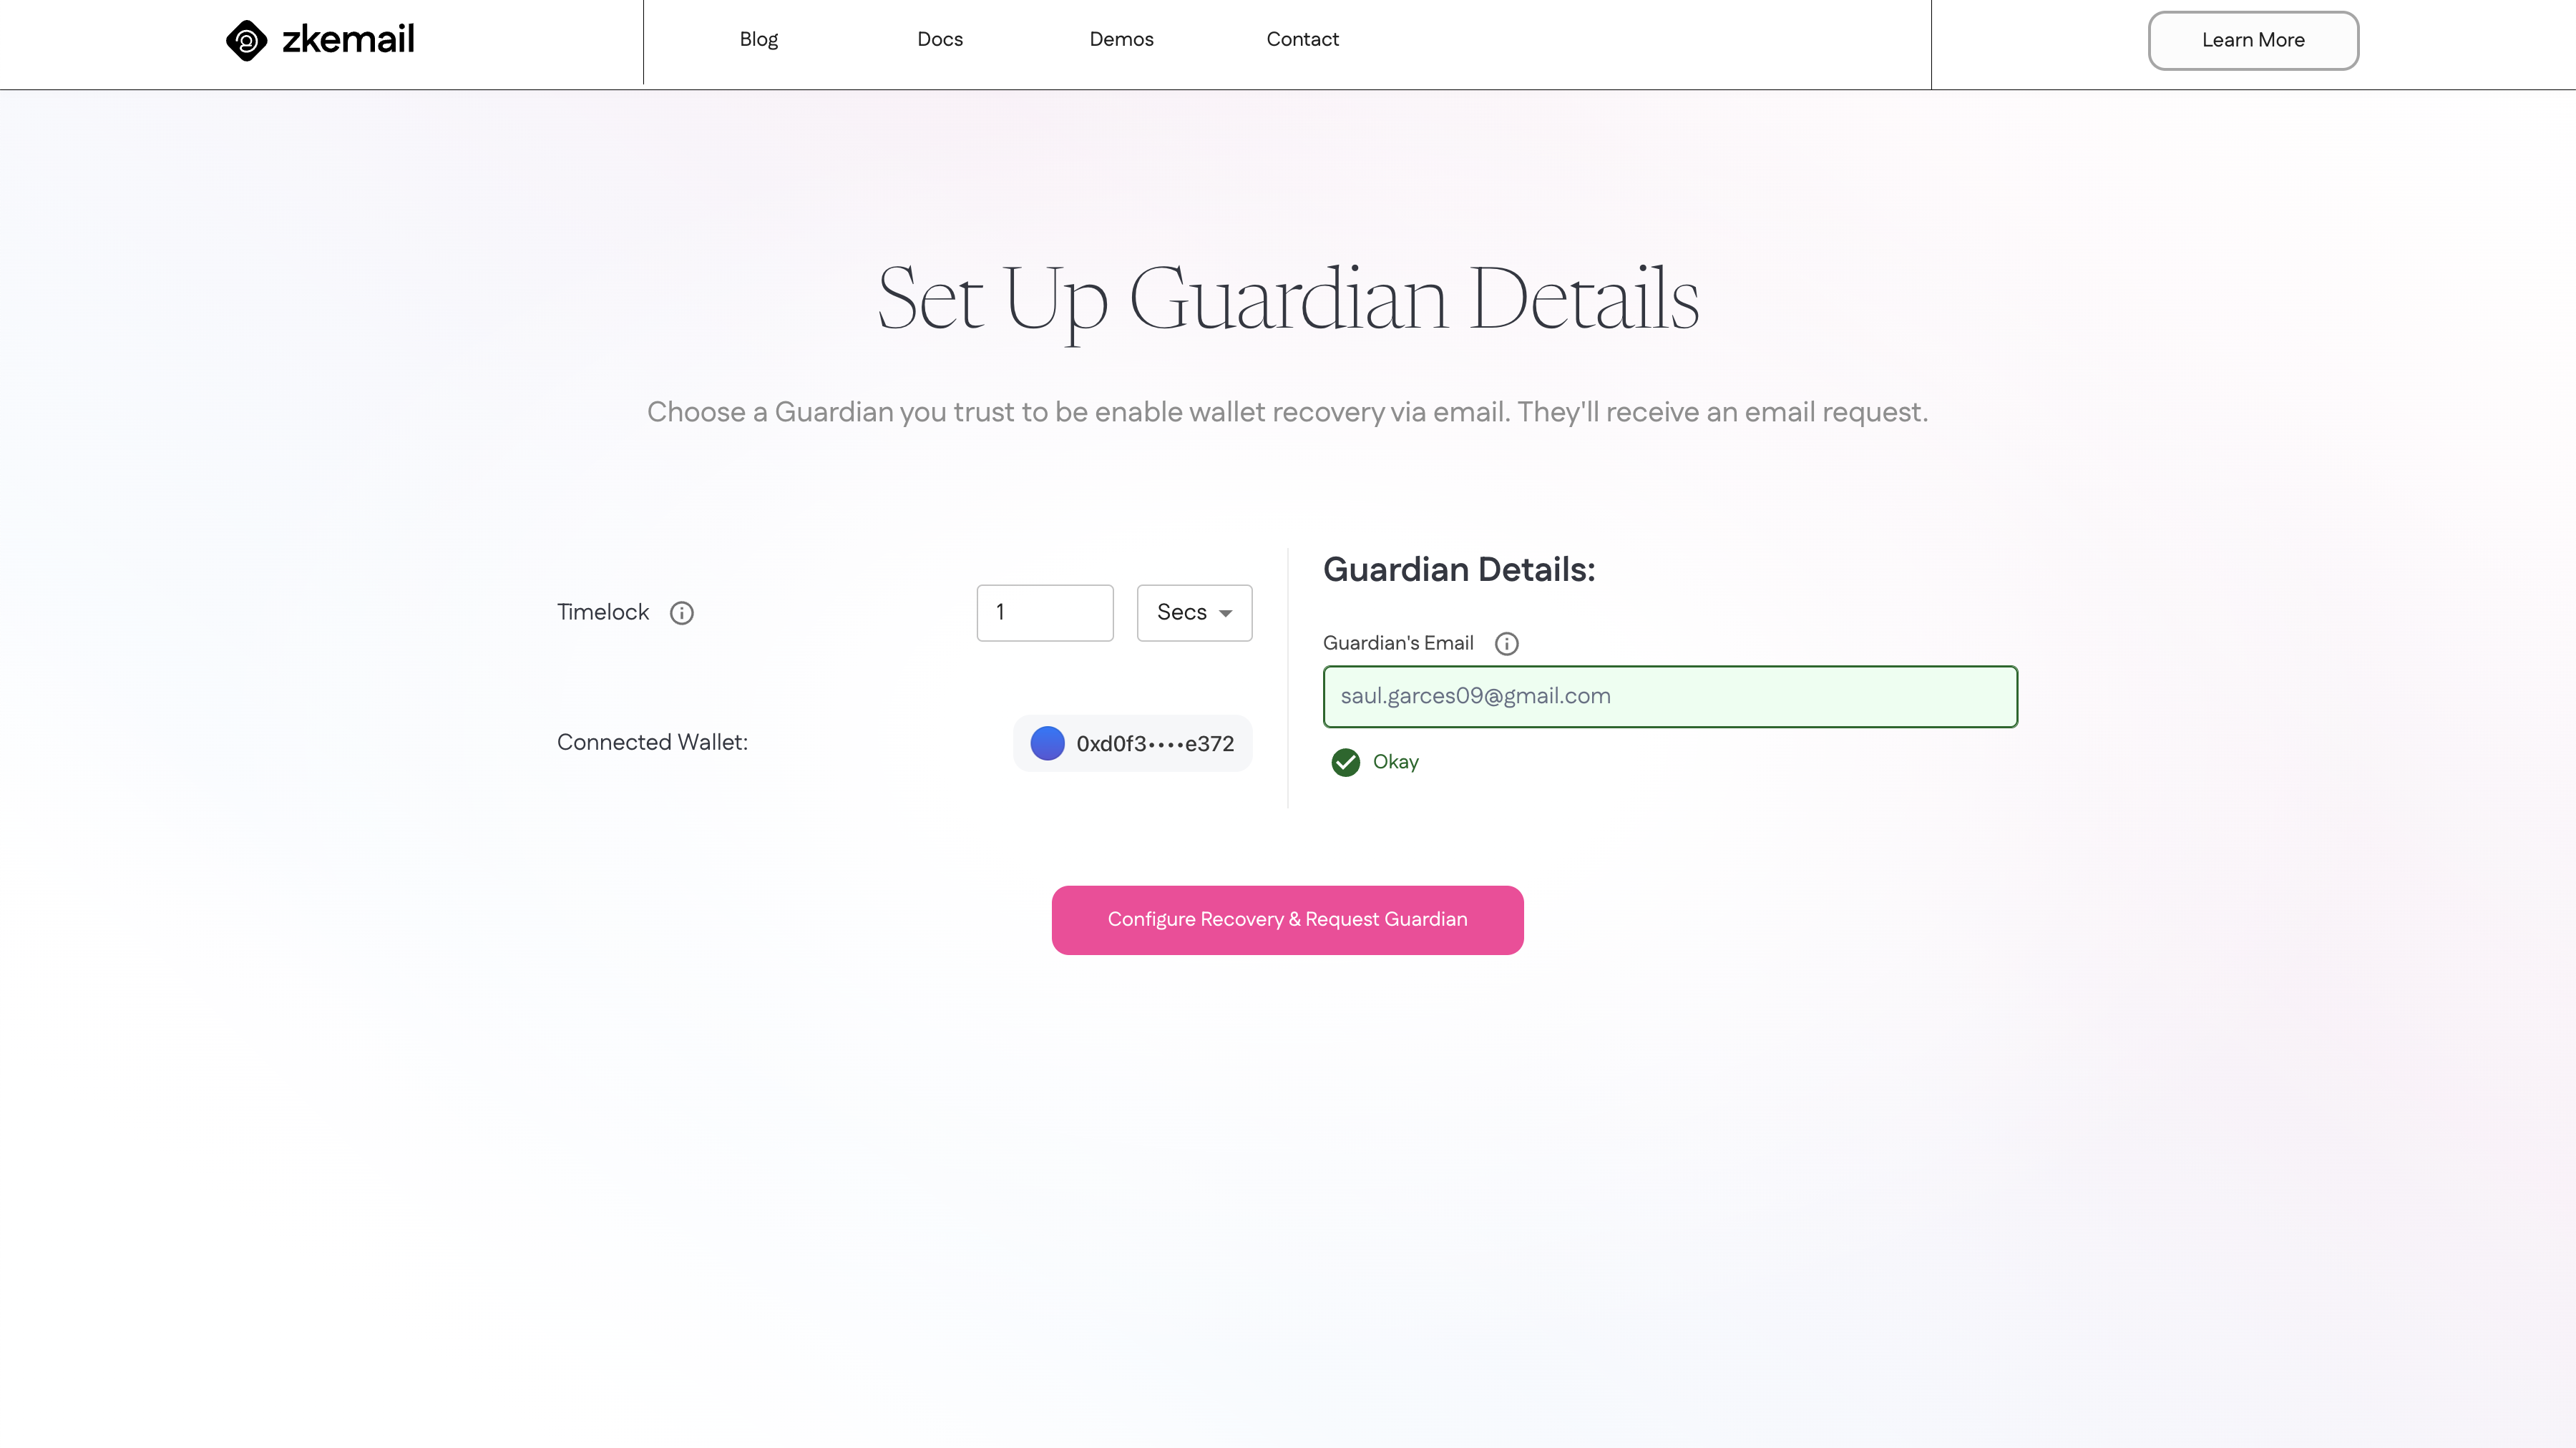
Guardians are trusted individuals who can help you recover your account. On the recovery.prove.email interface, you'll find the option to set up the guardian details.
Enter the email address of your chosen guardian. You'll also be able to configure recovery parameters, such as delay periods or expiration times. These settings add extra layers of security to your recovery process. (For the guide don't modify the parameter).
-
Sign Transaction and Confirm Guardian
To finalize adding a guardian, you'll need to sign a transaction on your Safe. This transaction officially registers the guardian with your account.
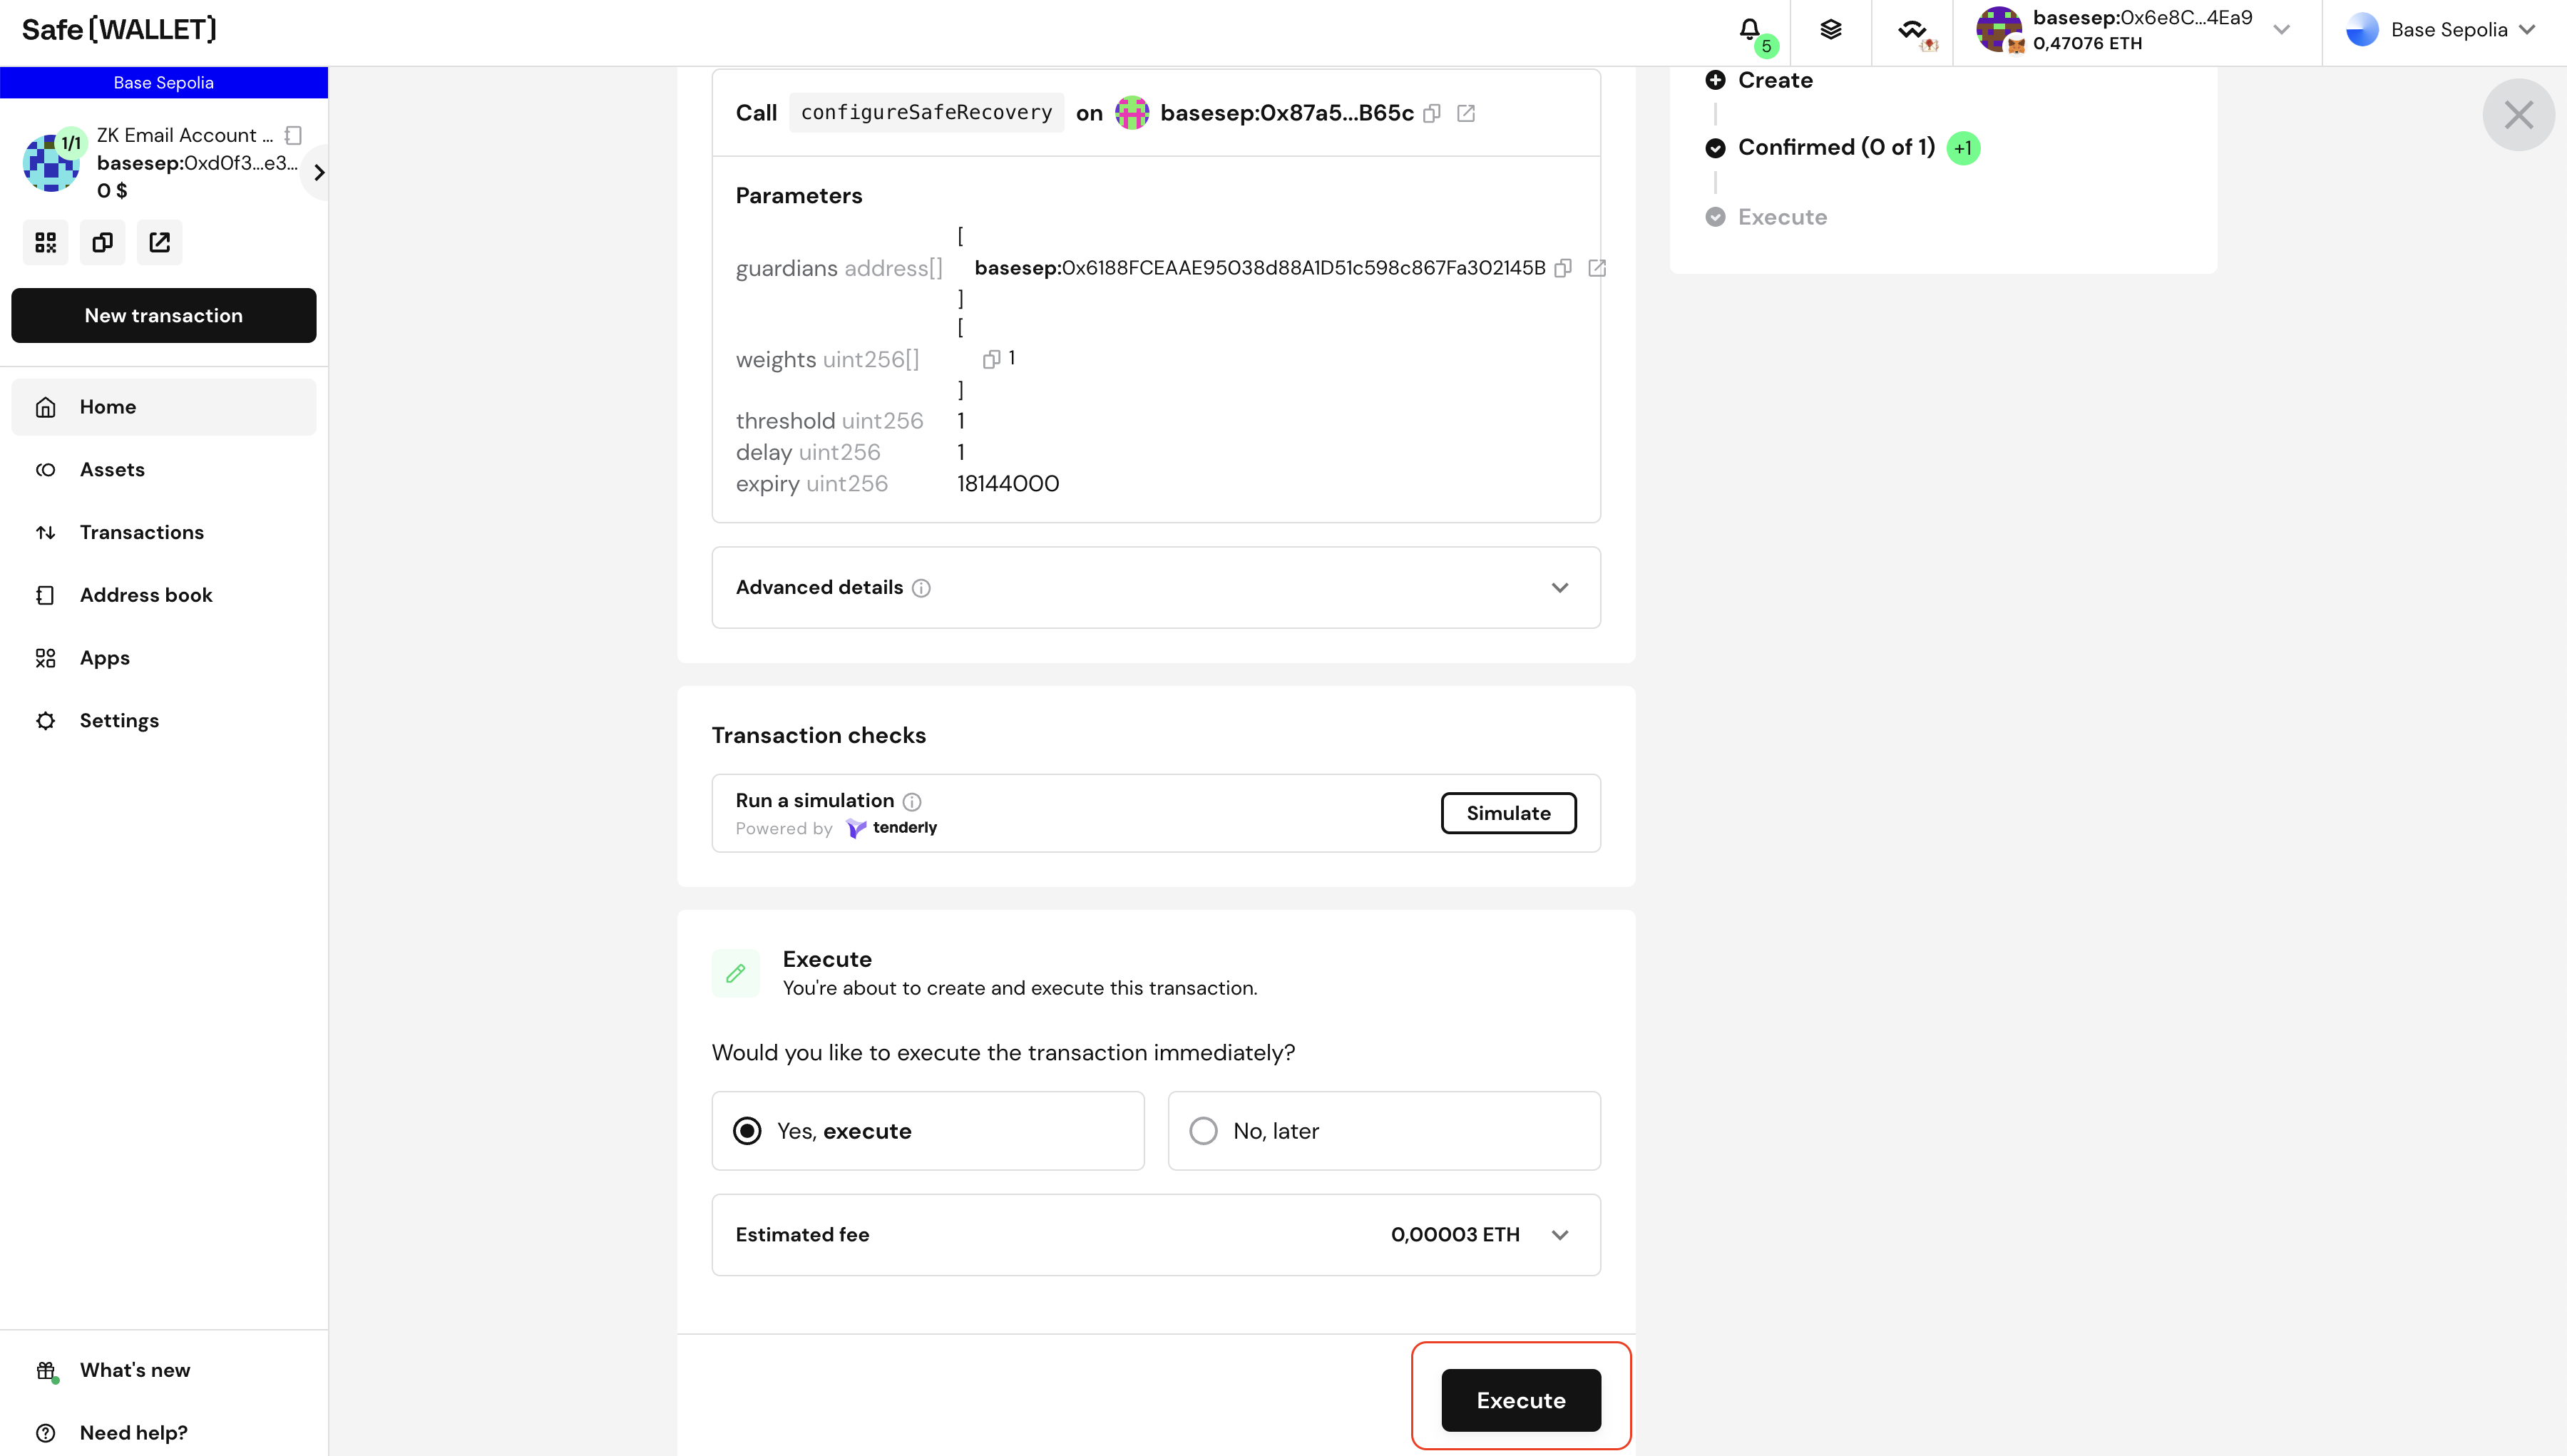
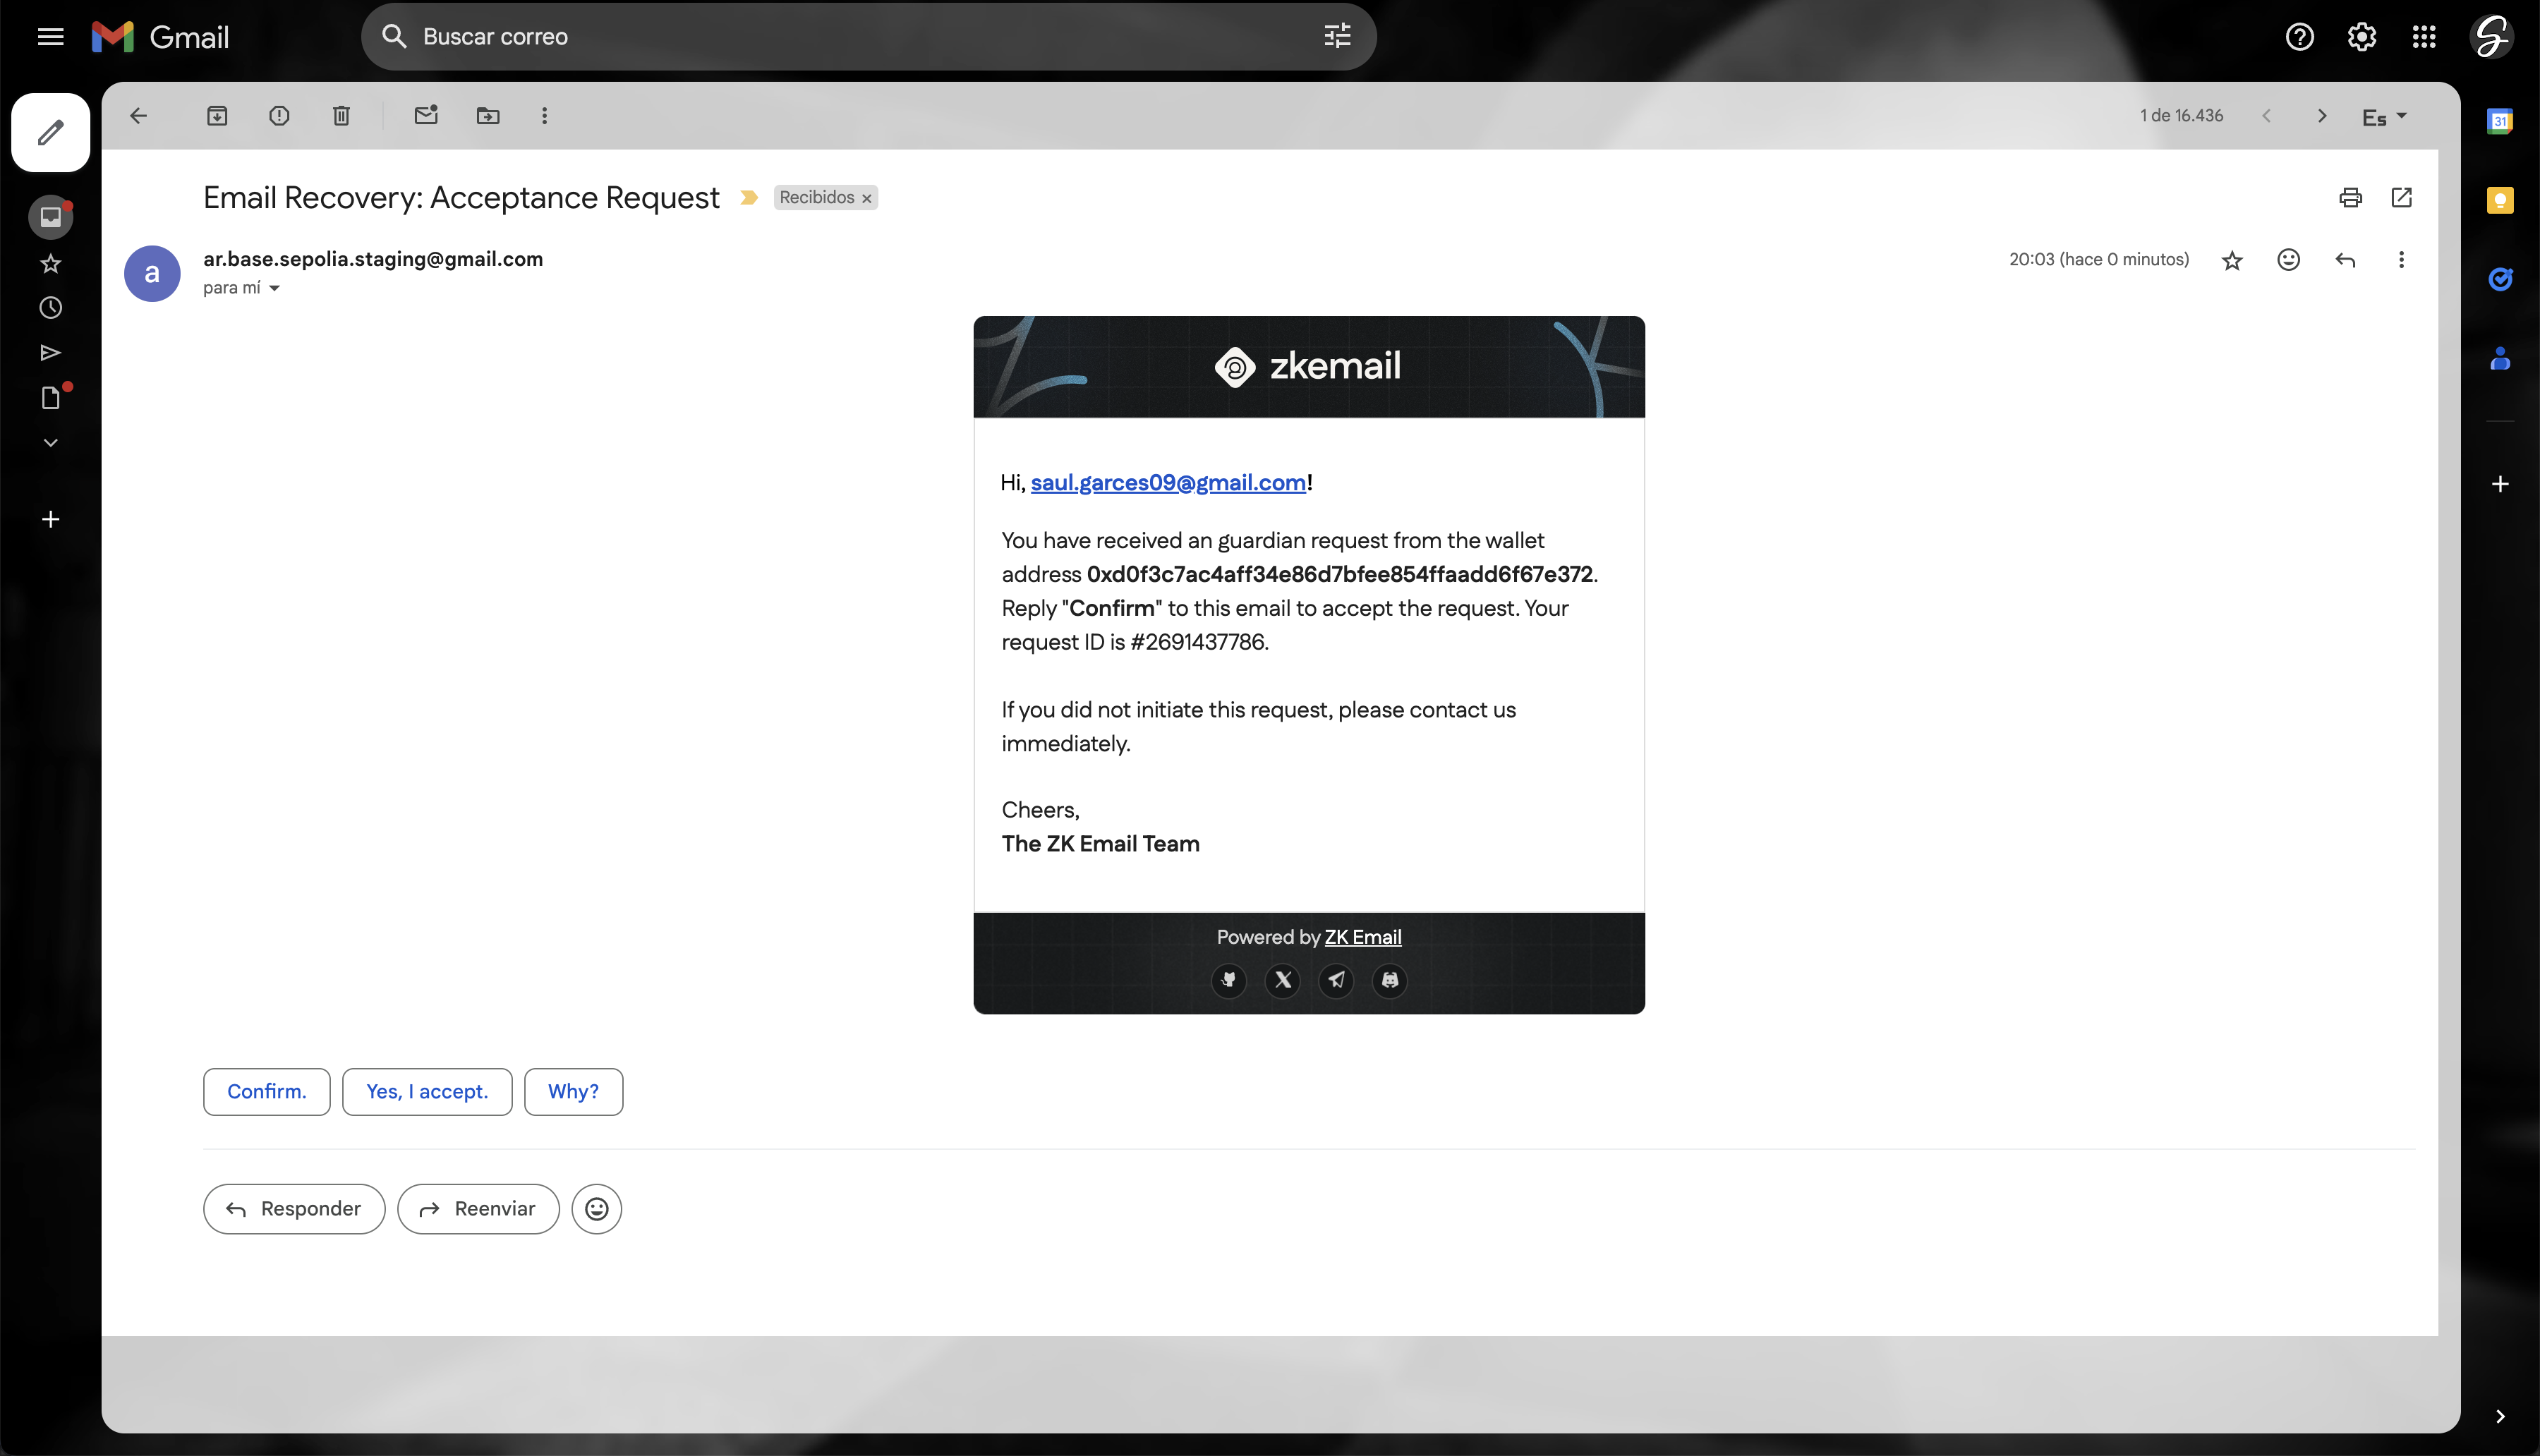
After you sign, the system will send a confirmation email to your guardian. You will need to confirm the set up by responding "Confirm" to complete the setup process.
Recovering Your Account
-
Initiate Recovery
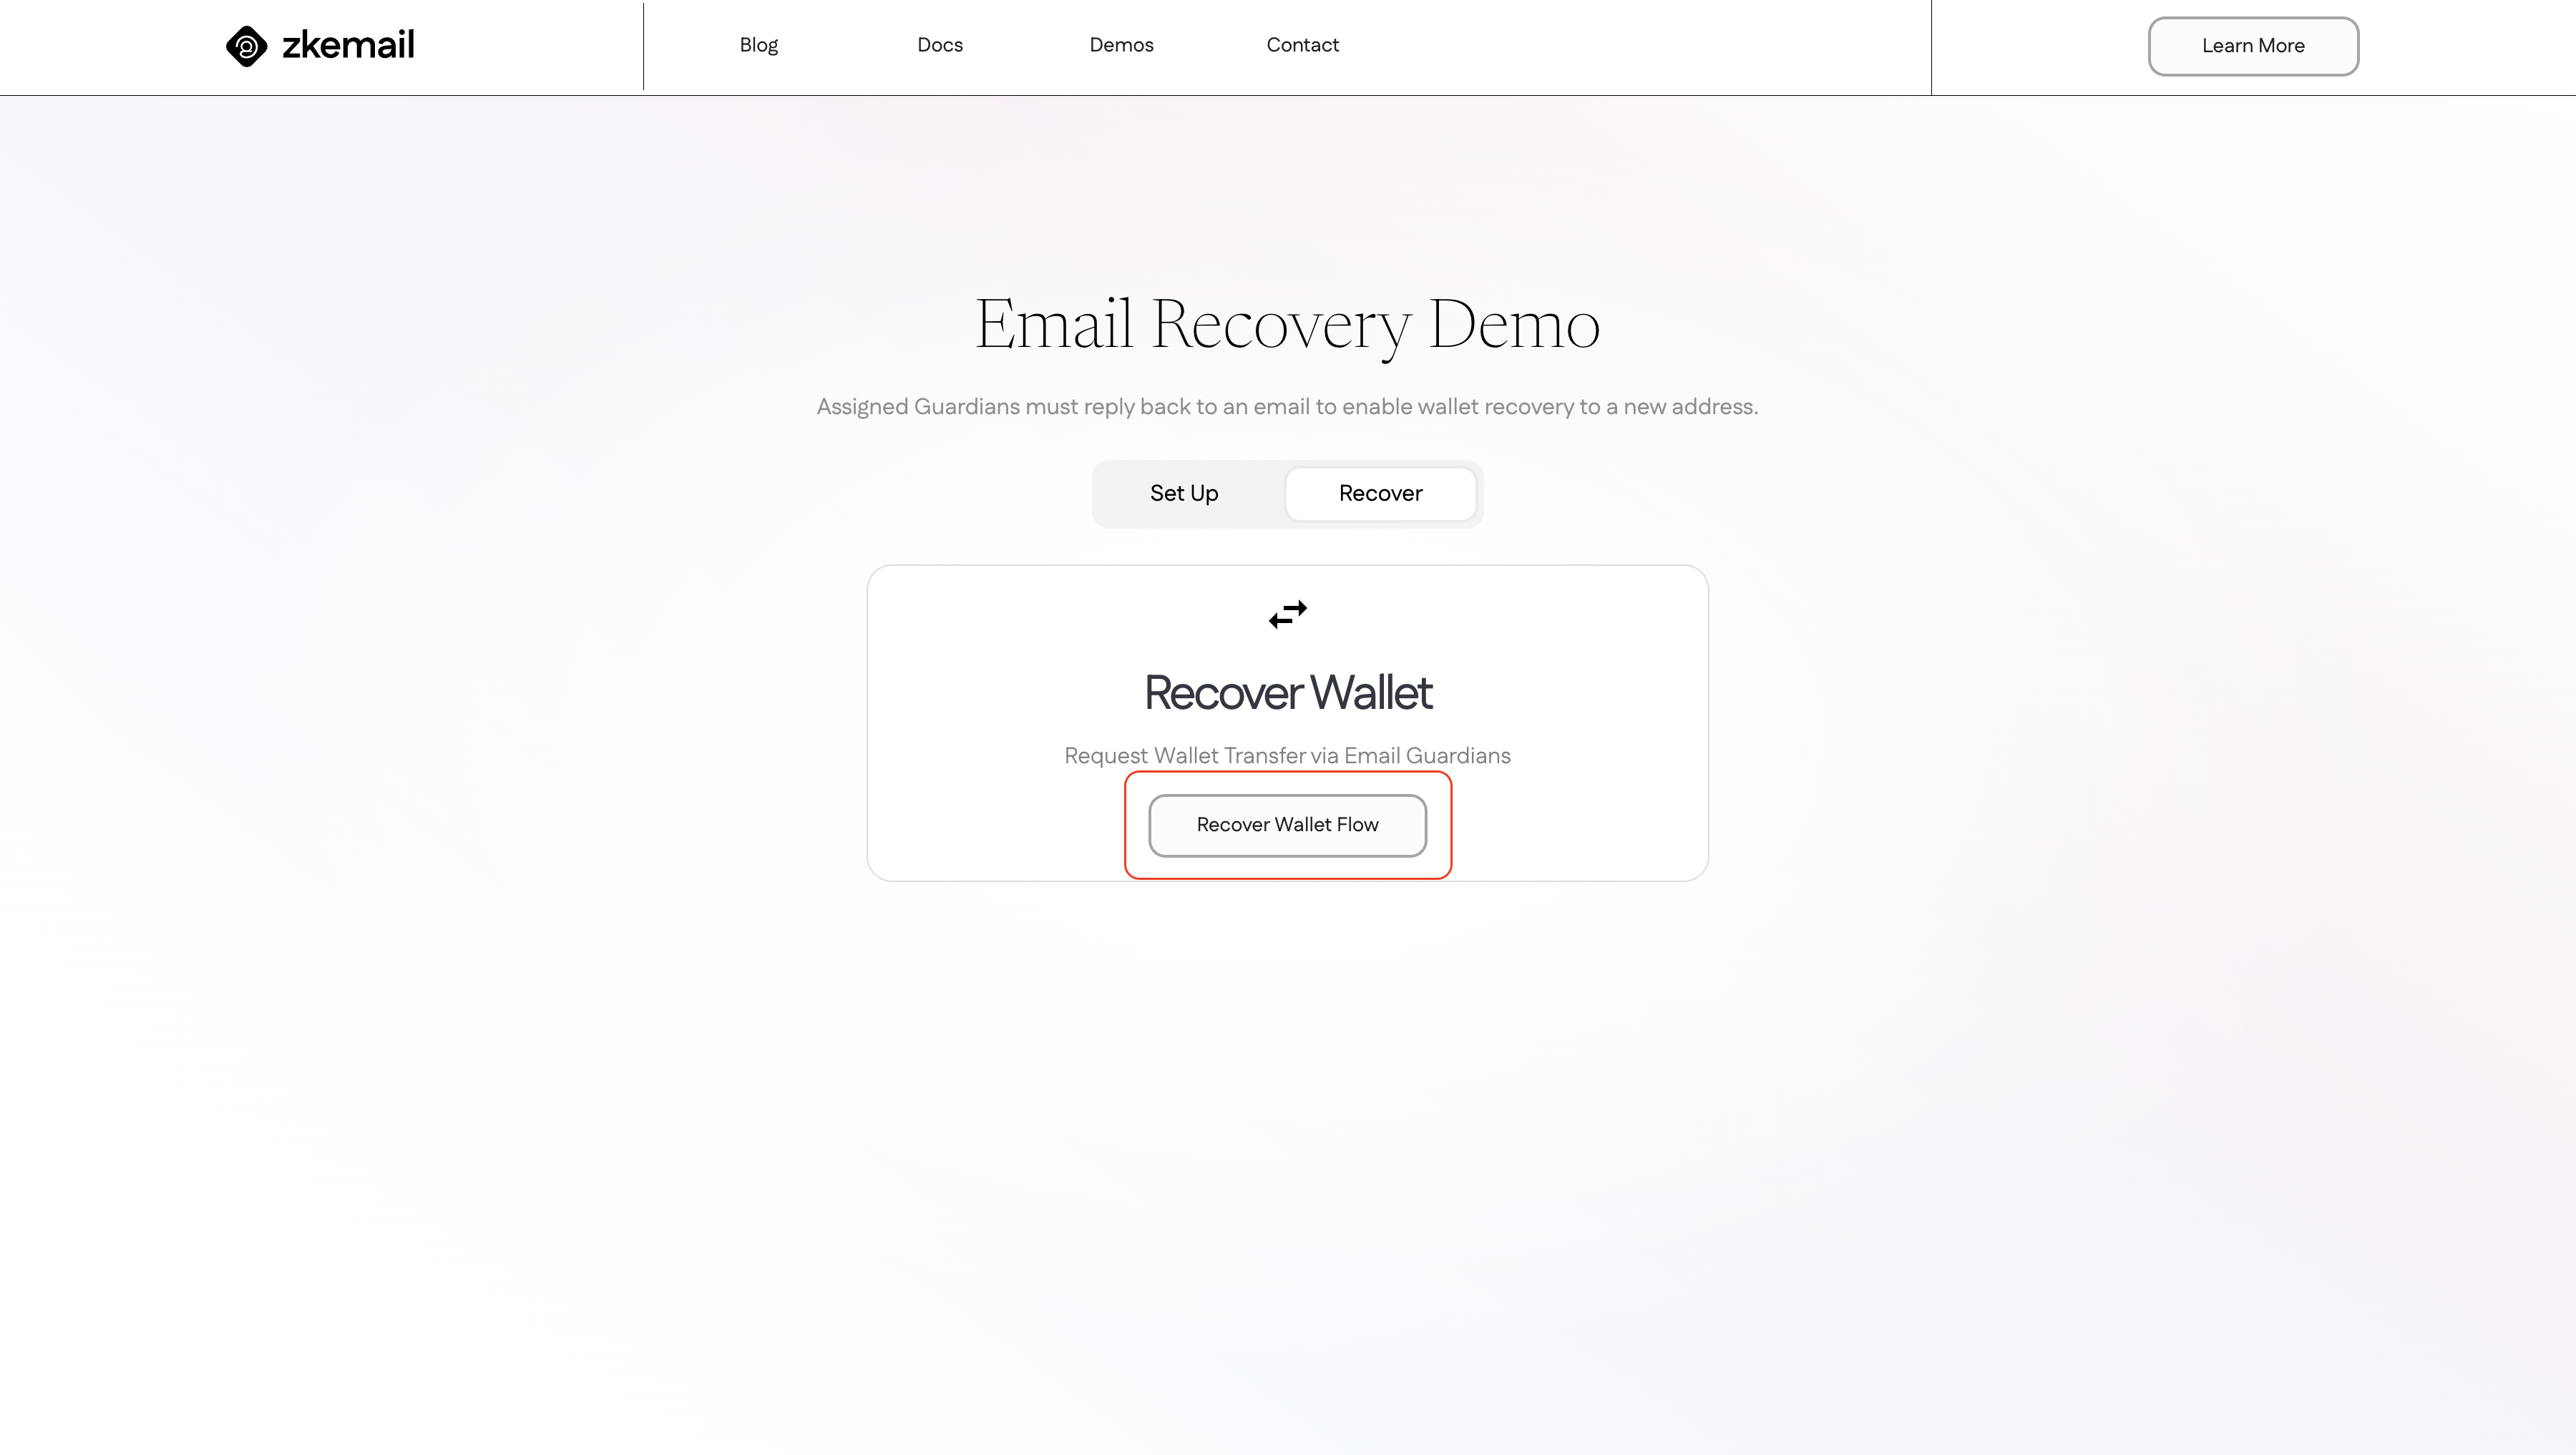
If you ever need to recover your account, start by visiting recovery.prove.email. Select "Recover" option and then click on "Recover Wallet Flow".
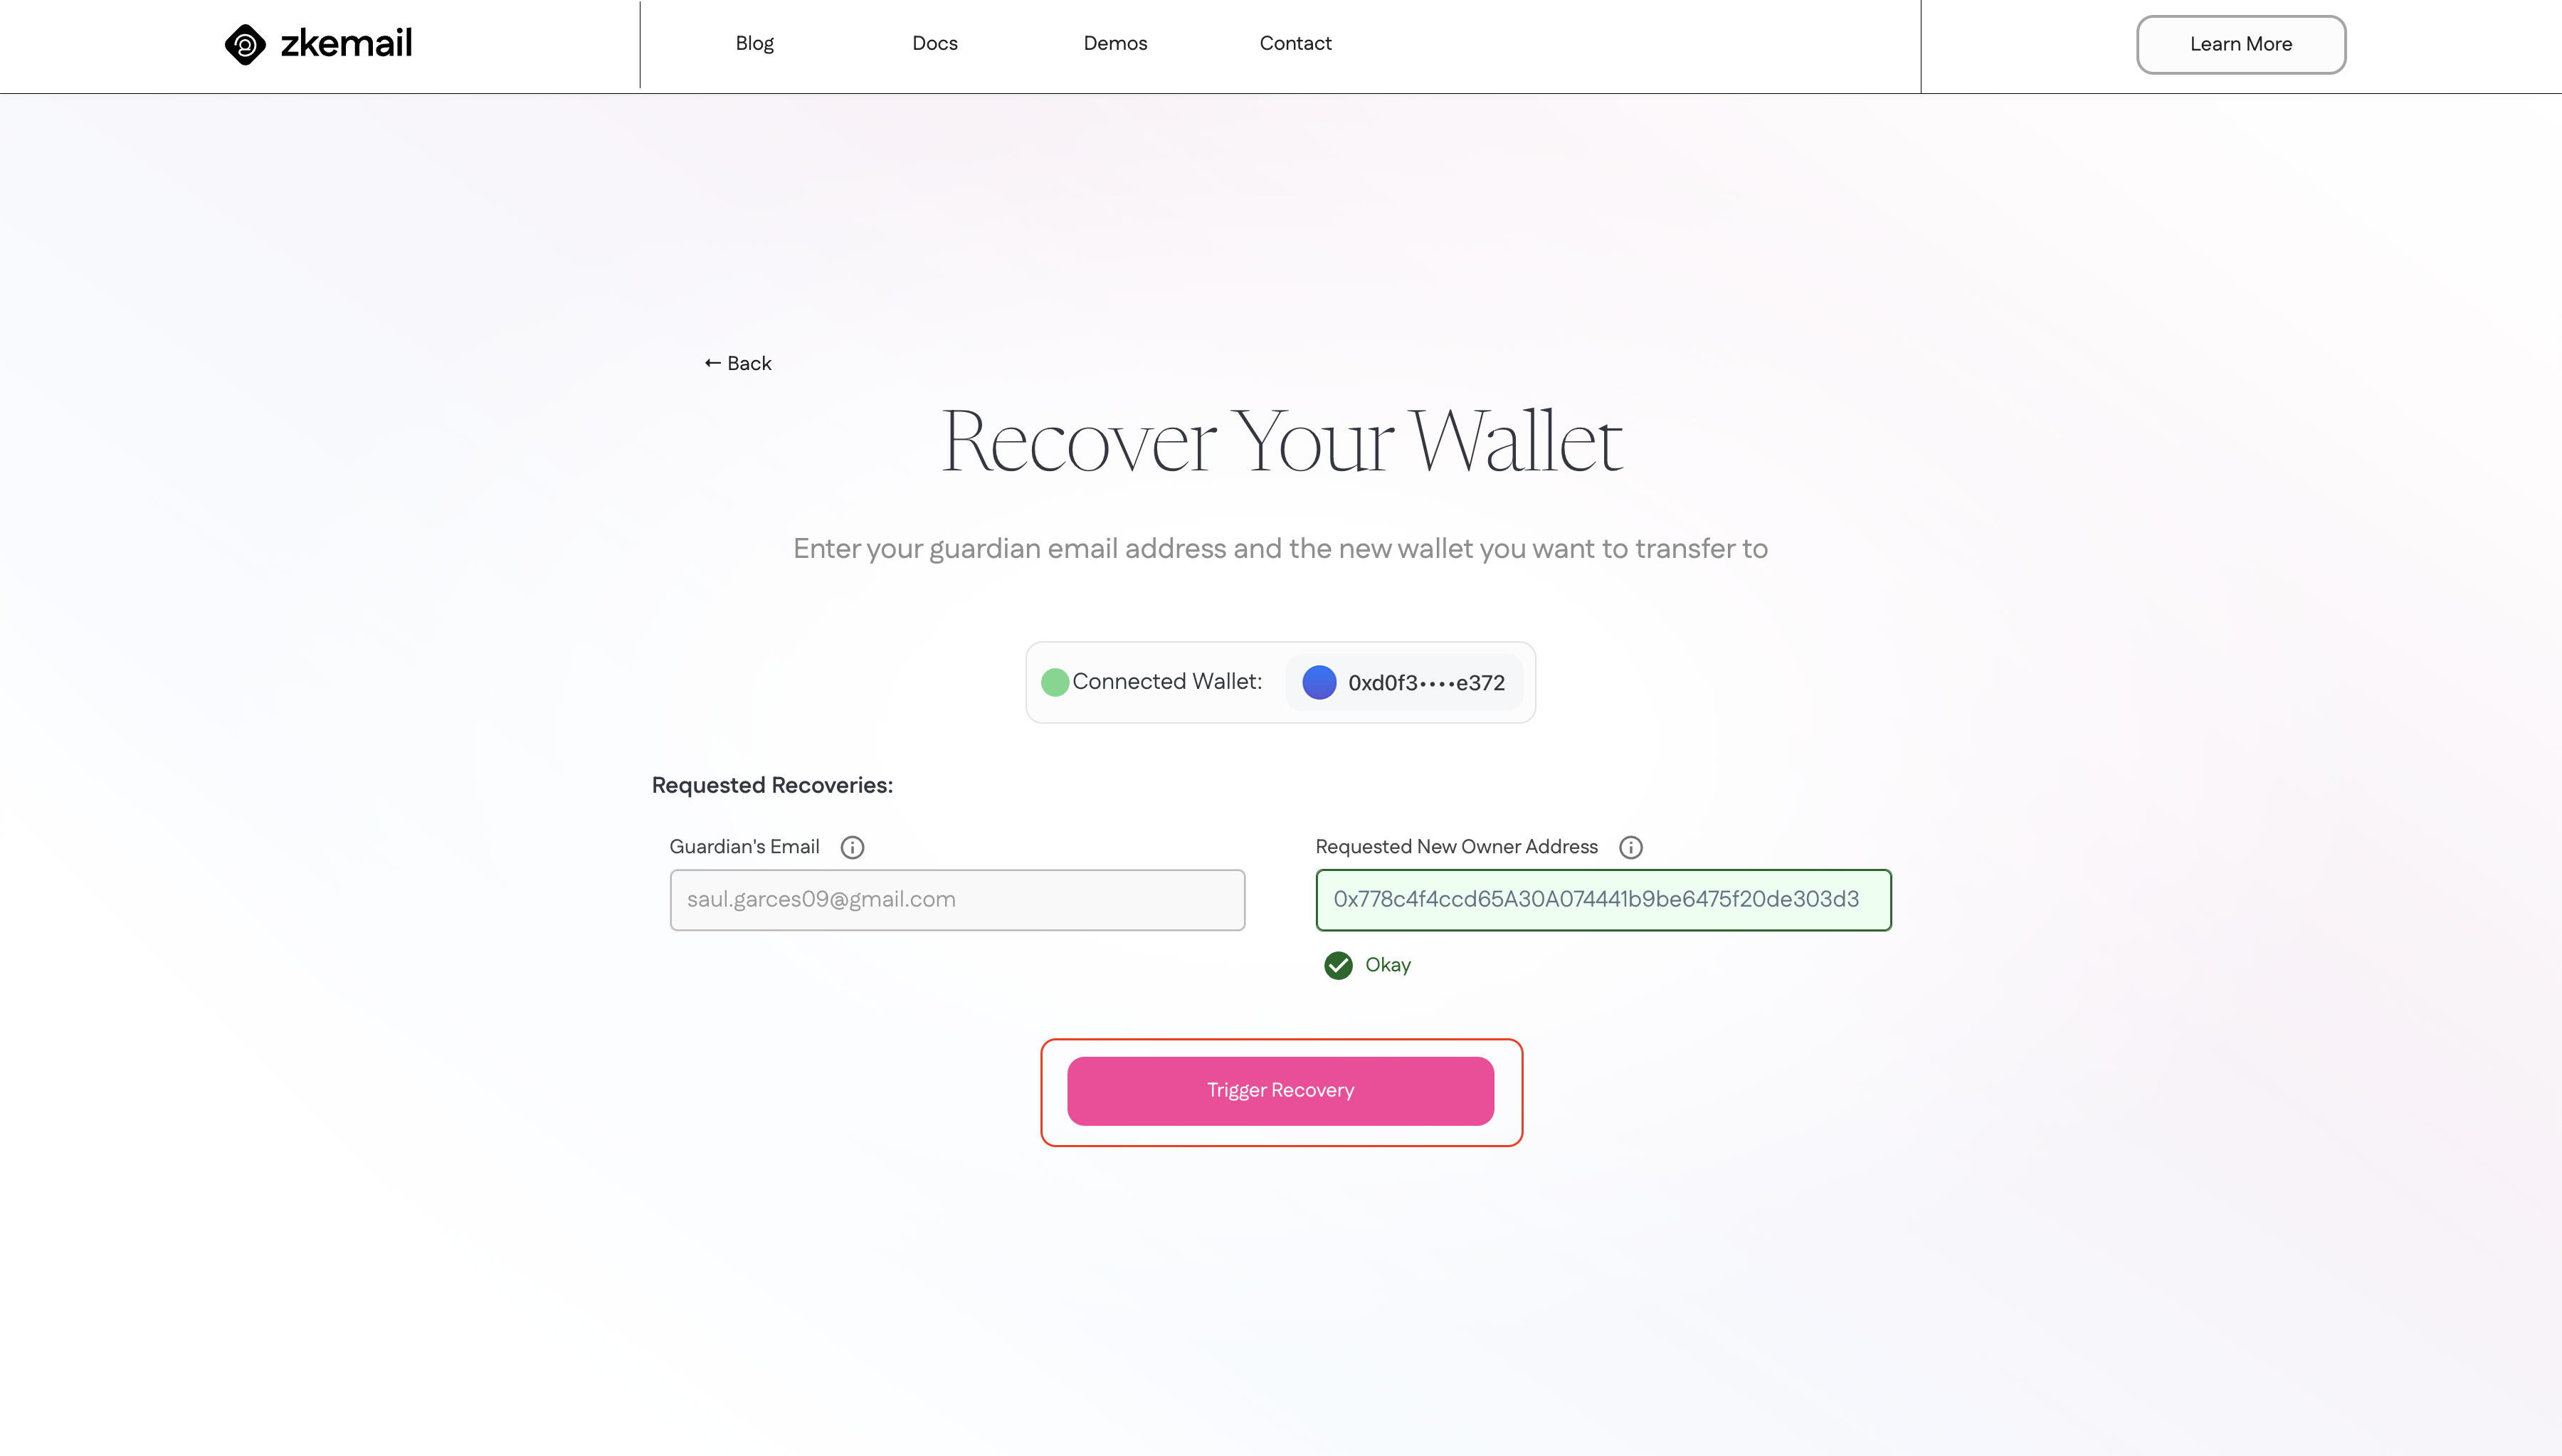
To initiate the recovery process, you will need to enter you guardian email and specify the new address that will assume ownership of the safe. After filling up the fields click on "Trigger Recovery".
-
Guardian Email Confirmation
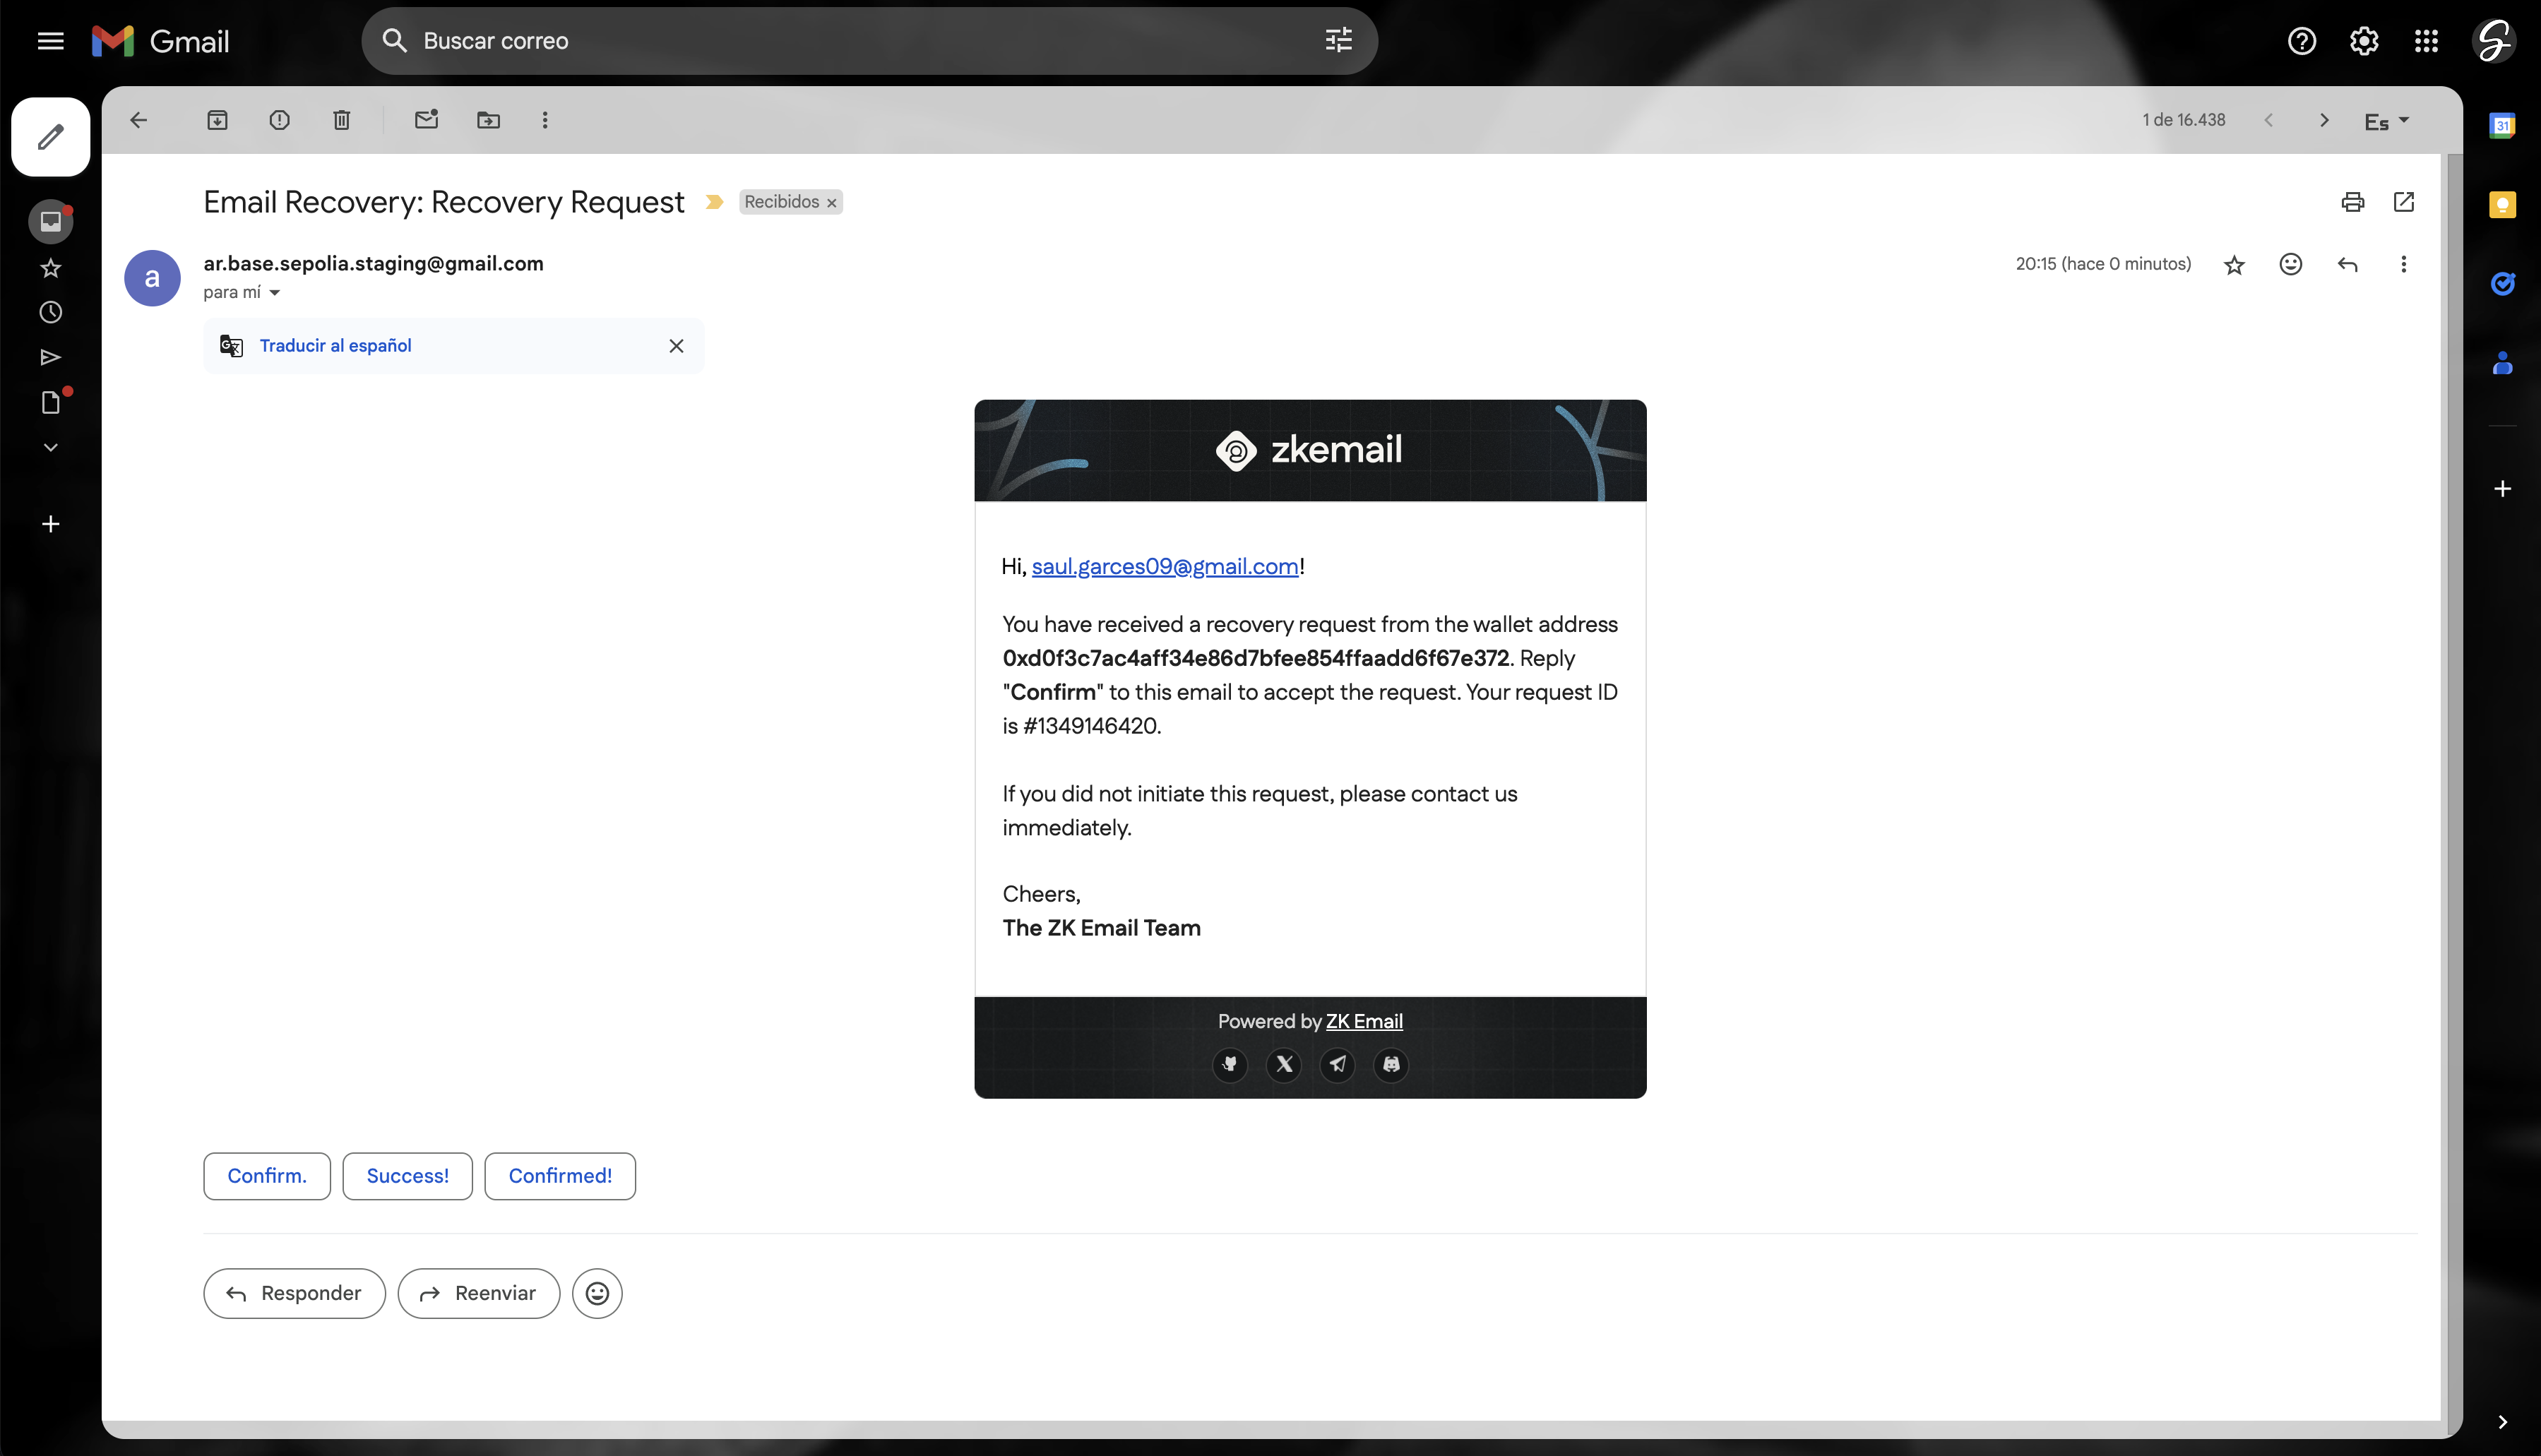
Once you've initiated recovery, the system will contact your guardians. They'll receive an email asking them to confirm your recovery request. This step ensures that only authorized recoveries can proceed.
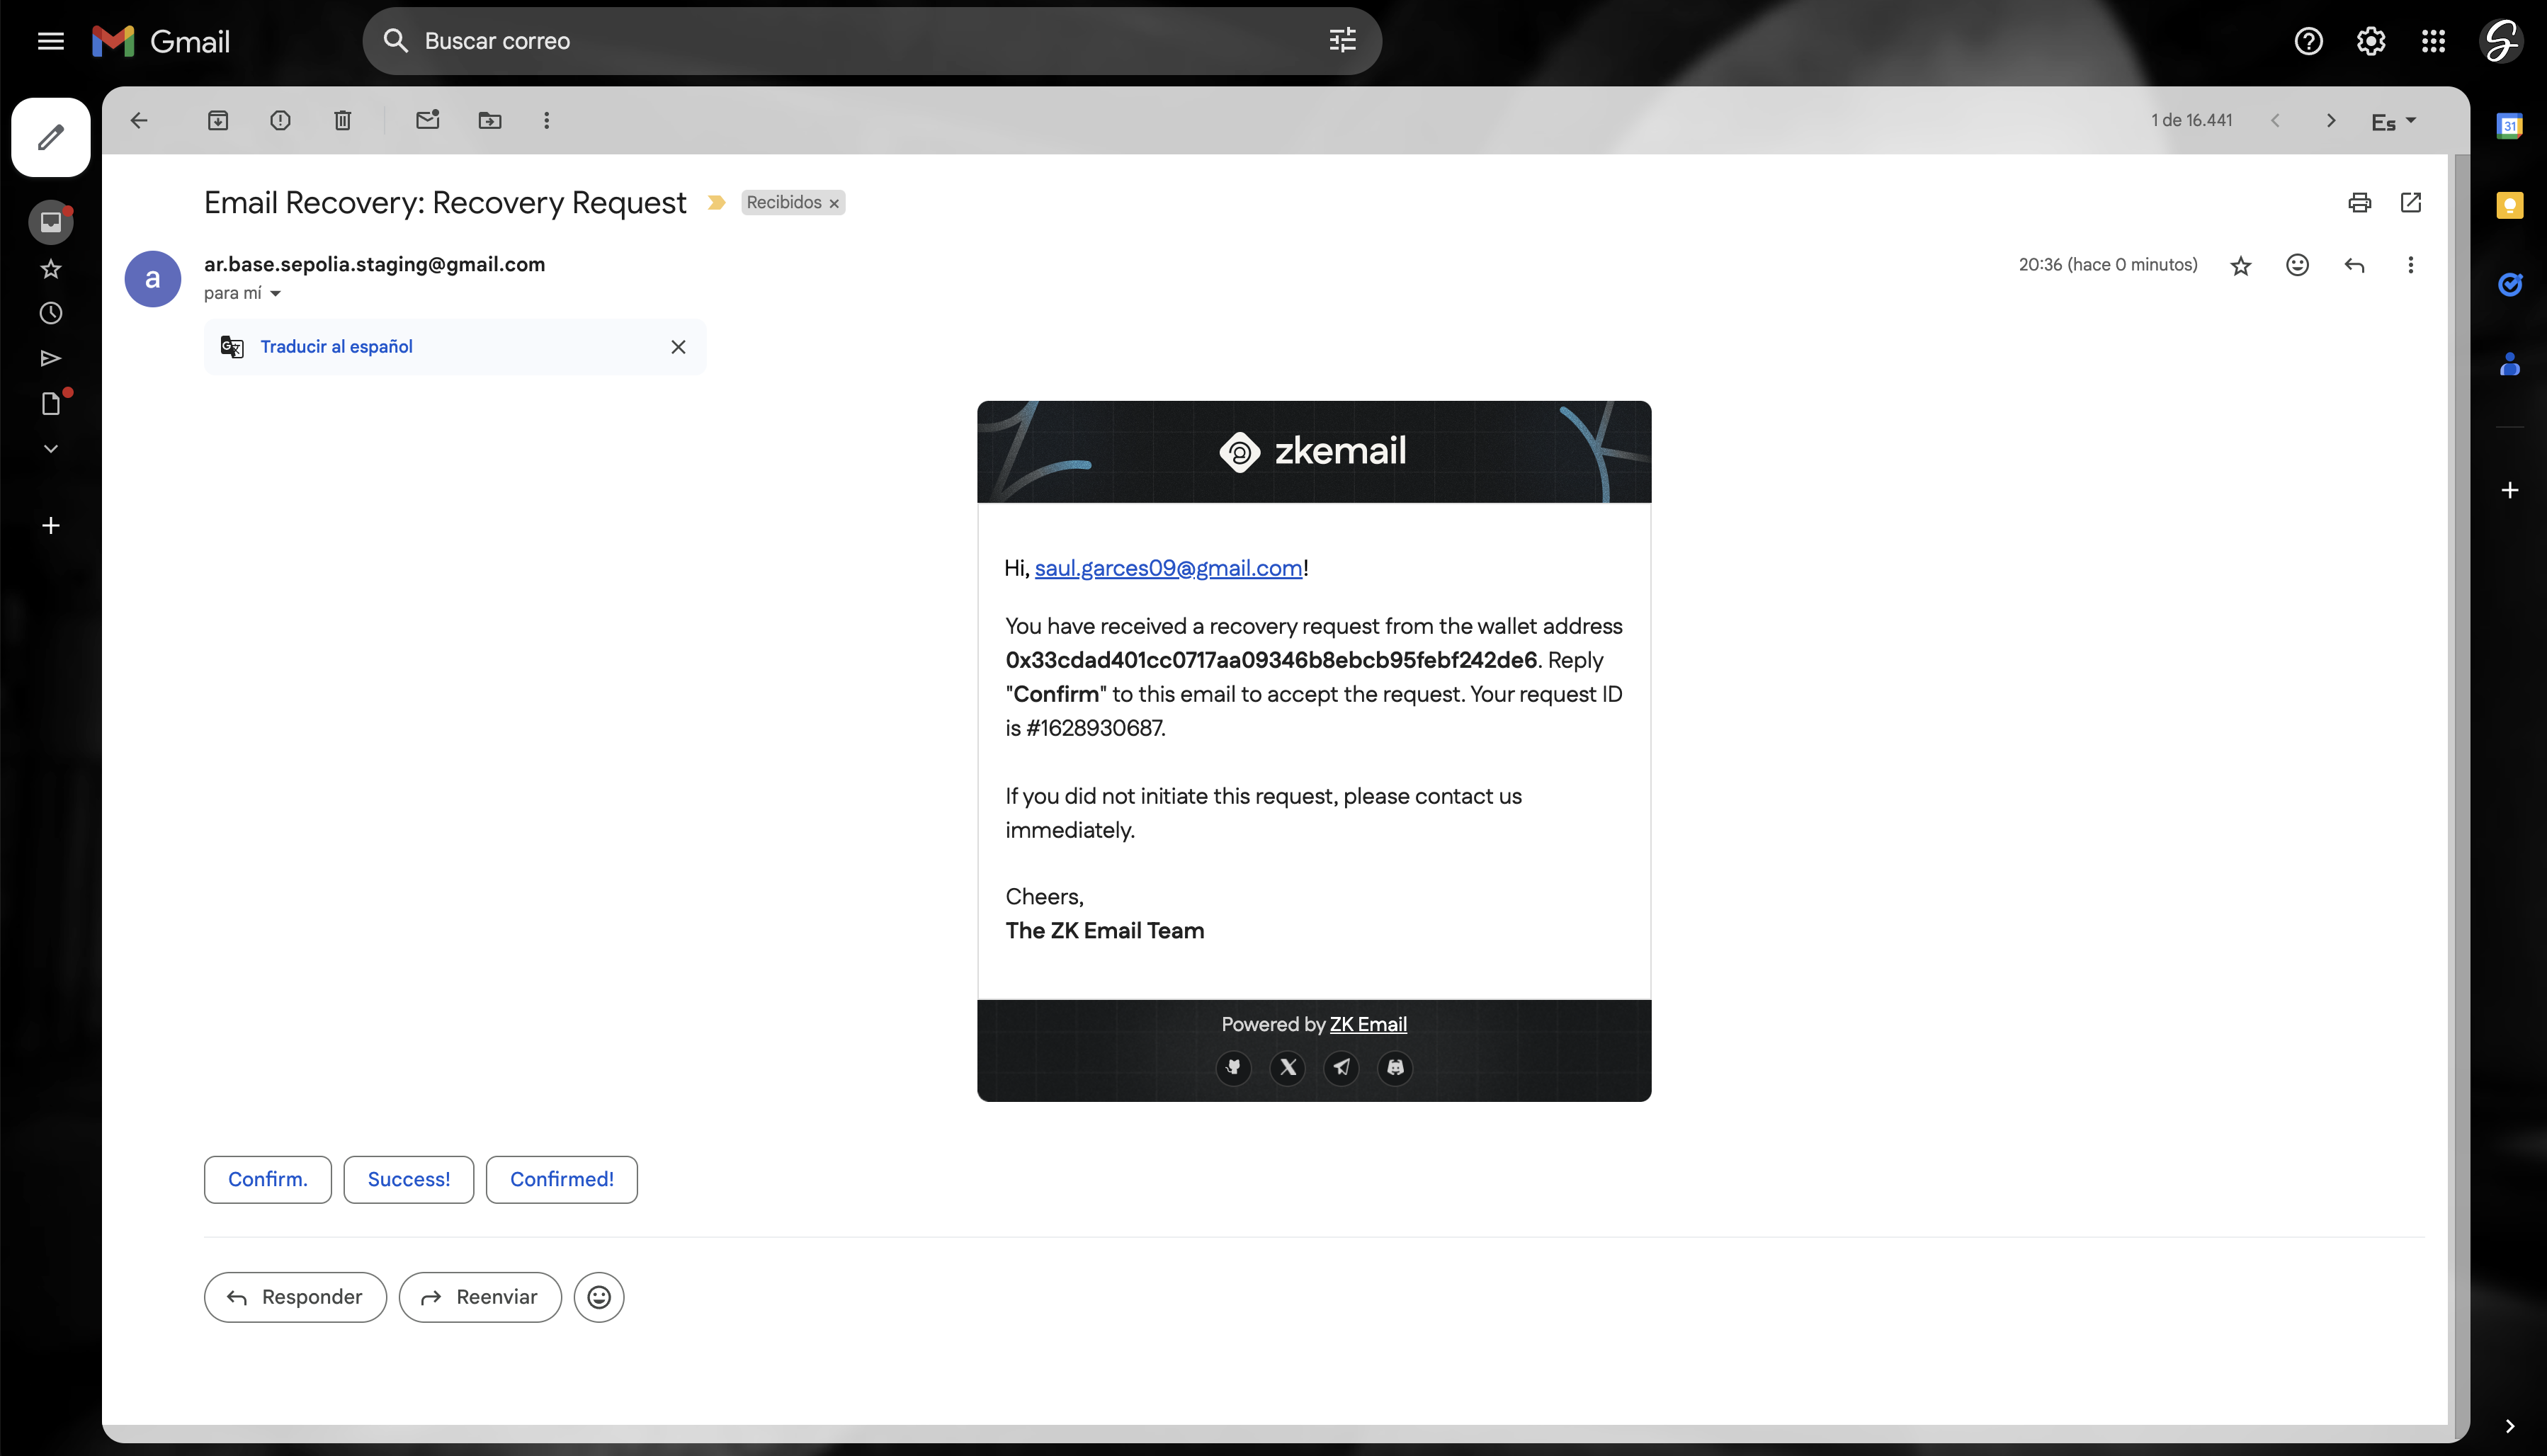
Reply with "Confirm" to confirm the recovery.
-
Complete Recovery
After your guardians have verified the request, you'll be able to complete the recovery process. This typically involves clicking a "Confirm Recovery" button on the recovery interface.
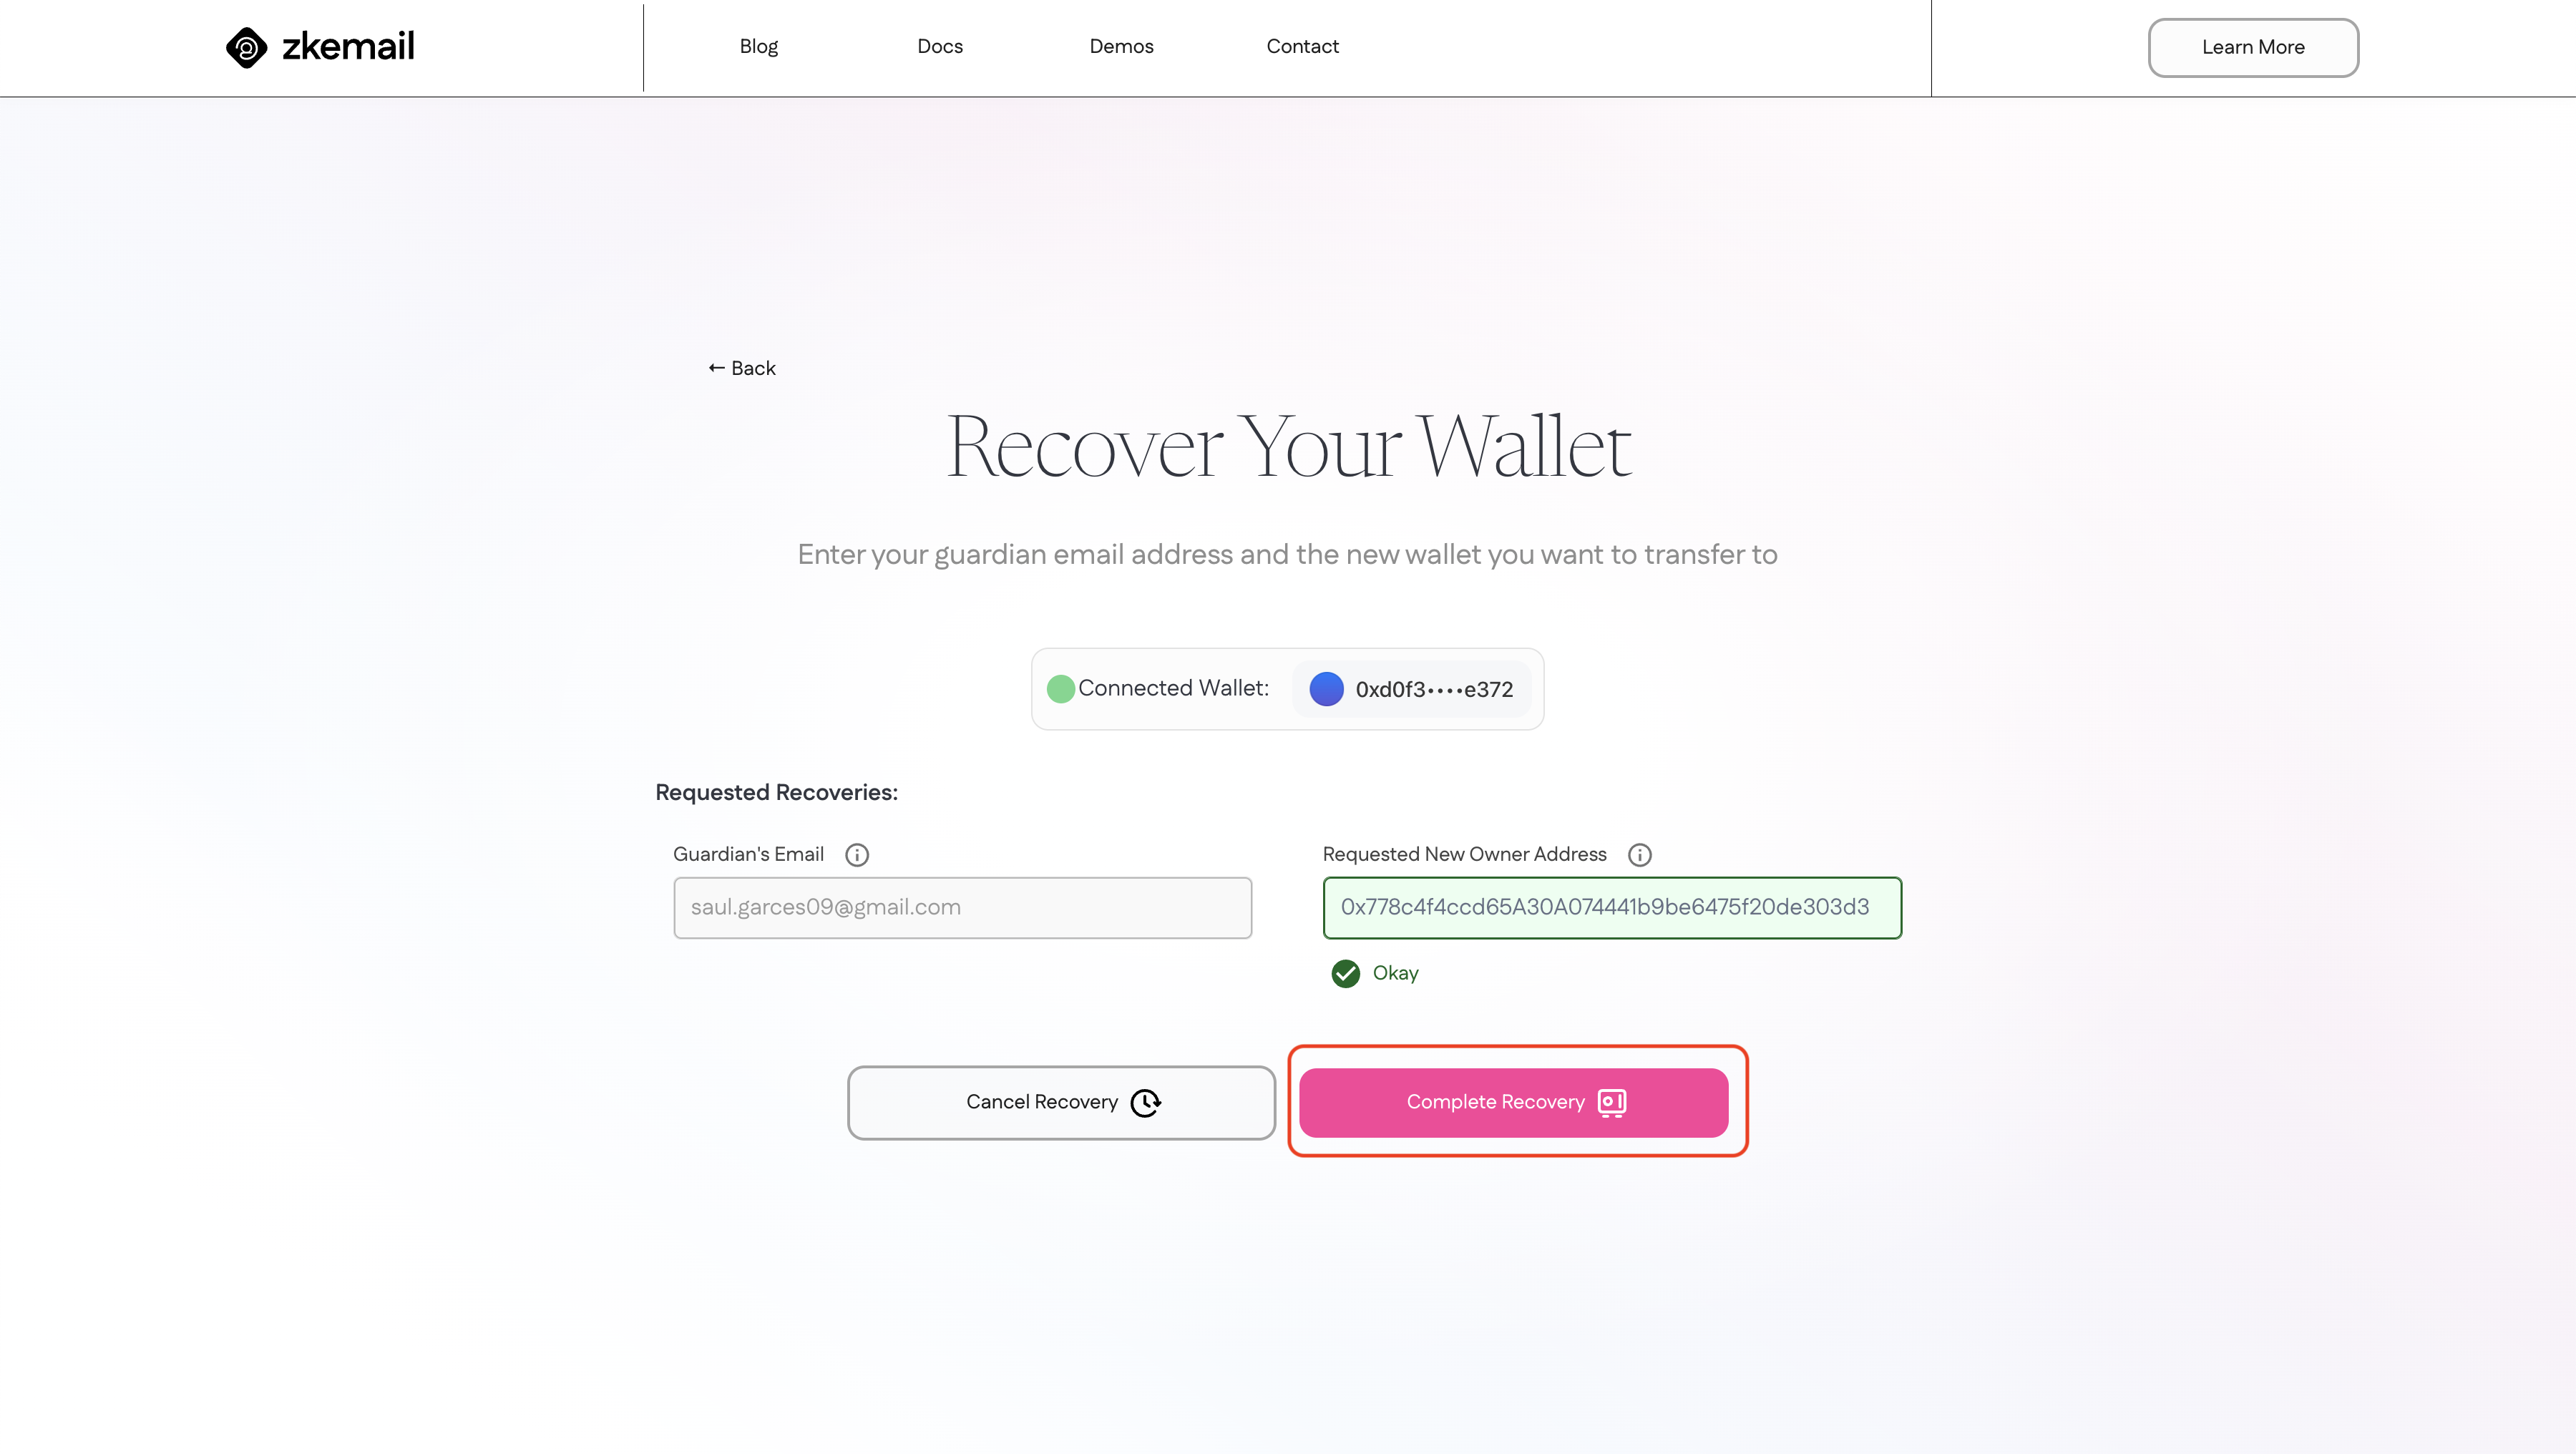
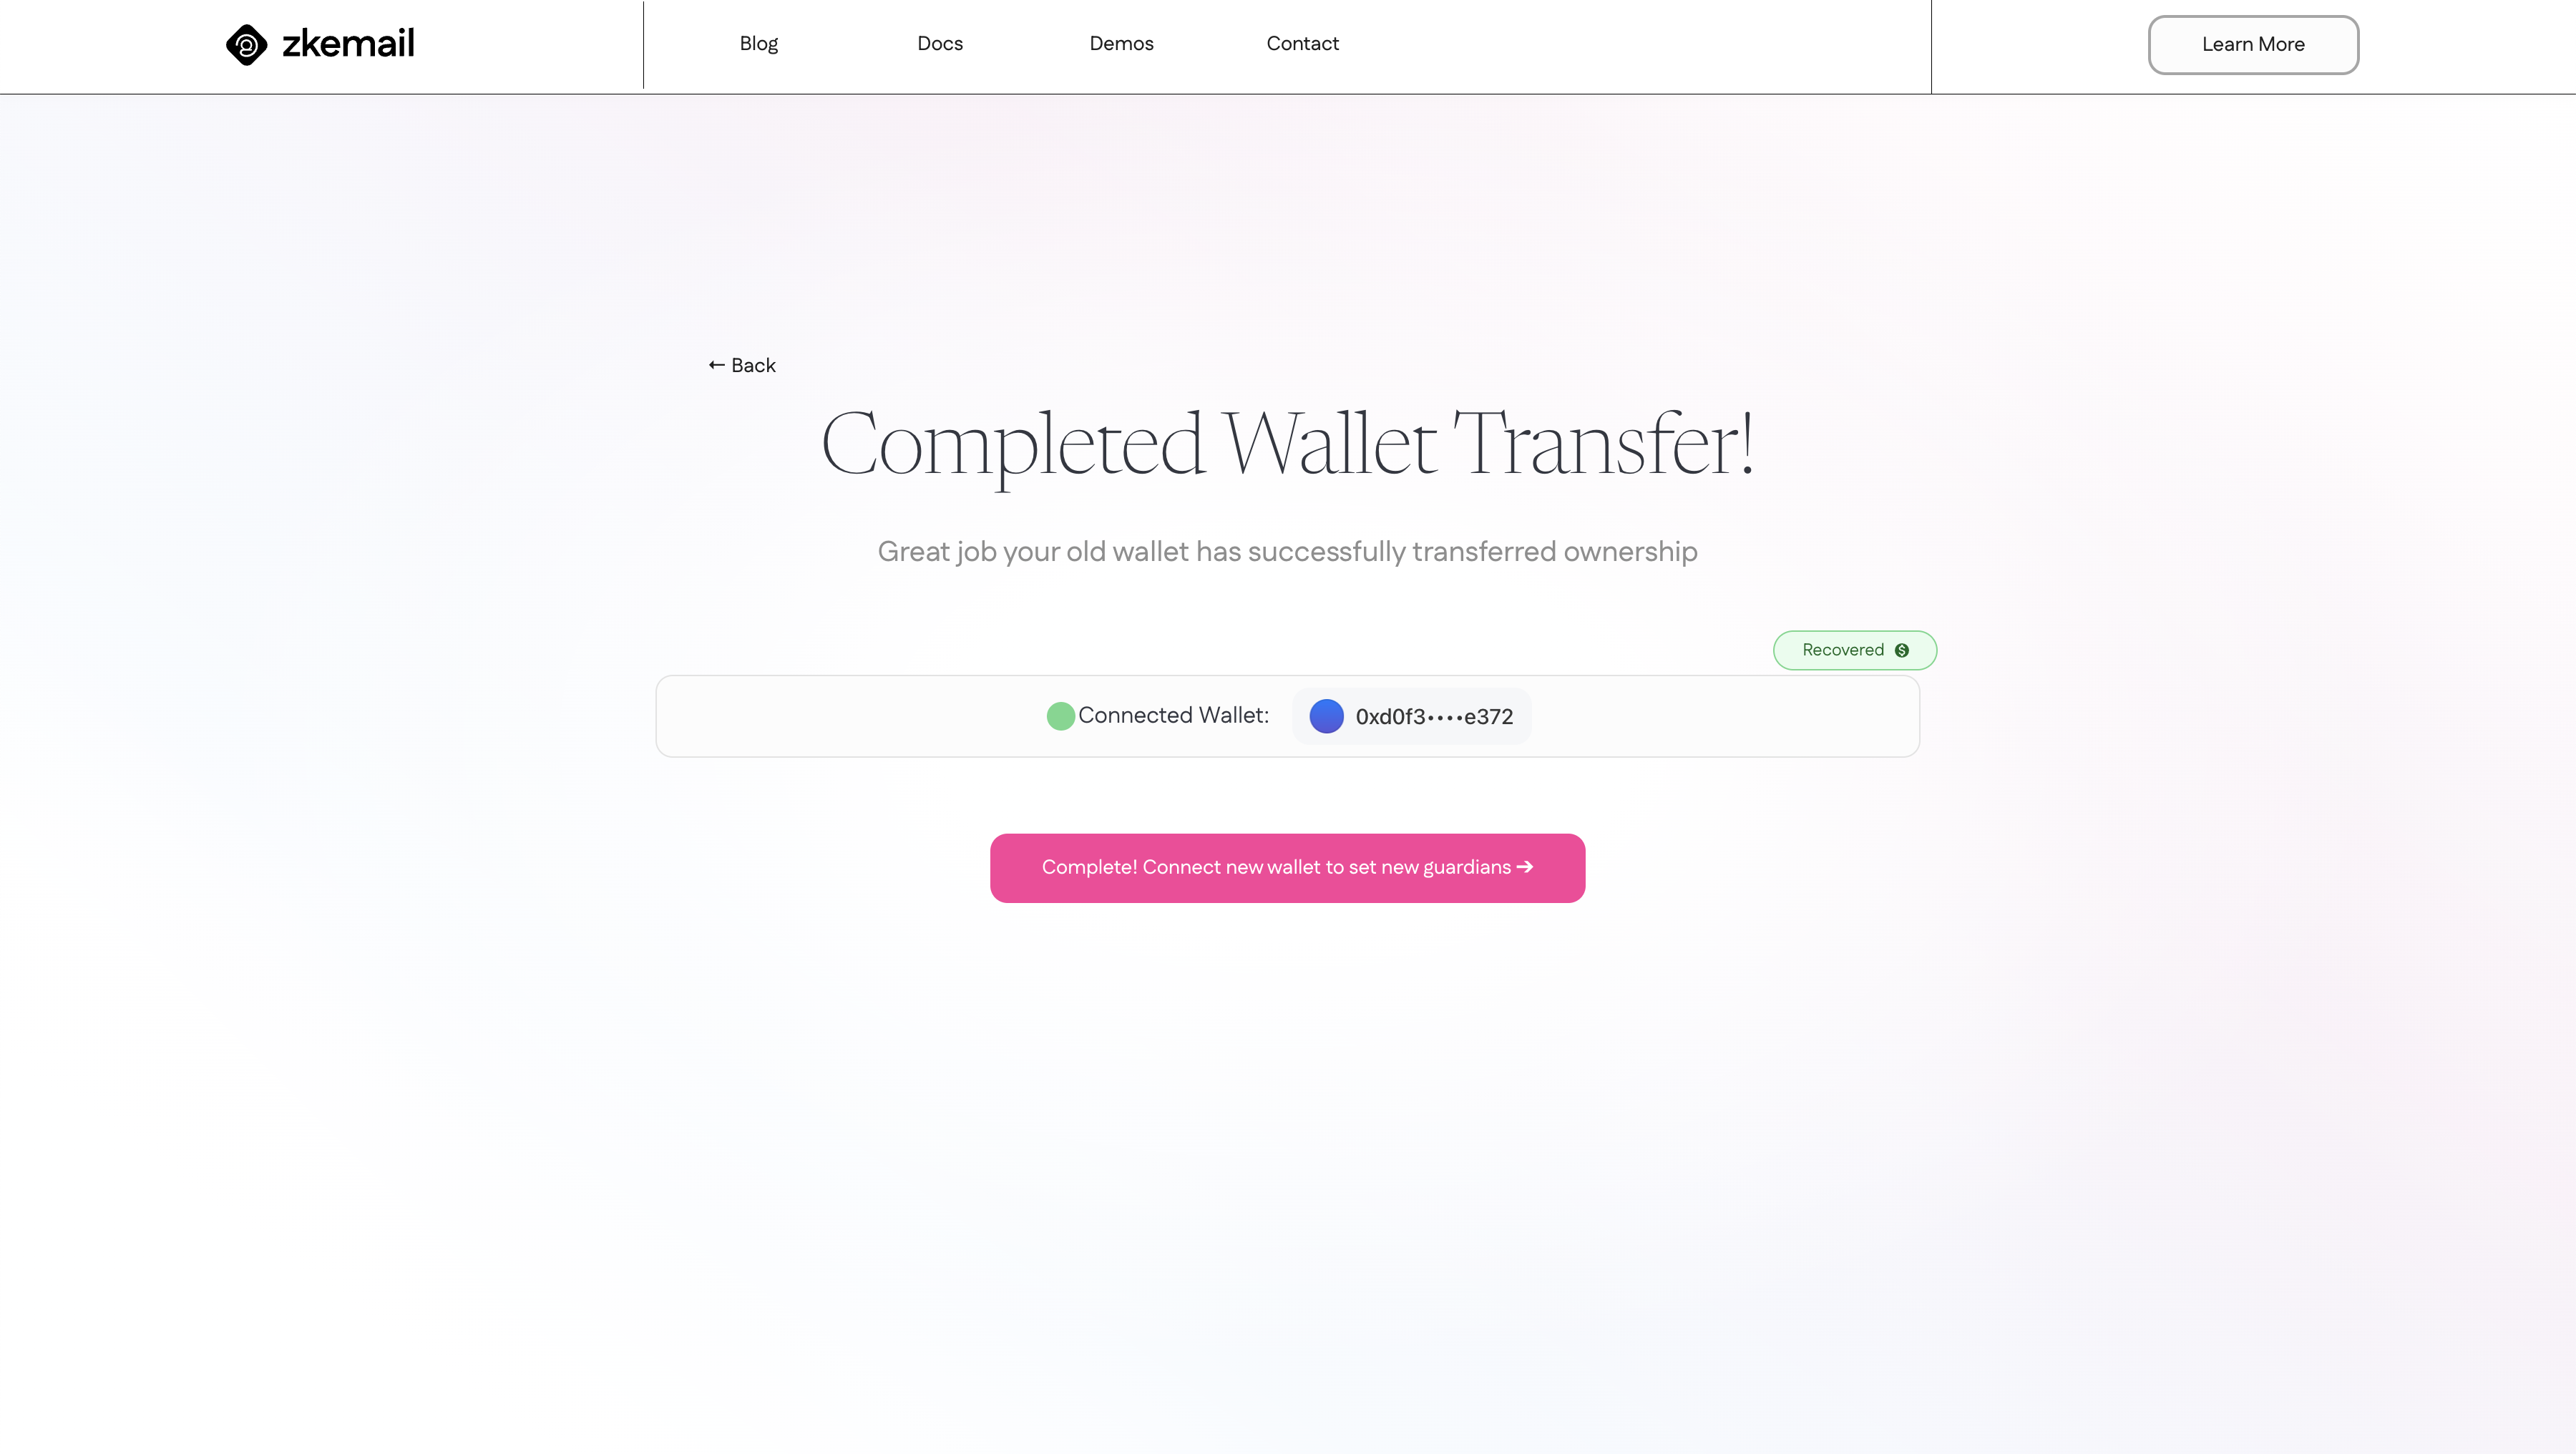
This action will replace the current owner of the Safe with the new address you've specified during the recovery process.
Burner Safe
Setting up Your Account with Email Recovery
-
Create Burner Wallet
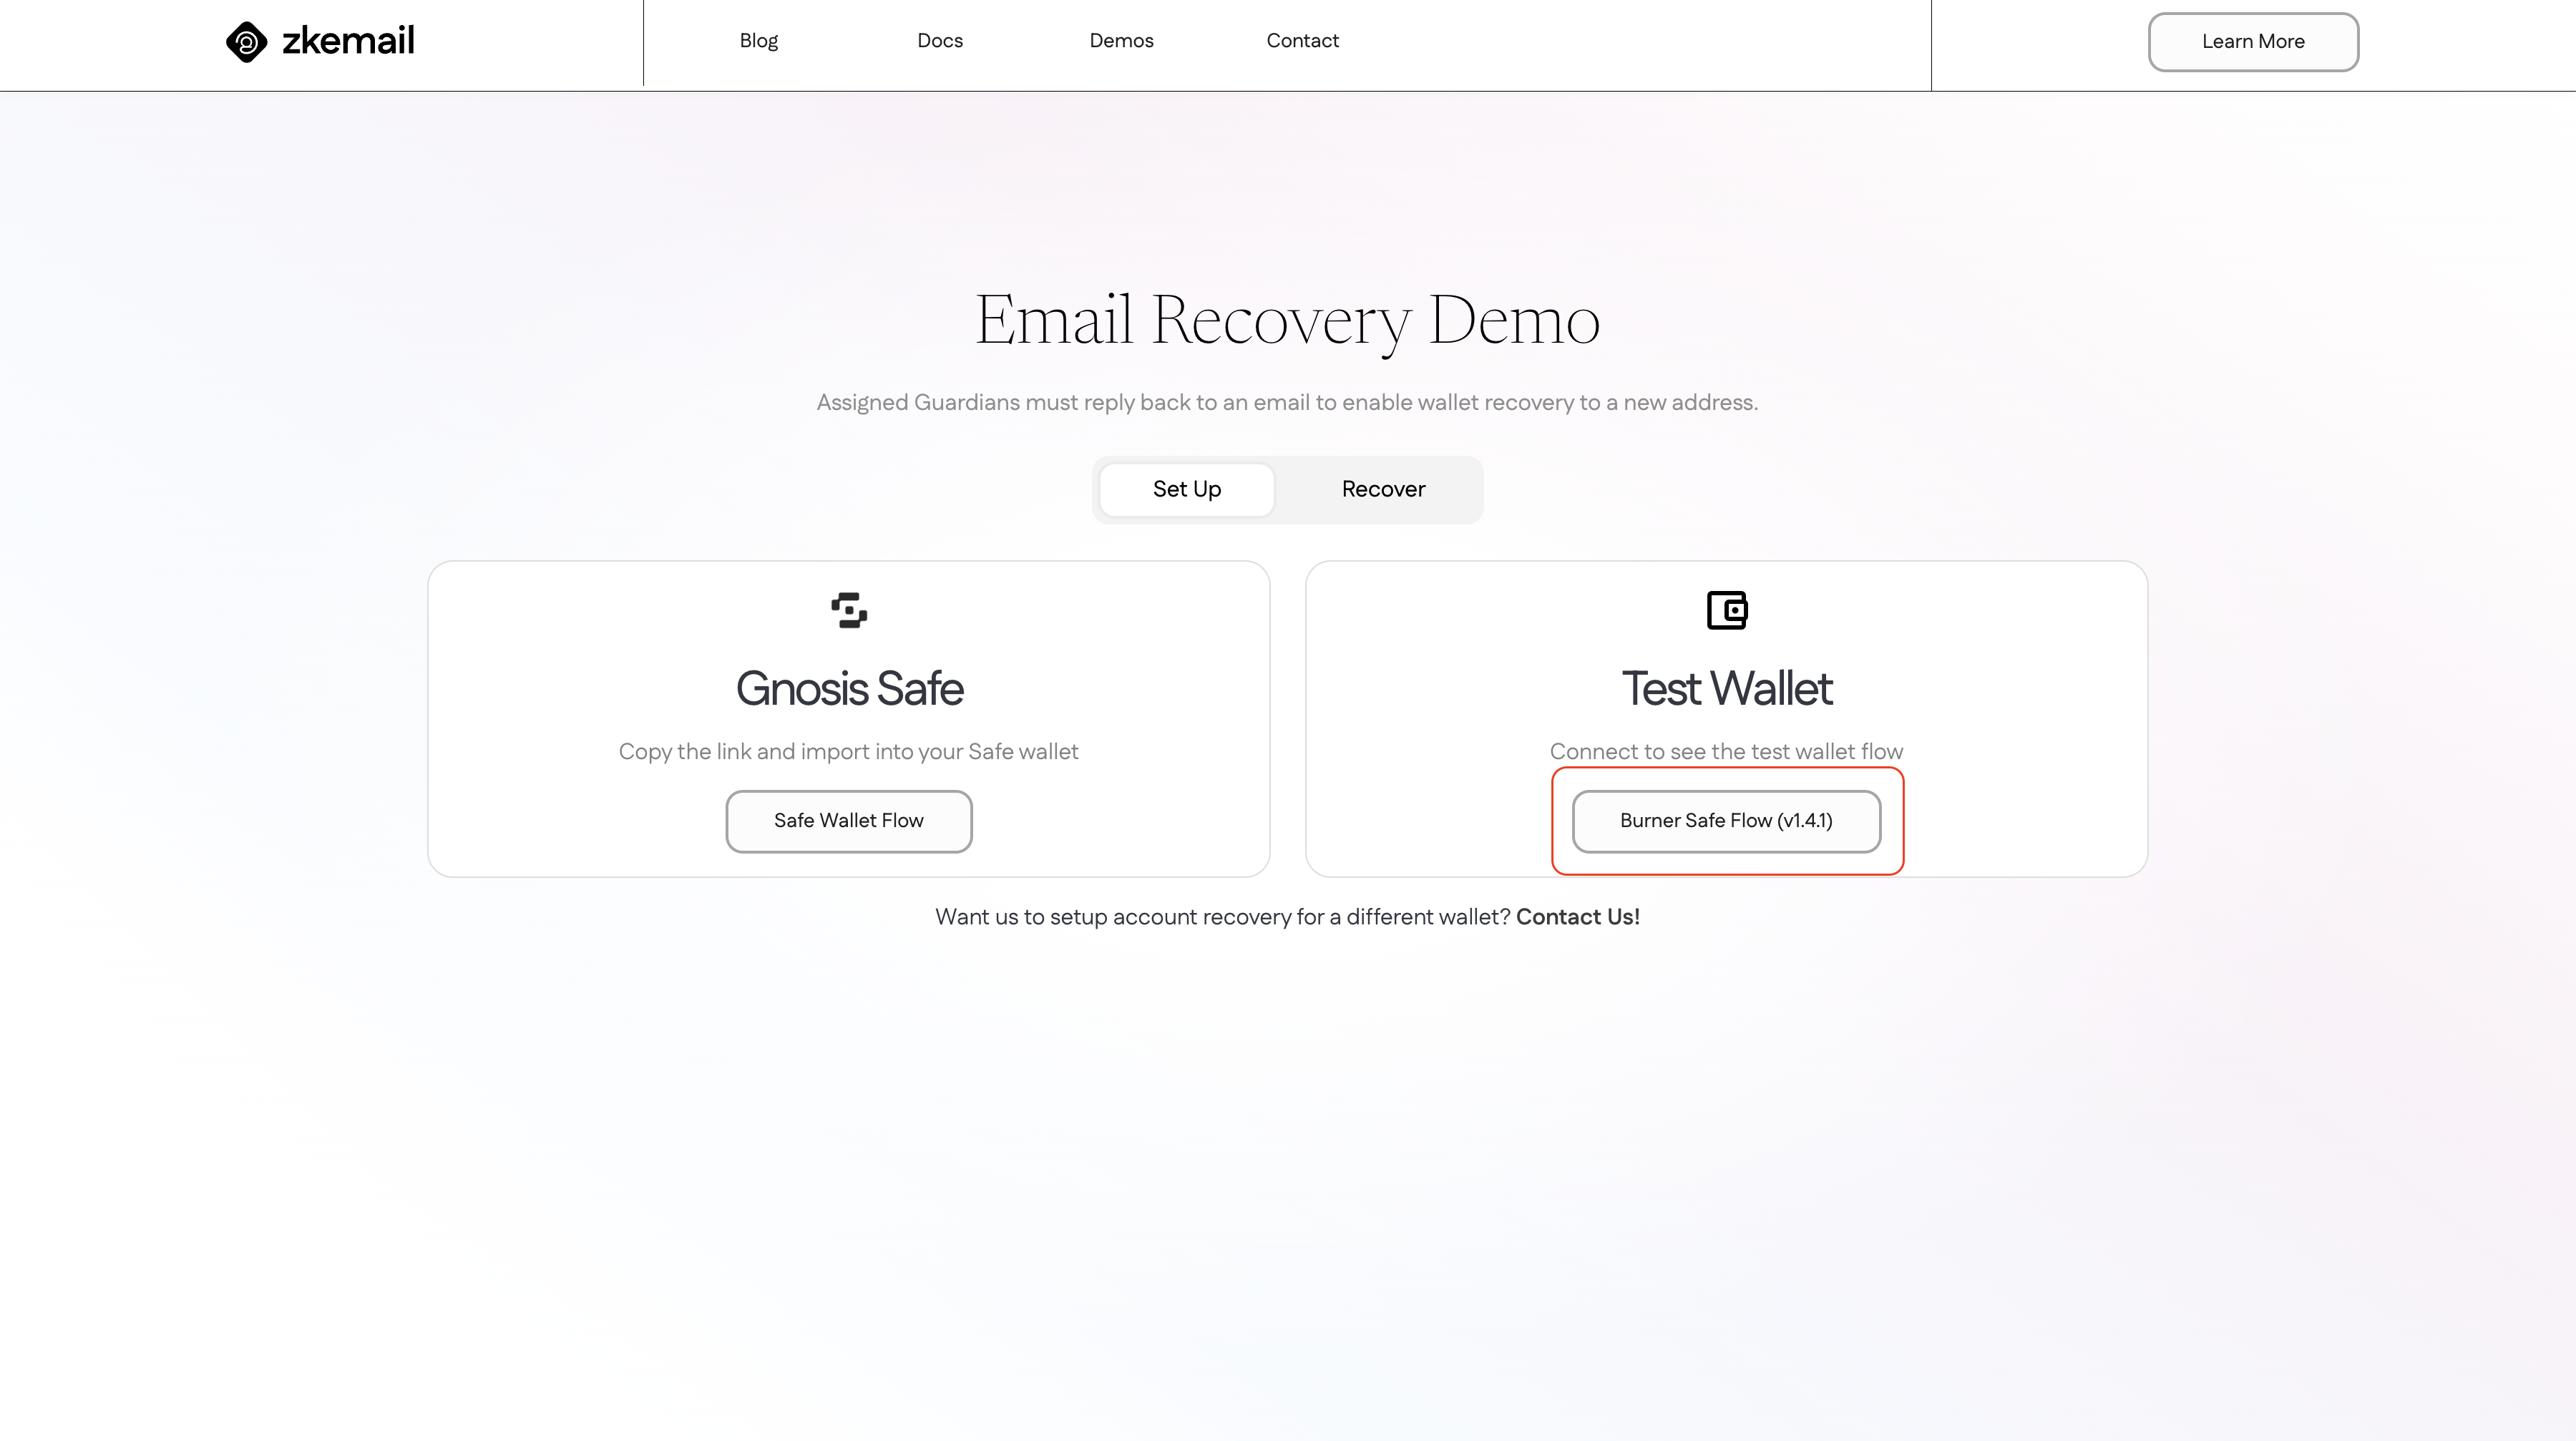
Start by visiting recovery.prove.email. Look for an option to "Burner Safe Flow (v1.4.1)".
Then type your email on the Guardian's Email input box and click "Create burner wallet".
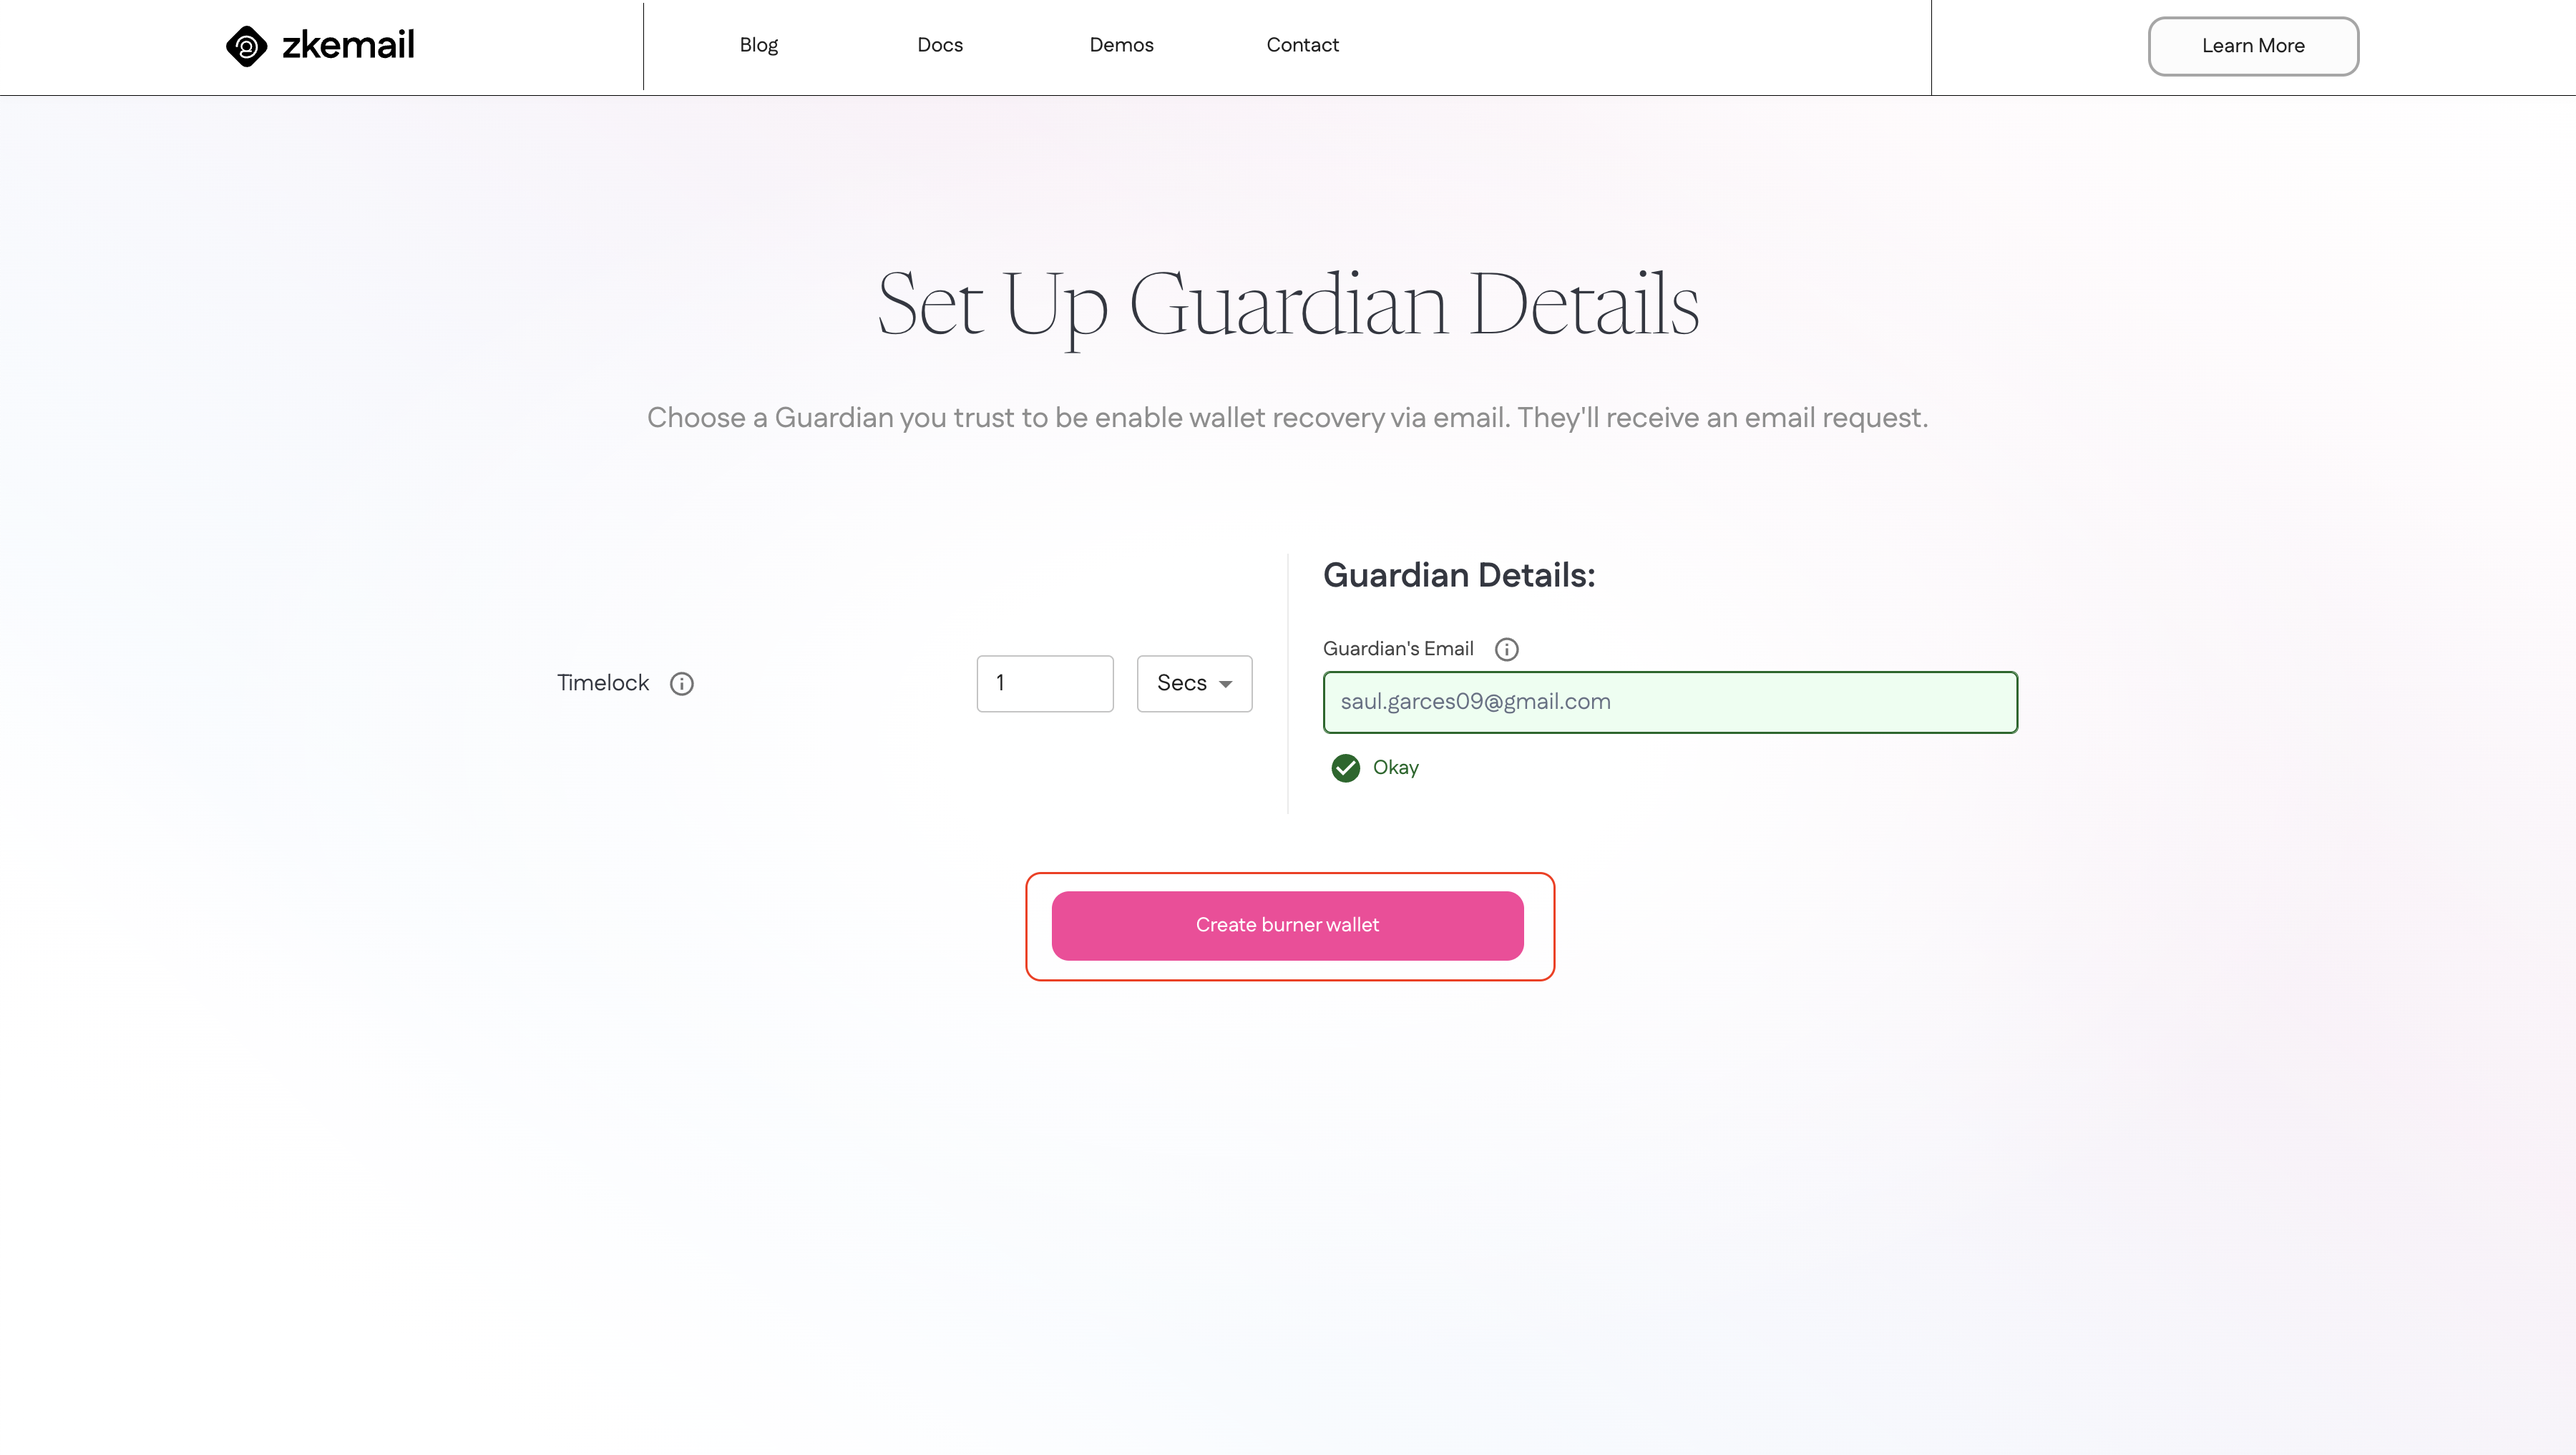
You wallet automatically will open. You have to confirm the transaction and sign the messages. This will send some ETH to cover the gas fees and create a burner safe with the recovery module already configured.
-
Confirm Guardian
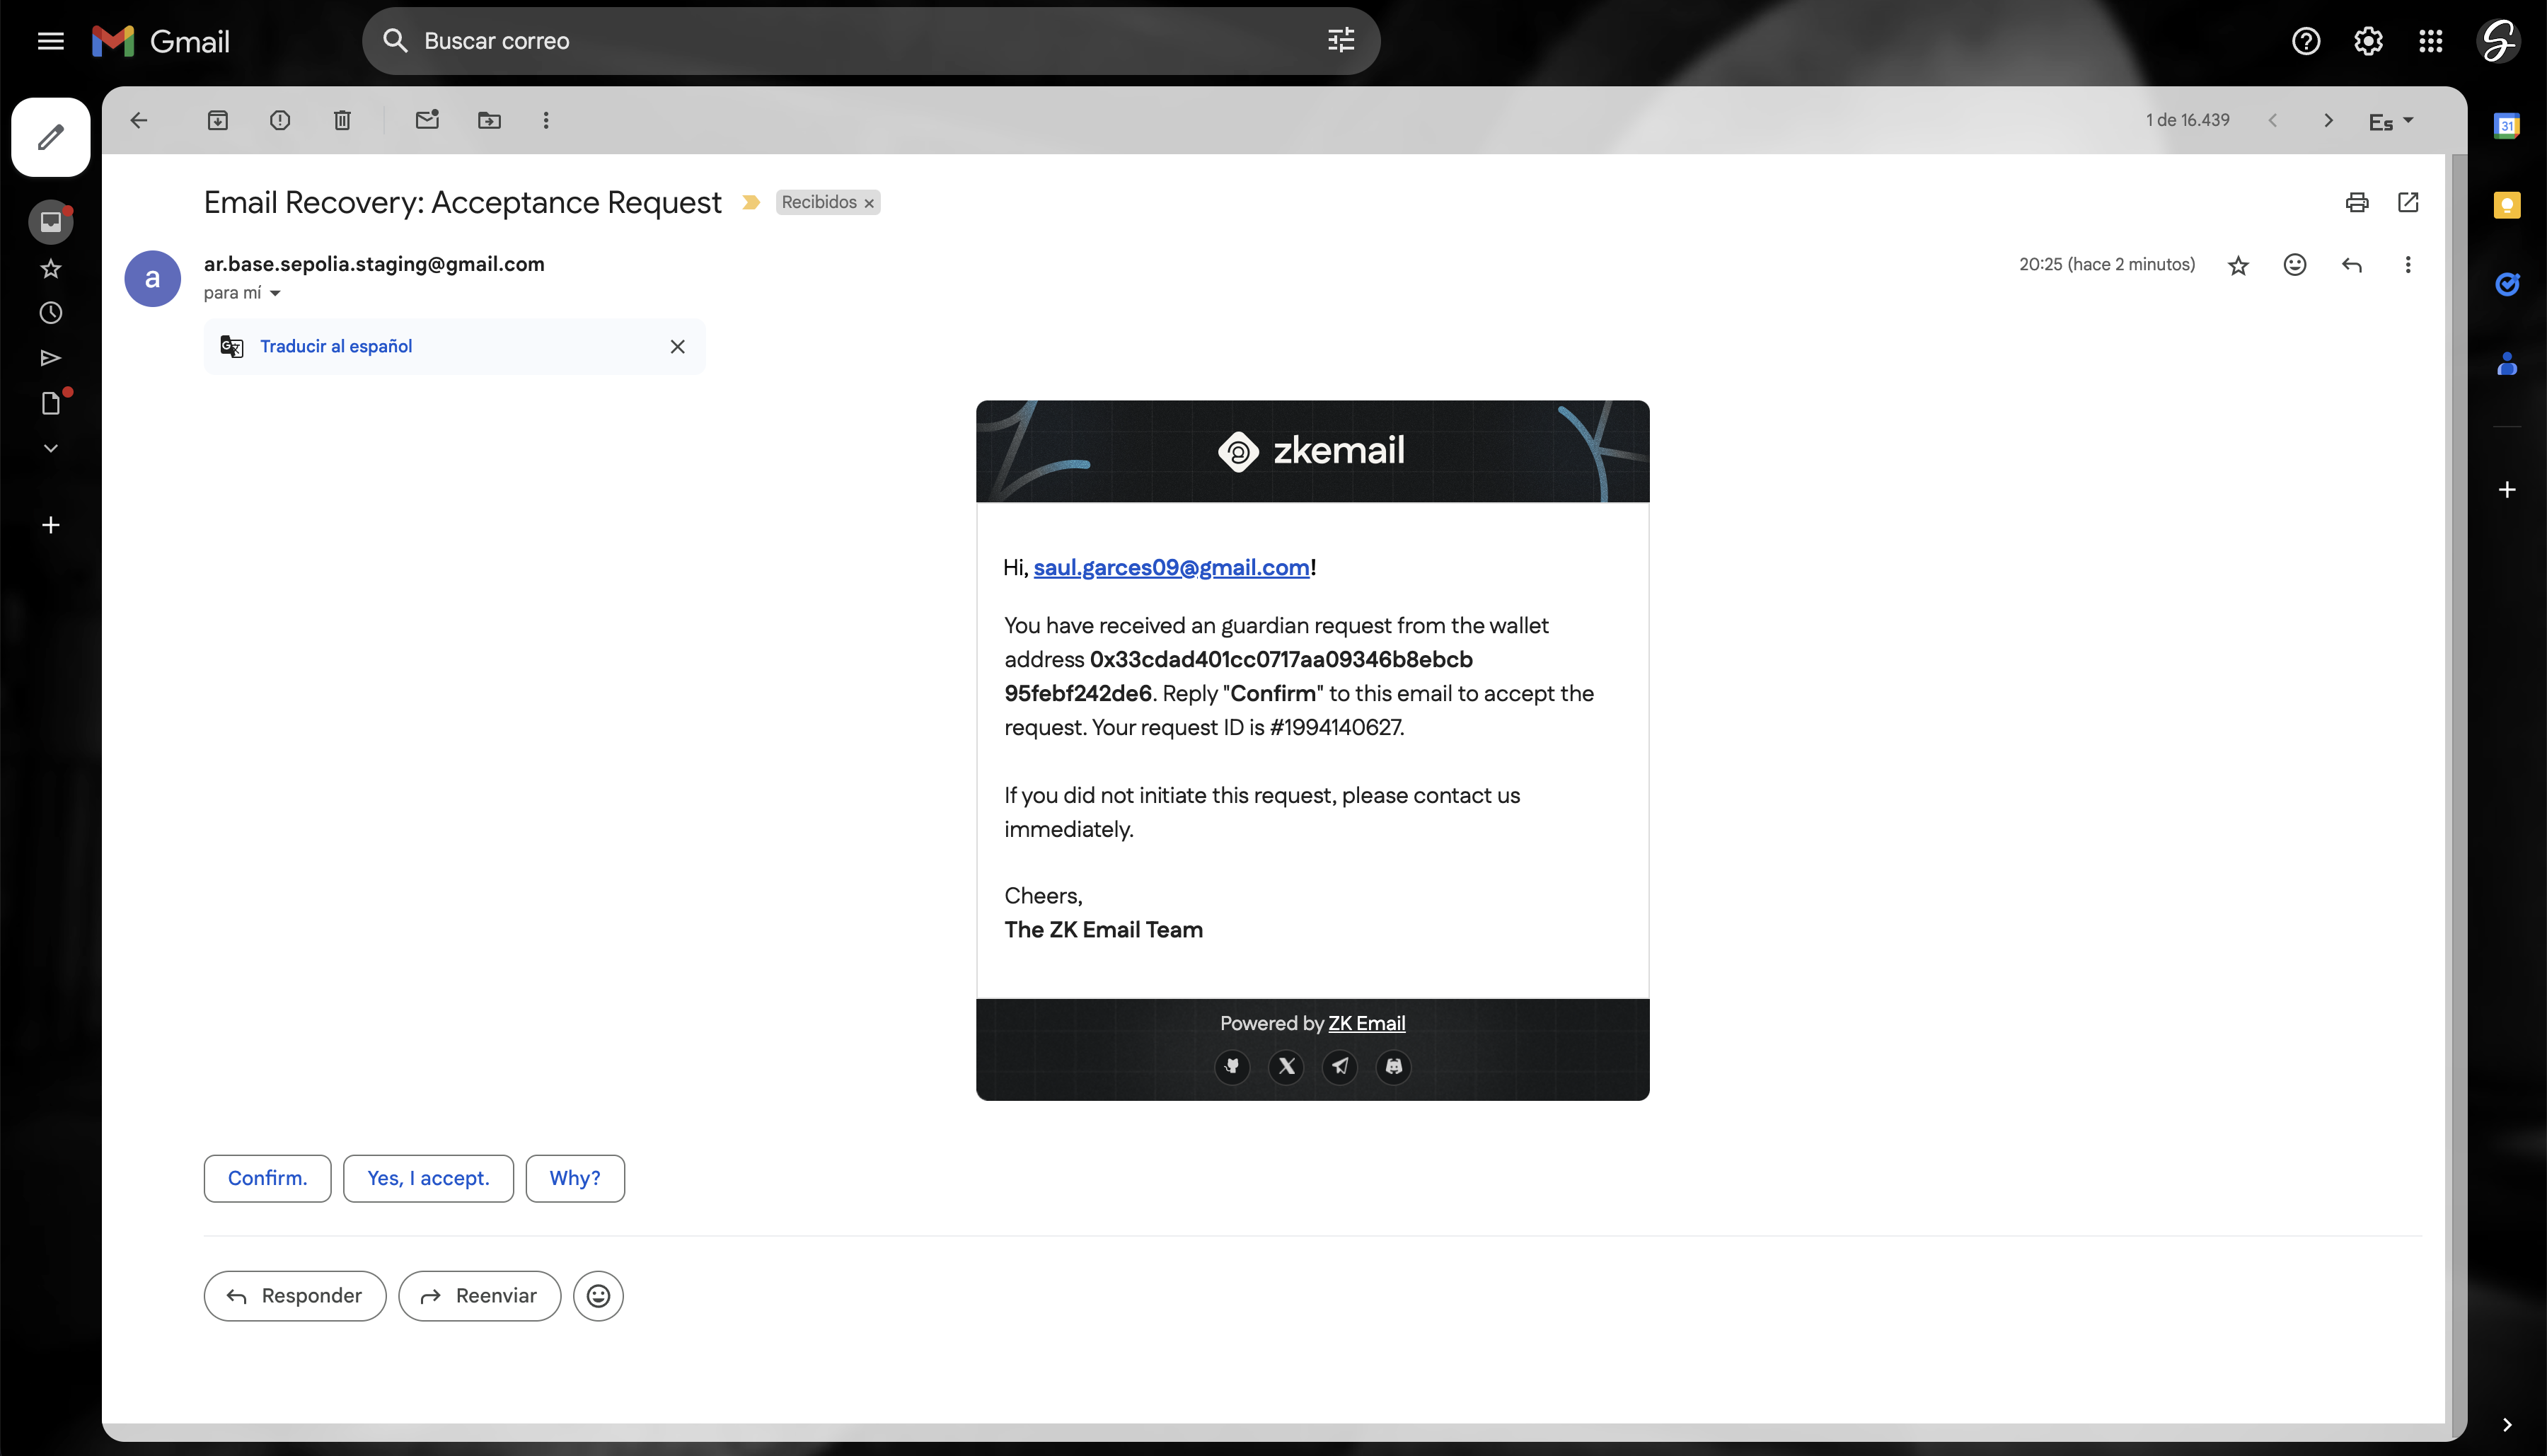
After creating the burner safe, you'll need to confirm the guardian. You will receive an email asking you to confirm the guardian. Reply with "Confirm" to confirm the guardian.
Recovering Your Account
-
Initiate Recovery
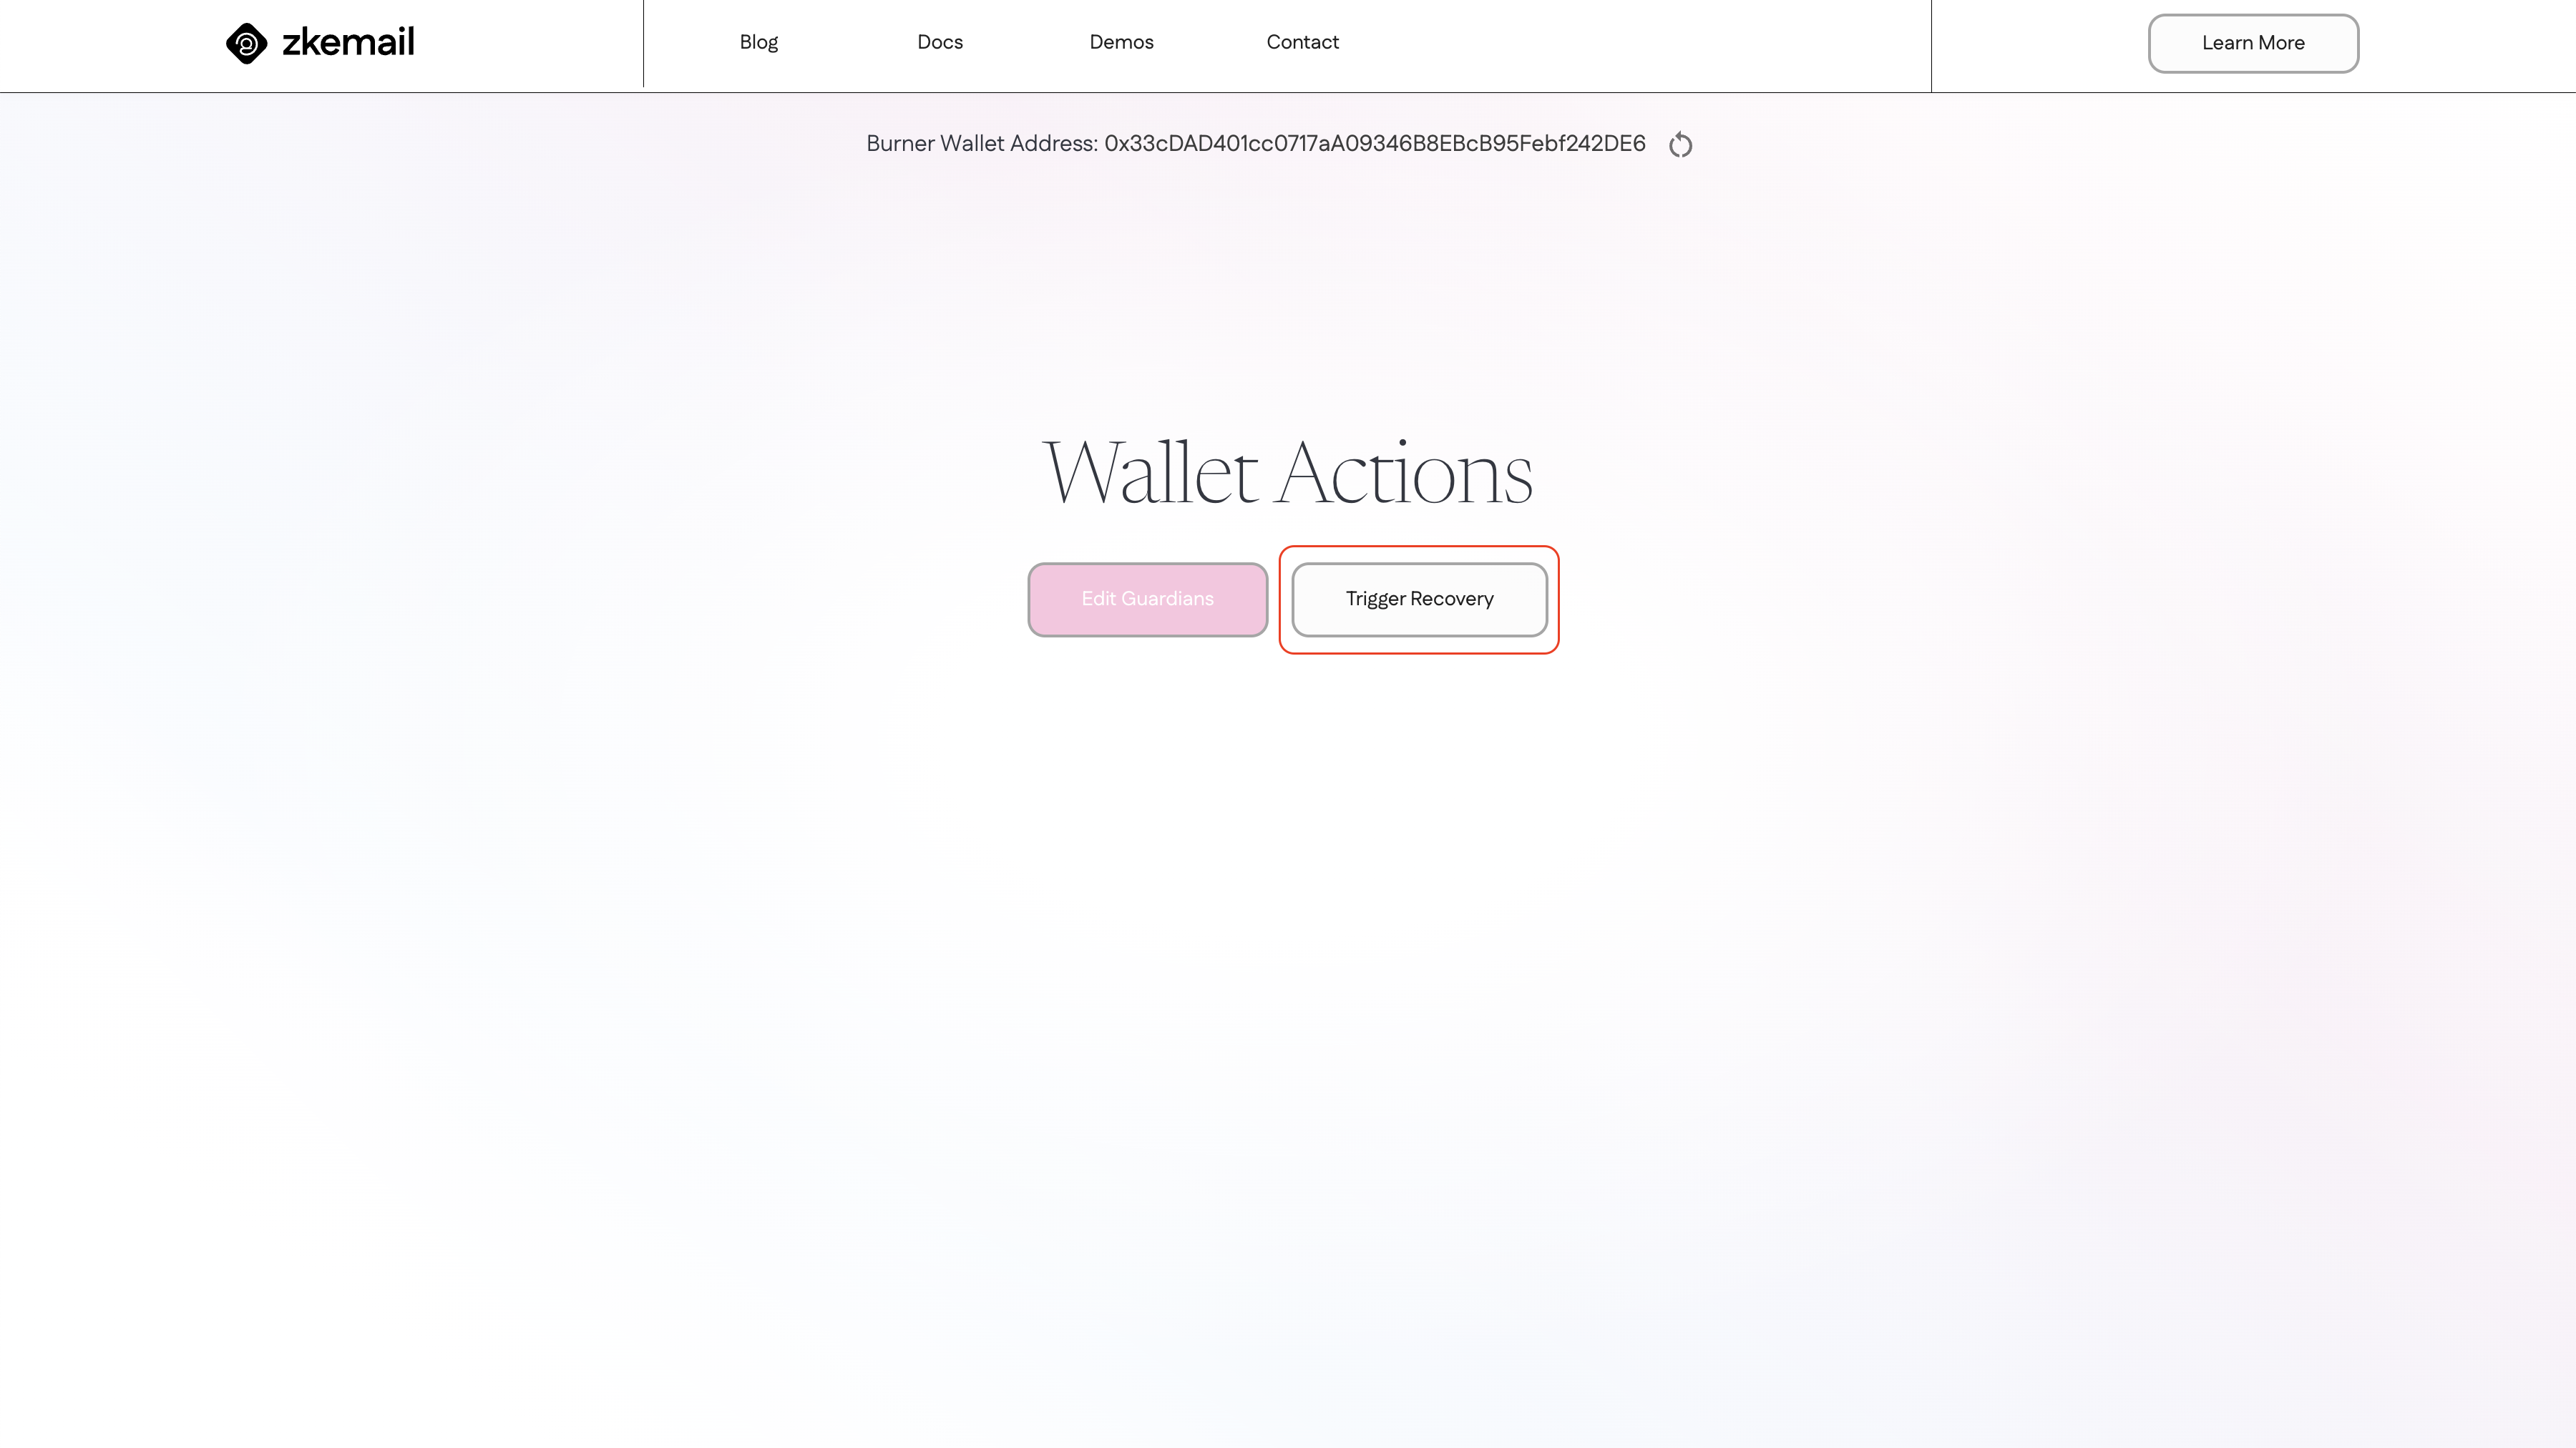
After creating your burner safe, click on the button Trigger Recovery
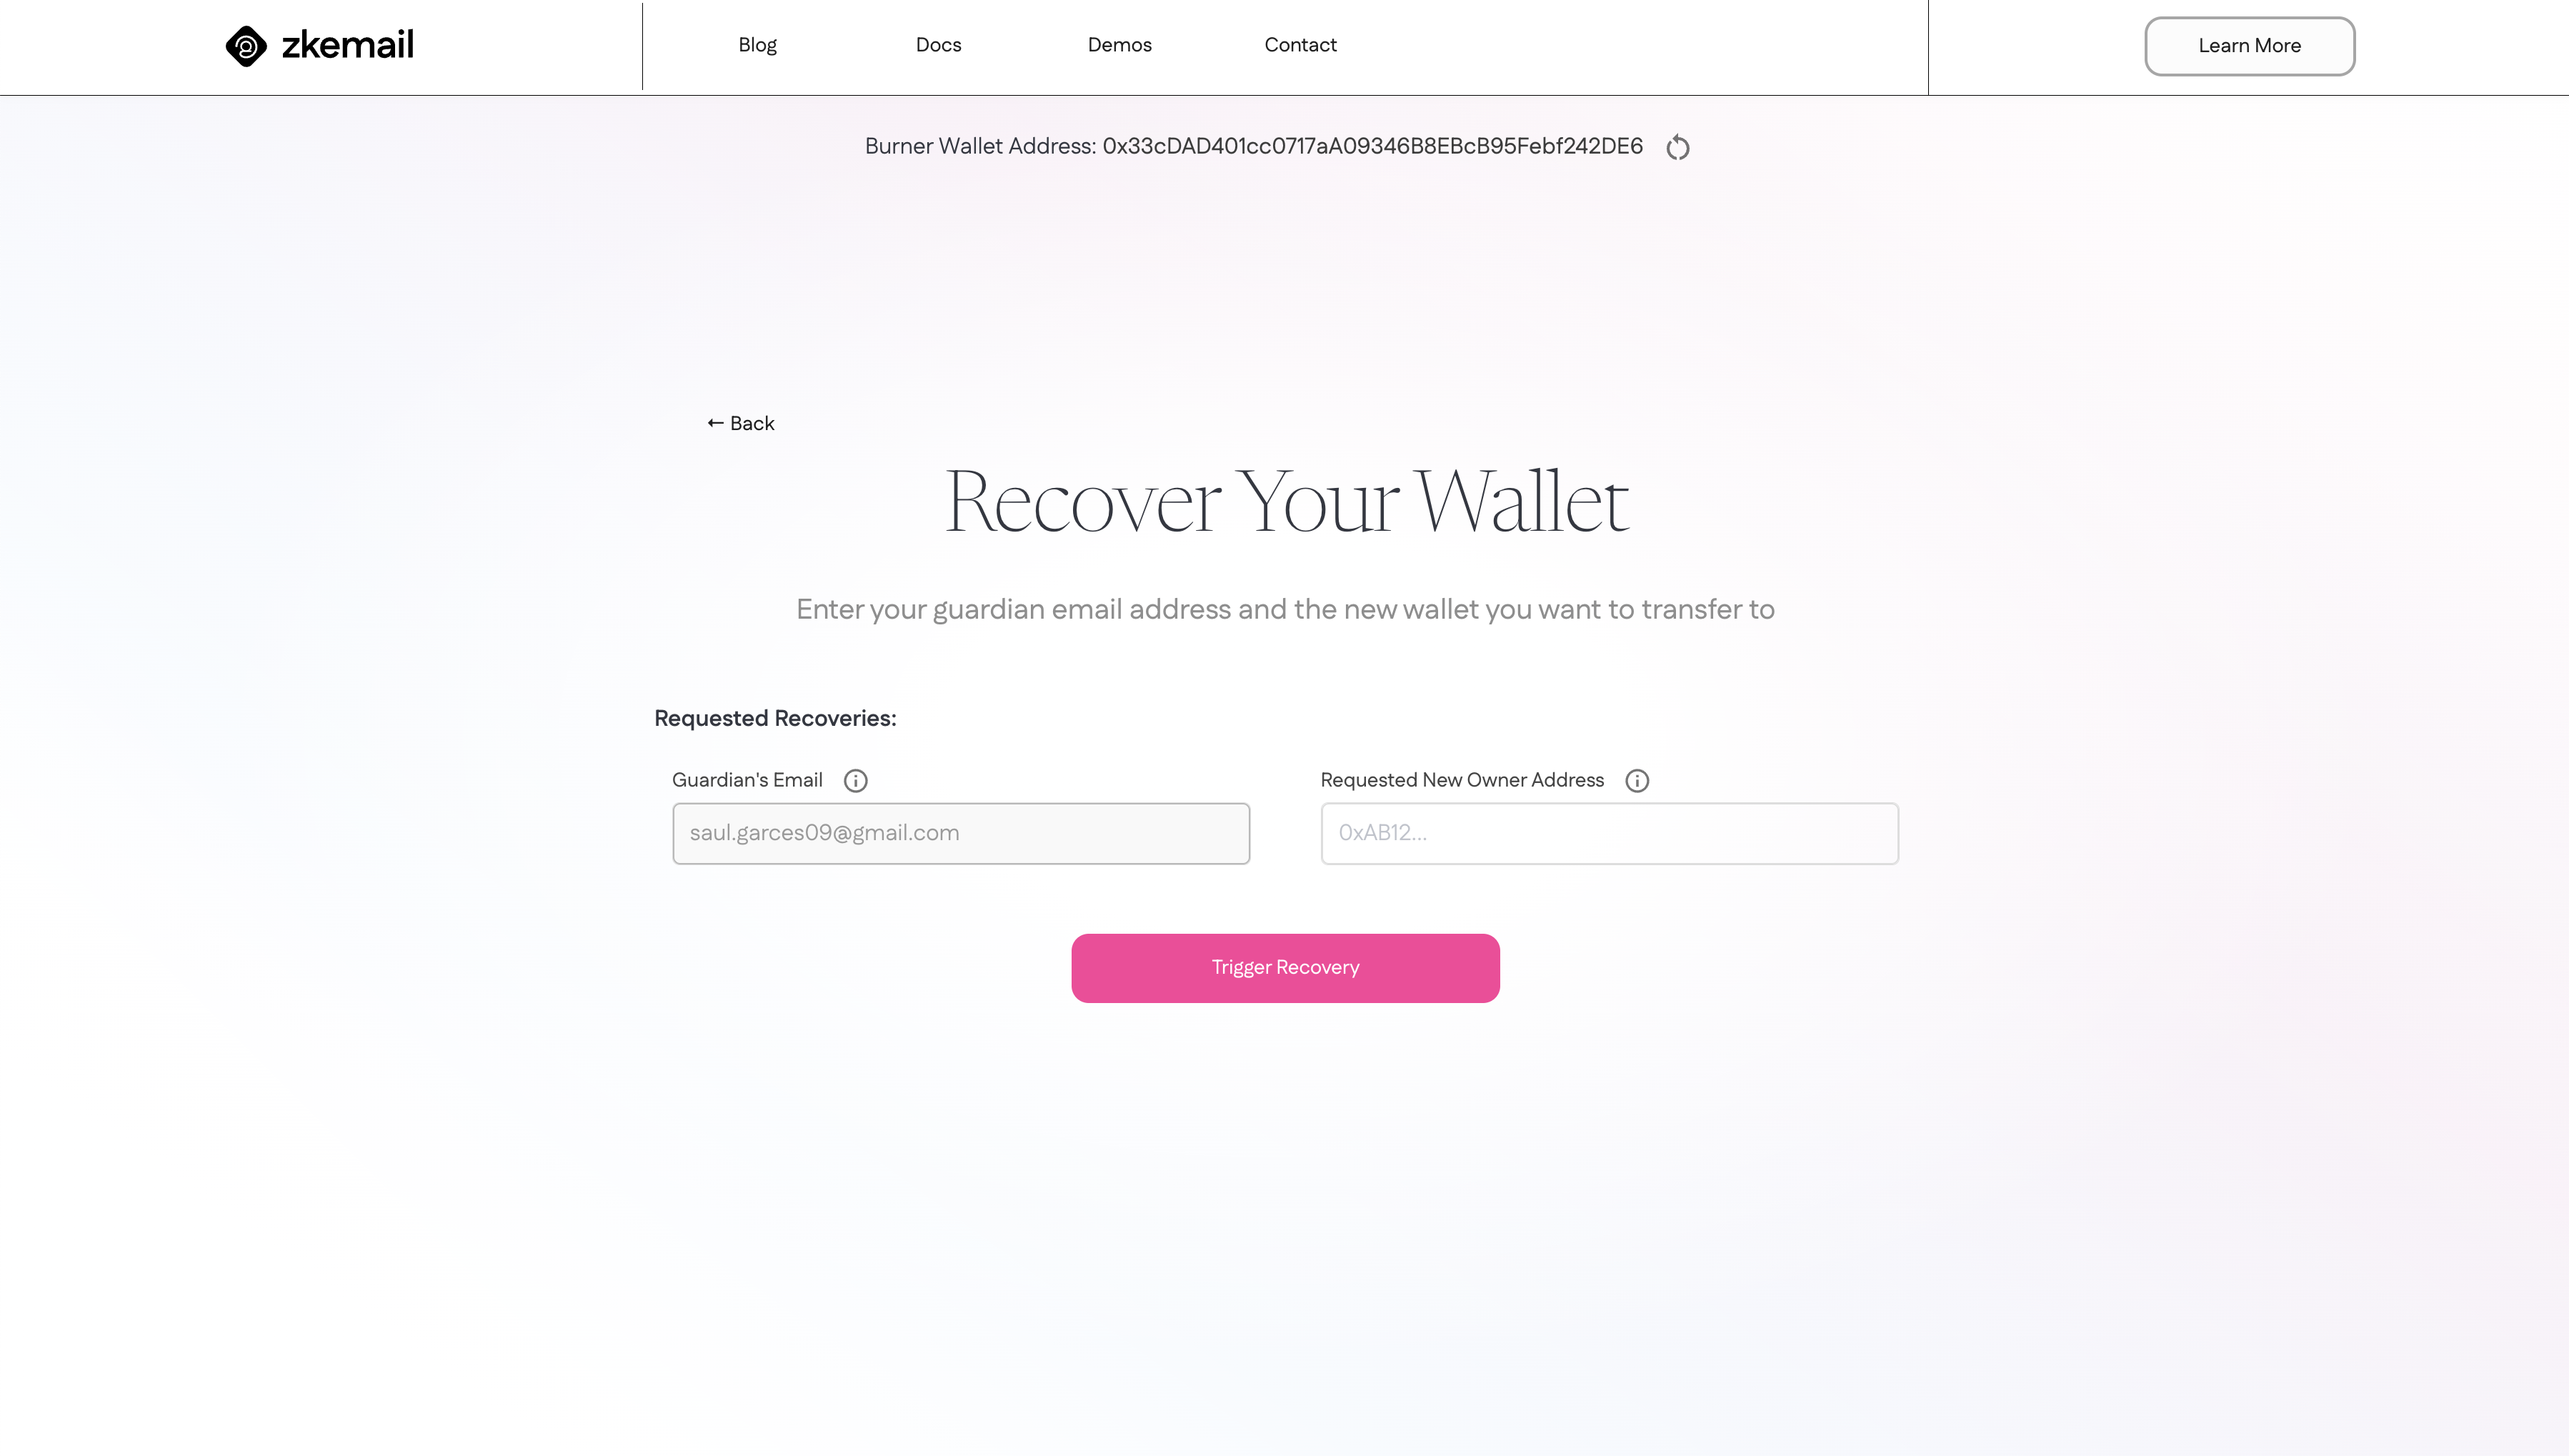
To initiate the recovery process, you will need to enter you guardian email and specify the new address that will assume ownership of the safe.
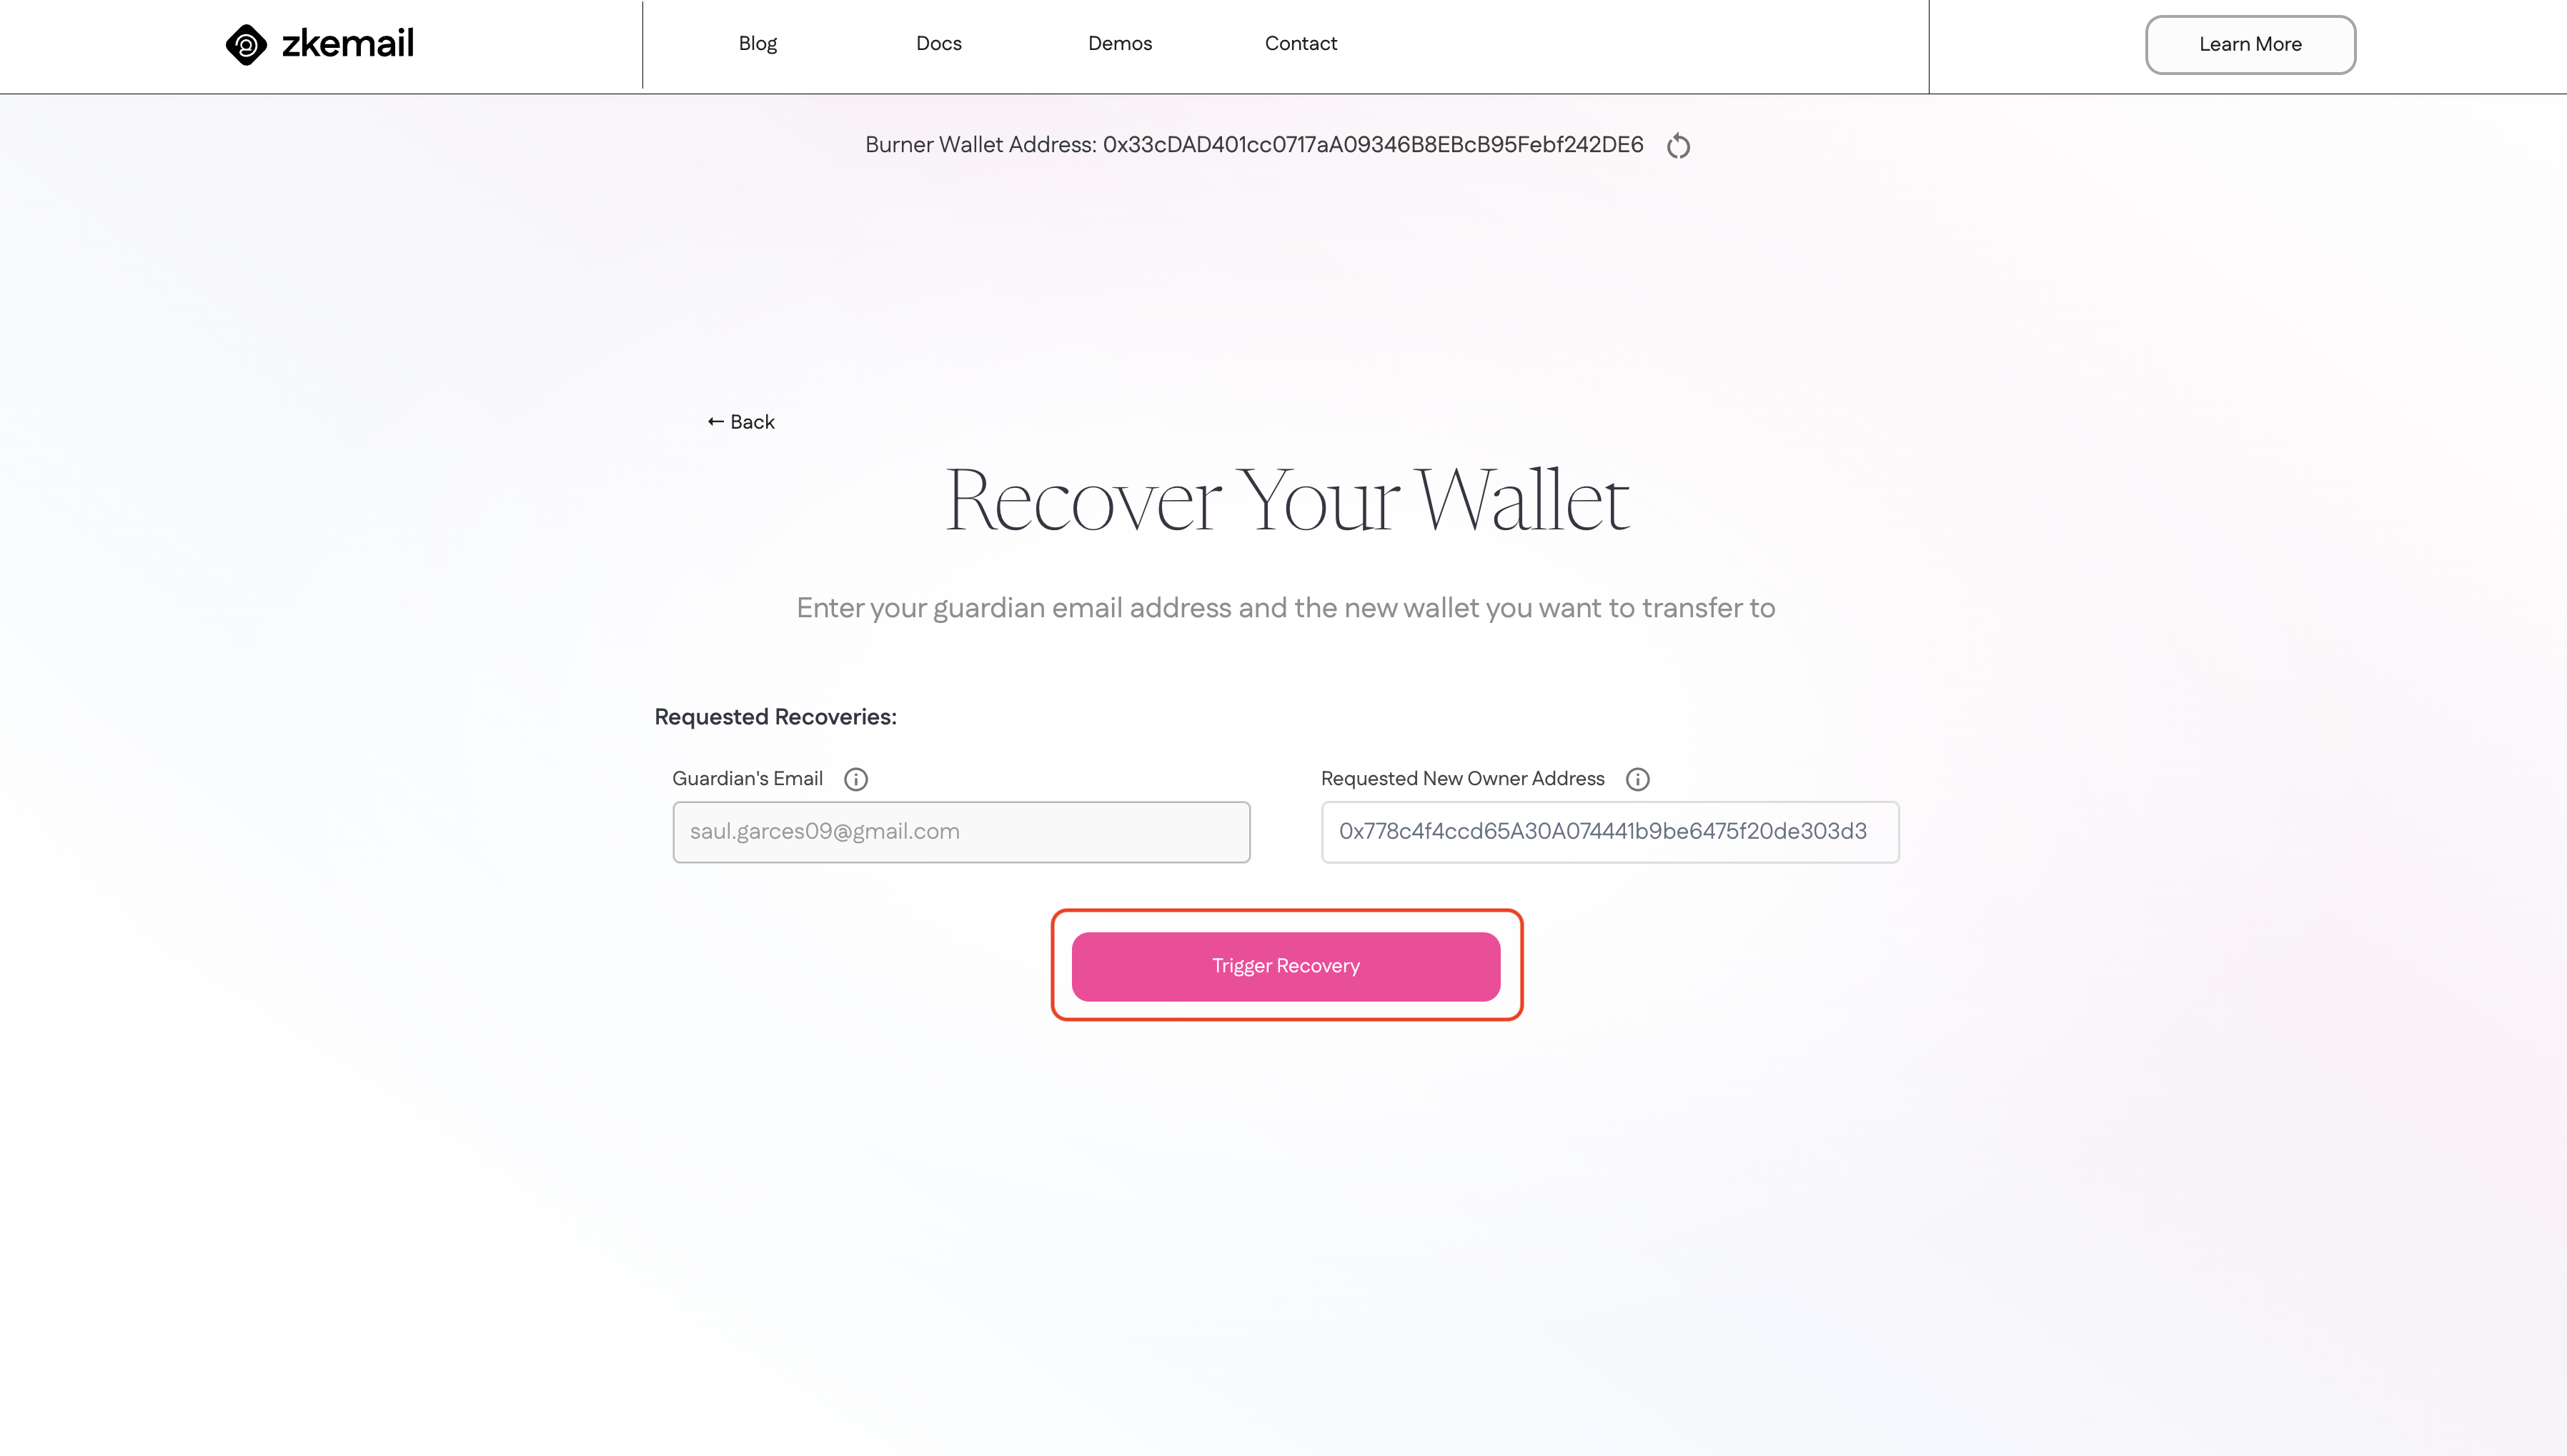
After filling up the fields click on "Trigger Recovery".
-
Guardian Verification
Once you've initiated recovery, the system will contact your guardians. They'll receive an email asking them to confirm your recovery request. This step ensures that only authorized recoveries can proceed.
-
Complete Recovery
After your guardians have verified the request, you'll be able to complete the recovery process. This involves clicking the "Confirm Recovery" button on the recovery interface.
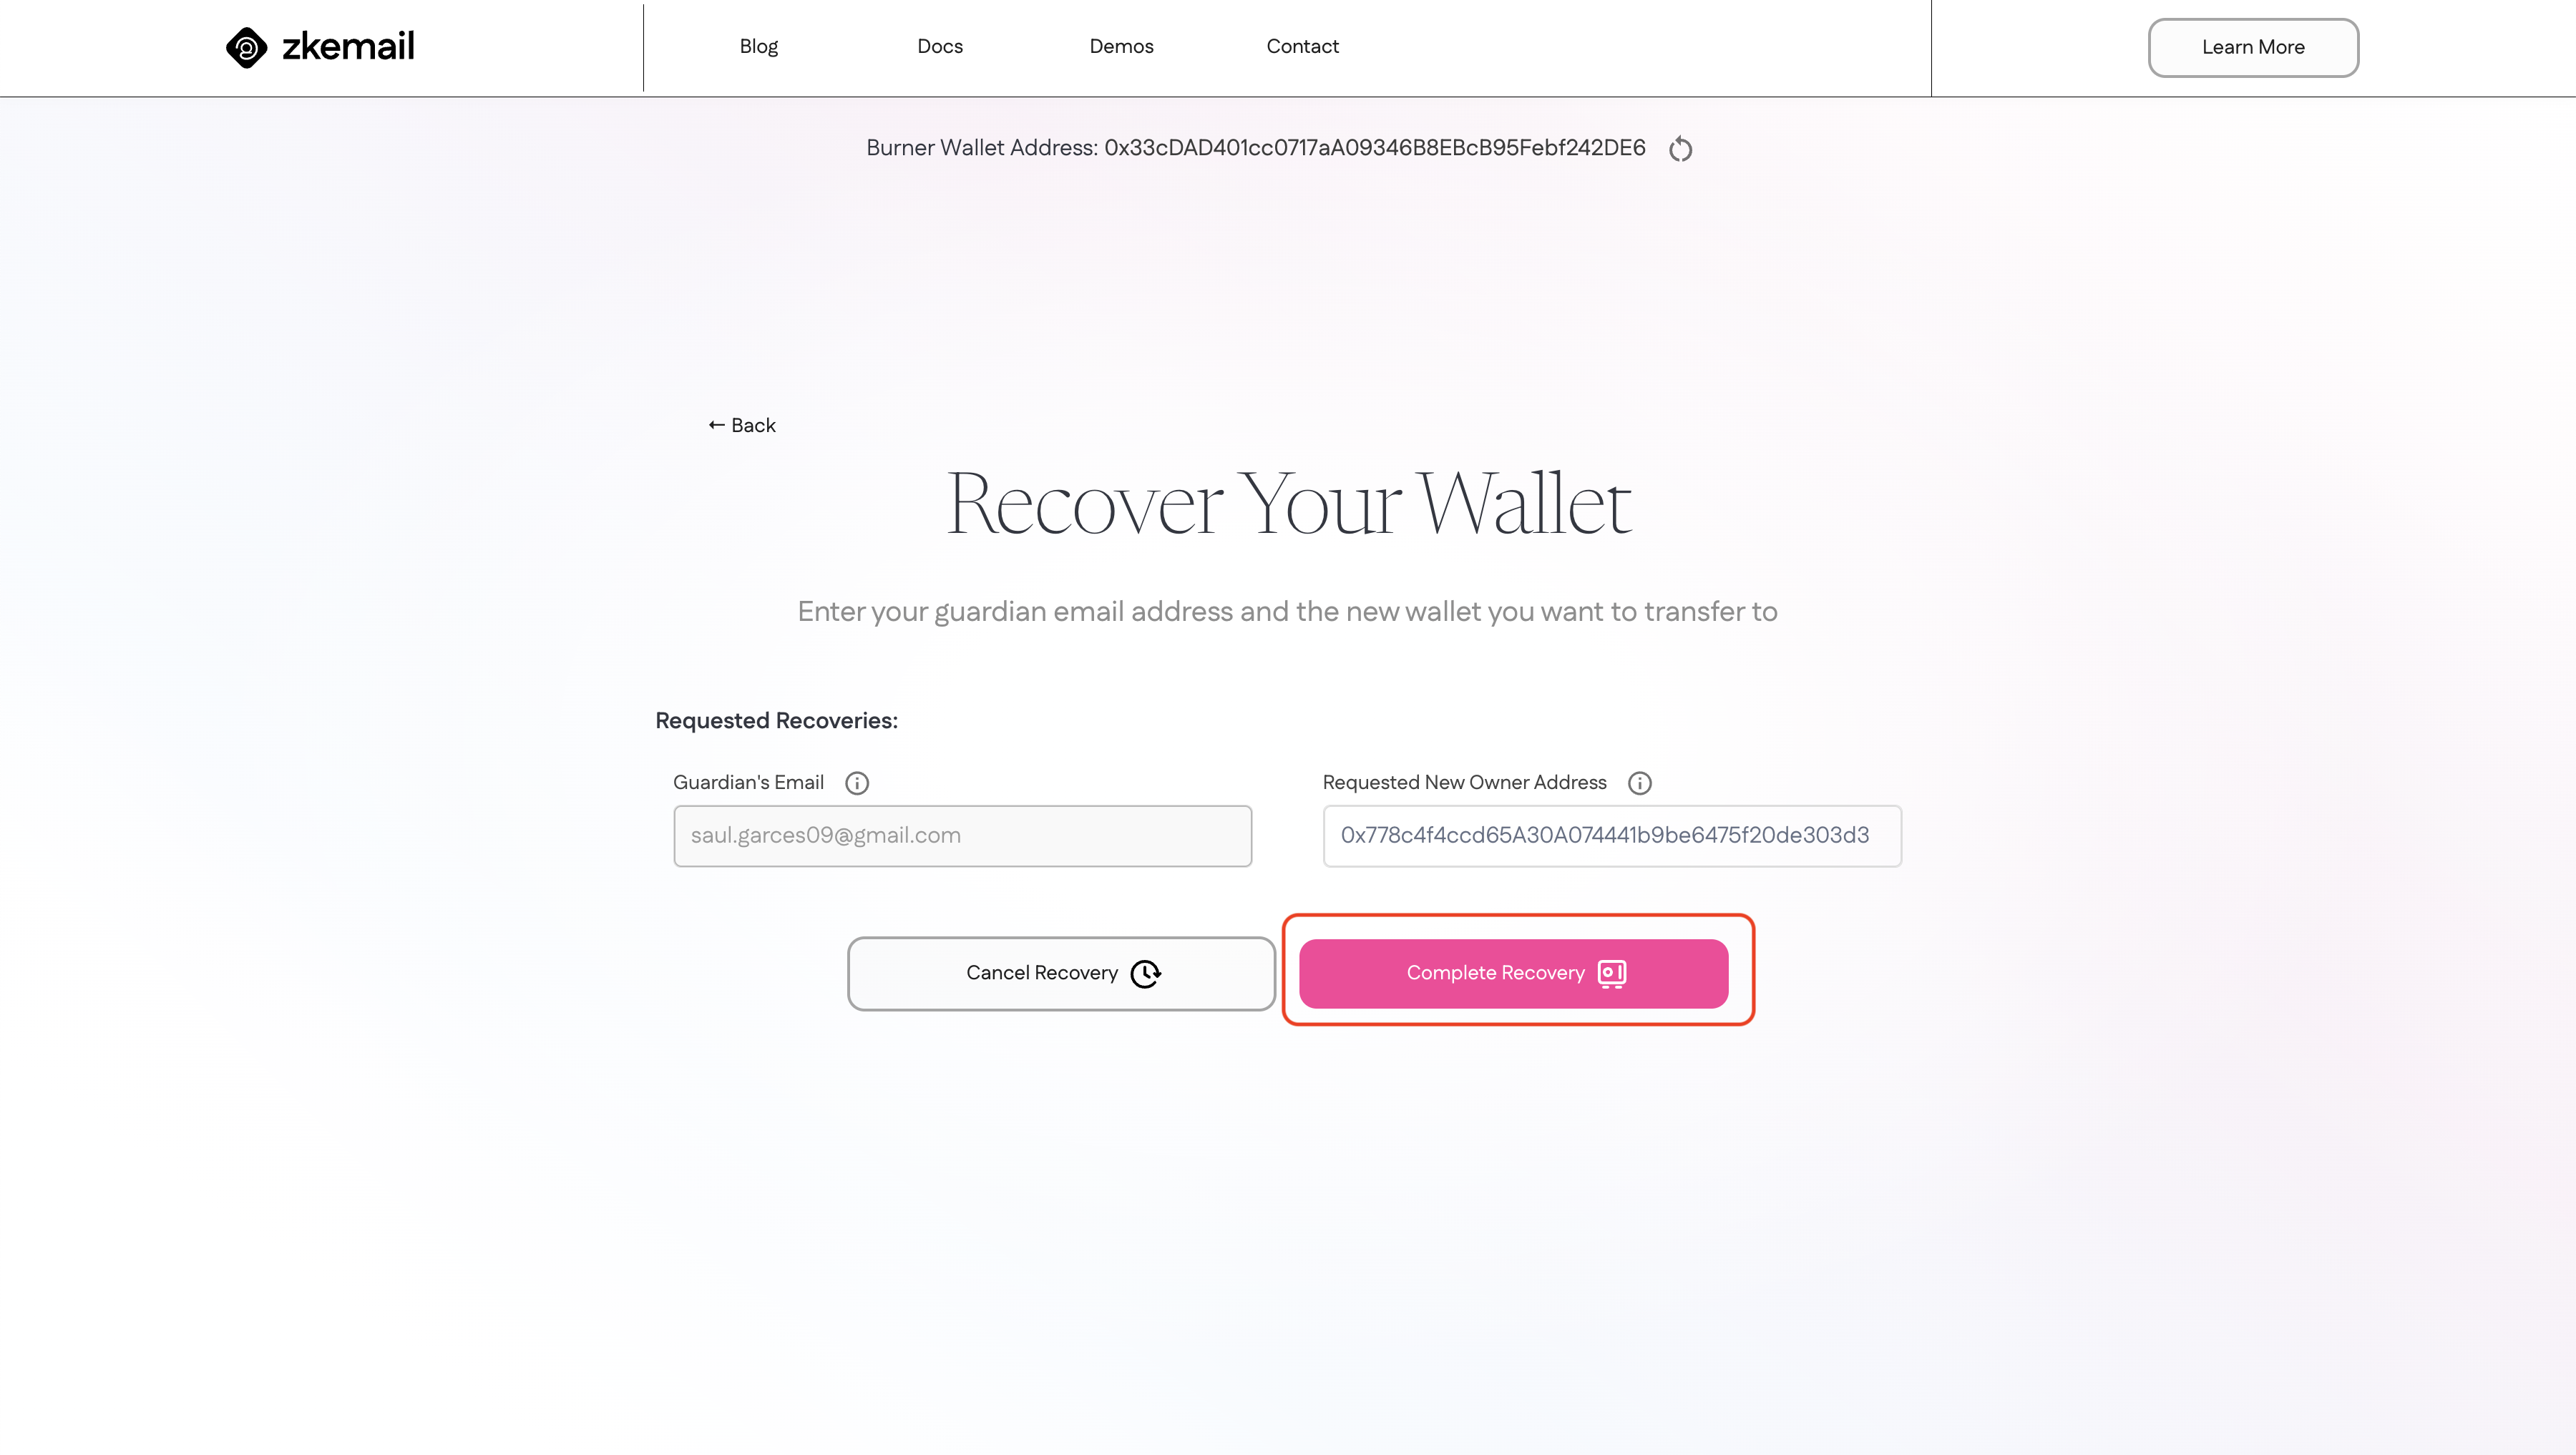
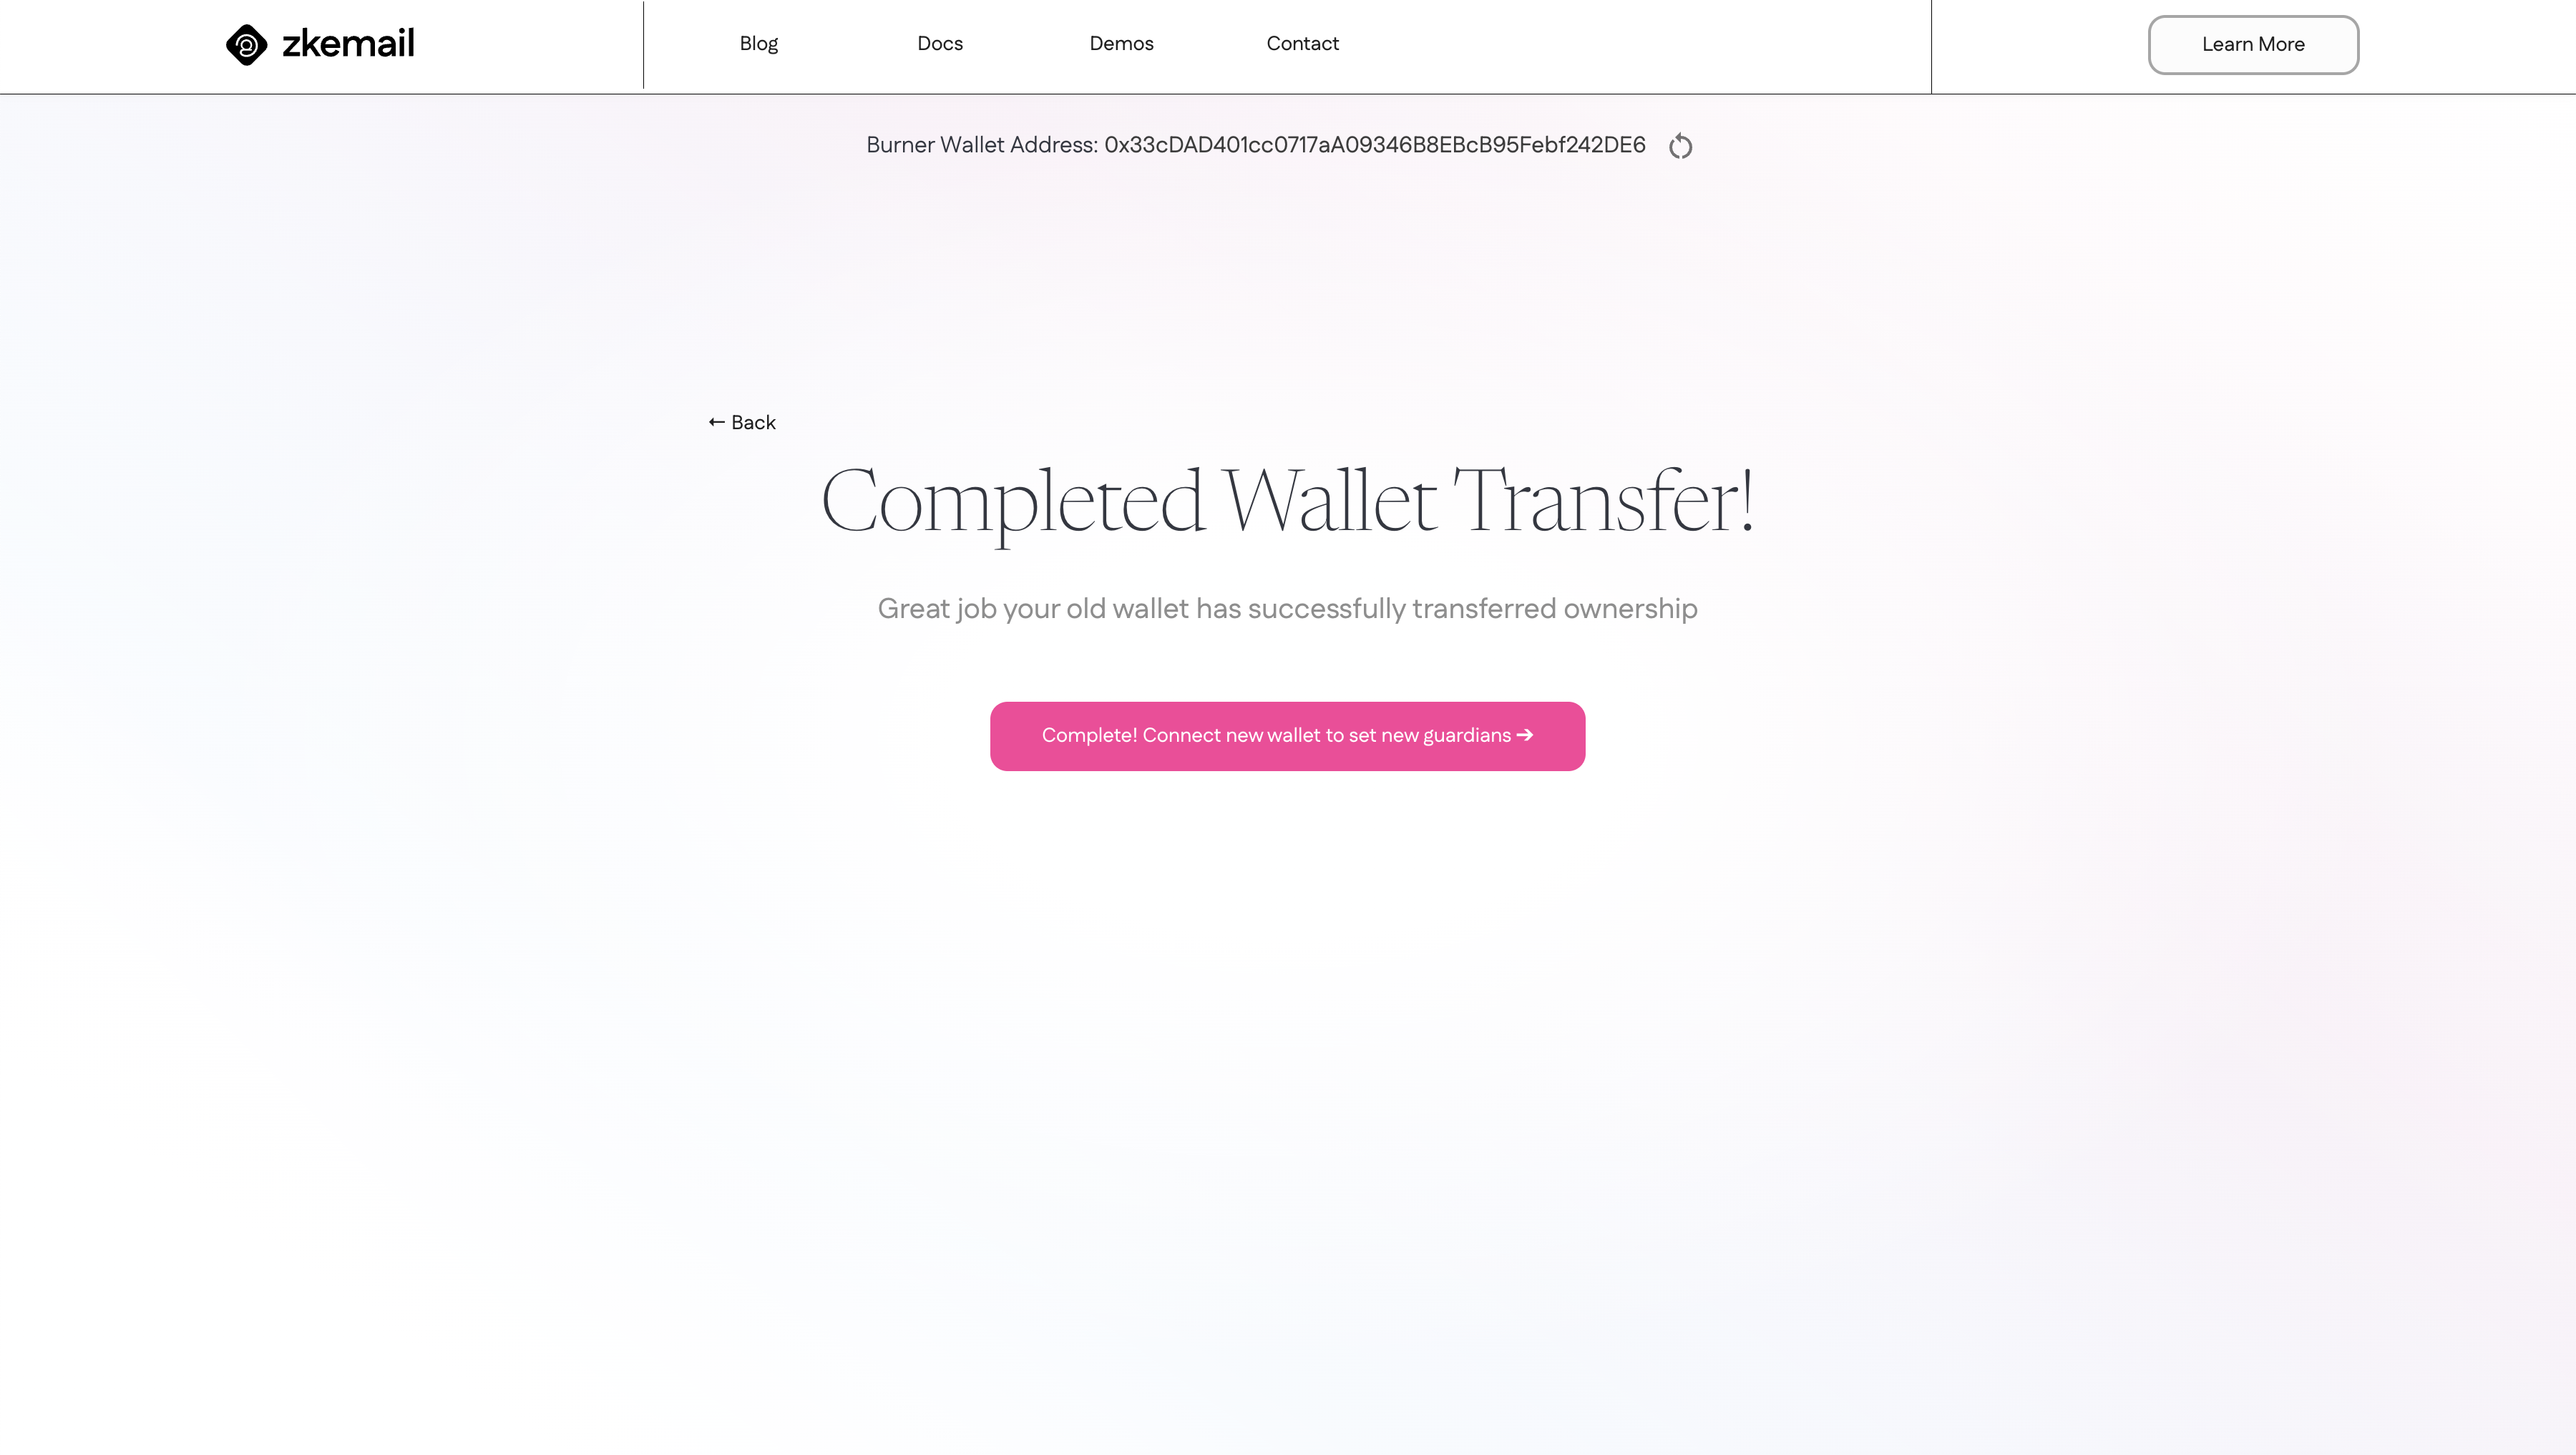
This action will replace the current owner of the Safe with the new address you've specified during the recovery process.
Troubleshooting
- Guardian Email Not Received: Check spam folders, verify the email address, or resend the confirmation.
- Transaction Failing: Ensure you have enough gas fees, check network congestion, or try again later.
- Recovery Process Failed: Verify all steps have been completed, check for any pending confirmations, or contact support. The new address must be different than the previous, recovering to the same address will lead to an error.
Summary
By following this comprehensive guide, you can take a significant step towards securing your wallets with ZK Email Account Recovery. This system combines the ease of email interactions with the robust security of Zero-Knowledge proofs, providing a user-friendly yet highly secure recovery solution.